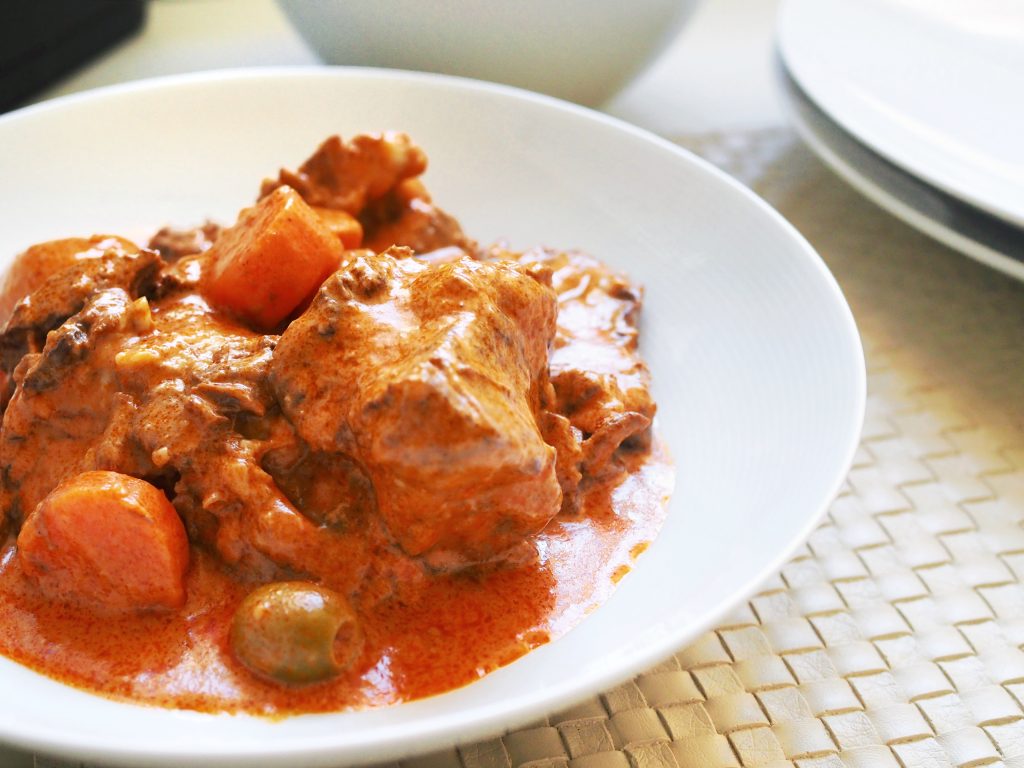
This fall off the bone, super tender lamb shanks is a perfect dinner option on a rainy weekend. I love this with my velvety mash potato recipe or if I’m serving it straight away, my creamy polenta. Watch the video below to learn how to make restaurant-style mash potatoes at home!
We went down the coast as part of my husband’s birthday gift to yours truly, and it was our first time there together. It was enjoyable, relaxing and the beaches are so beautiful. I only had one problem, every time I travel anywhere, I try to find inspiration for my next posts, and truth be told, I did not have a eureka moment this trip. However, because it’s been rainy in Sydney, I thought I’d share the recipe for one of my favorite cold weather dishes. It’s relatively easy to make, and just so comforting. You can use your slow cooker if you have one and that makes this recipe a convenient midweek dinner too! So nothing lost in the end, because I still found inspiration on what to post today!


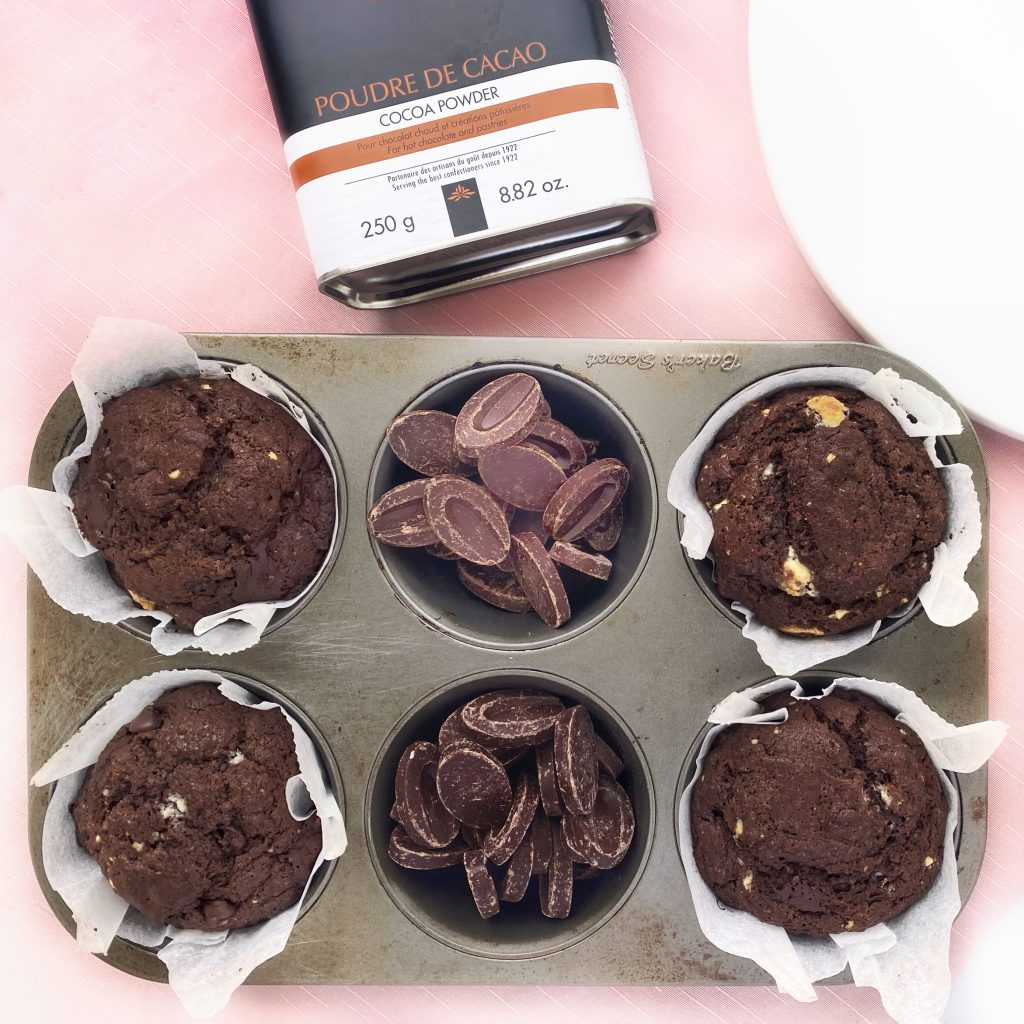
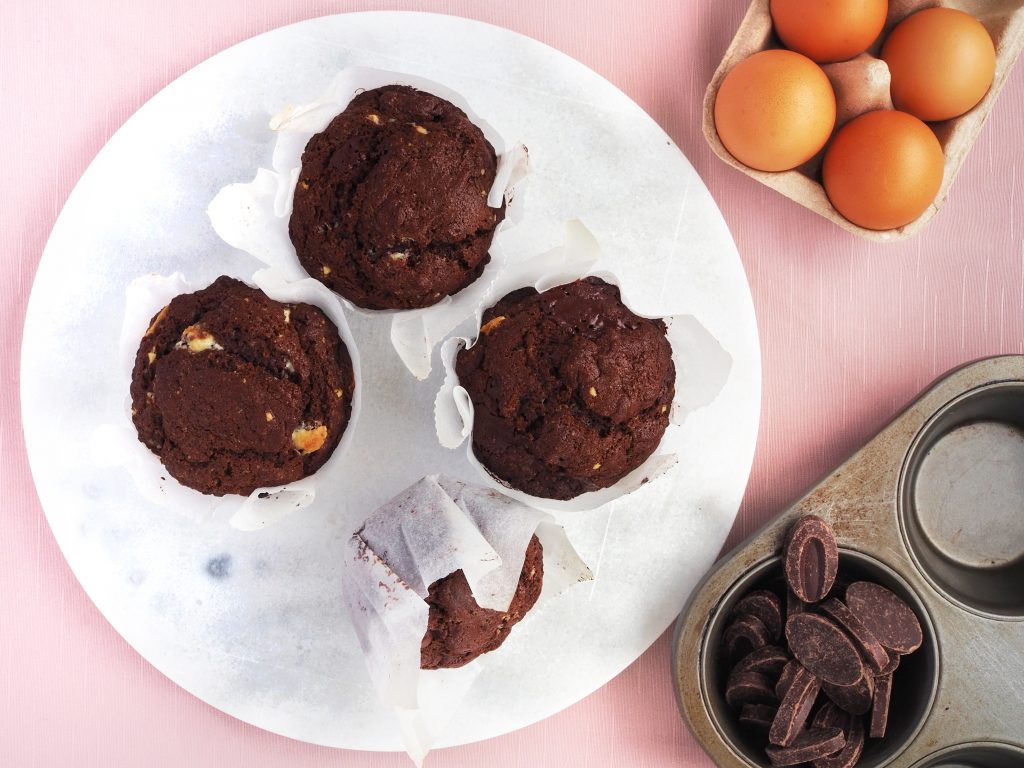
Click on the photos to shop for the products. Most products ship internationally.
Mrs.Fancypants earns a small commission from affiliate links, when you buy the products above. If you’re in Australia, feel free to check the availability on advertised sites.
Give this recipe a try and let me know what you think in the comments below! Don’t forget to snap and tag @mrs.fancypants.recipes so I can see your photos on social media. Enjoy your weekend!
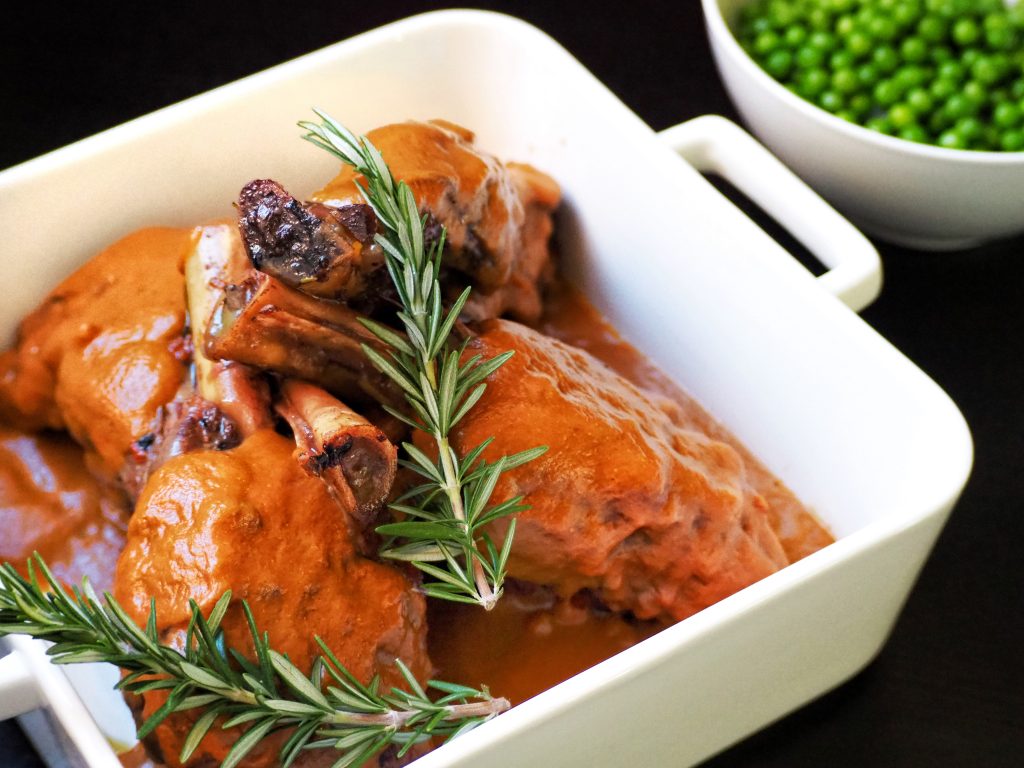
Braised Lamb Shanks
Serves 4
Ingredients
Instructions
- Preheat oven to 170C. Trim lamb shanks of excess fat, pat dry then season with salt and pepper.
- Heat oil in a pan. Brown shanks on all sides then place in a baking dish big enough to fit all 4 shanks and deep enough to hold 2 litres of liquid.
- In the same pan, sauté vegetables until soft. Add red wine, bring to the boil then reduce red wine to half. Add stock, bring to the boil then pour liquid into the baking dish.
- Cover tightly with foil and braise for 2 1/2 - 3 hours or until the meat is very tender that it falls off the bone.
- When the meat is ready, take the meat out of the dish and cover with foil. To make the sauce, take the herbs out of the liquid (if there are big bits) then blend the liquid until smooth, be careful when blending hot liquids.
- If you don't want to blend the liquid, simple strain off the vegetables and reduce the liquid in a sauce pot until your desired consistency. Please note this will result to less sauce.
- Serve lamb shanks with mash potato or polenta and pour sauce on top.
Notes
- Feel free to cook the shanks in your slow cooker following manufacturer's instructions.
- Click here for my velvety mash potato recipe.