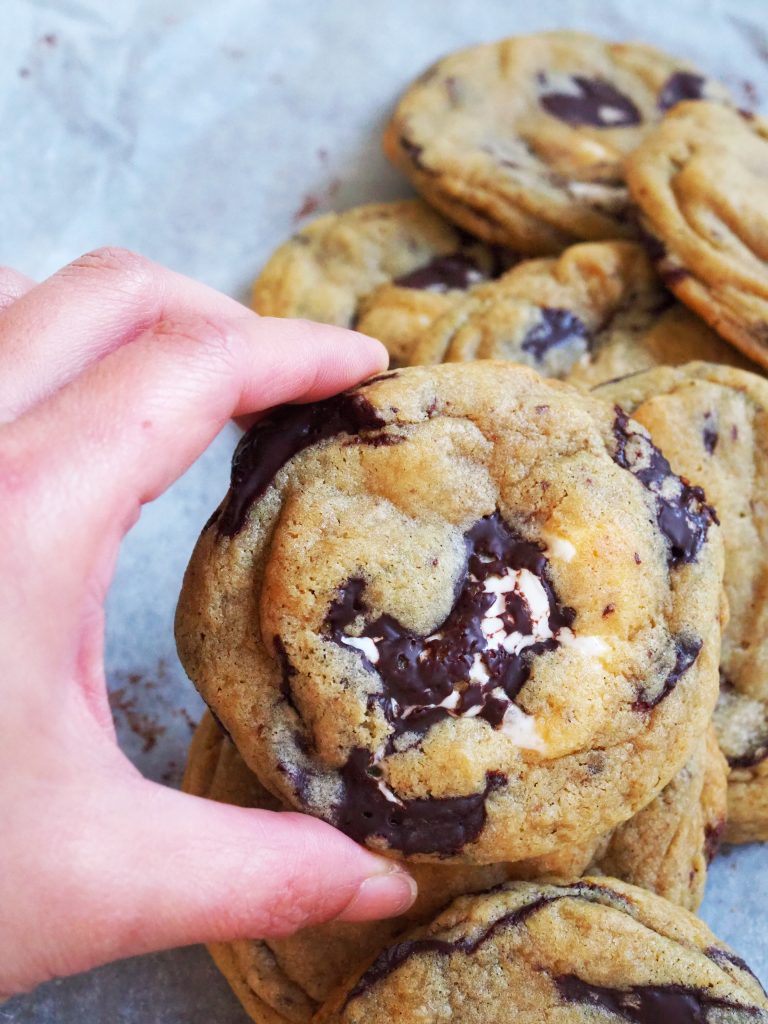
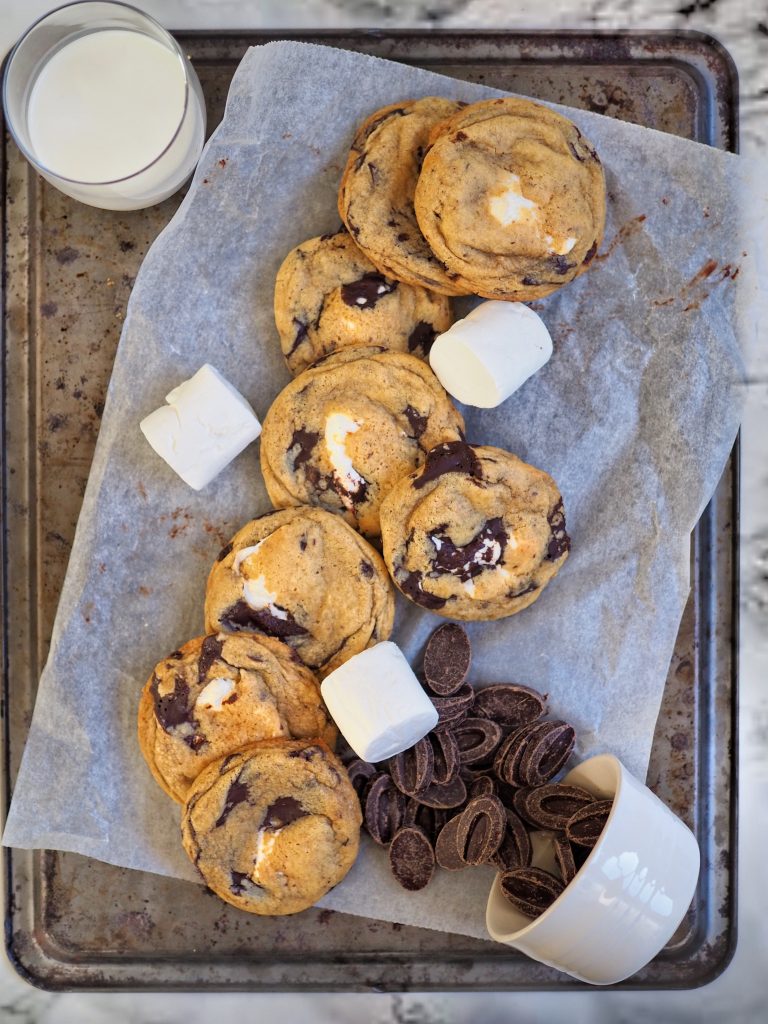
So let’s talk about the recipe… It’s basically my chunky chocolate cookie recipe stuffed with marshmallows. I love homemade marshmallows, but they don’t work in this recipe, so just get store-bought marshmallows and we’ll tackle homemade marshmallows next time. I know some of you live in warmer climate, so the dough balls might be softer and warmer after stuffing. I recommend popping them back in the fridge for half an hour while preheating your oven. This way your cookies will not spread so much. I also like to cool the cookies down in the fridge after leaving them out for about 5 minutes. Mostly because they set faster that way, therefore I can eat them quicker, but also because these cookies come out of the oven soft and I want them to stay soft but also set so they don’t fall apart, and the fridge gives me that result. However, if you have higher EQ than me, then feel free to leave them on the bench and hopefully your housemates don’t end up devouring them.
If you’re a beginner baker, I recommend watching the video above and reading my recipe notes. This way, you have a visual guide of how the critical part of the recipe is done. If you start with a good dough, there is a huge chance for gooey cookie success unless you skip chilling or you burn your cookies while baking.


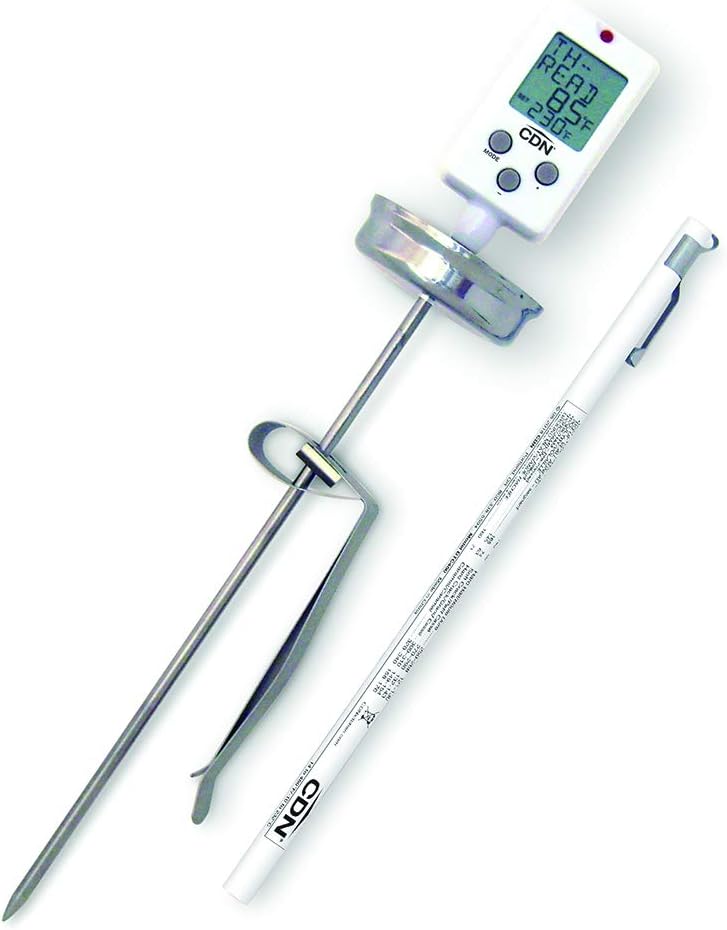
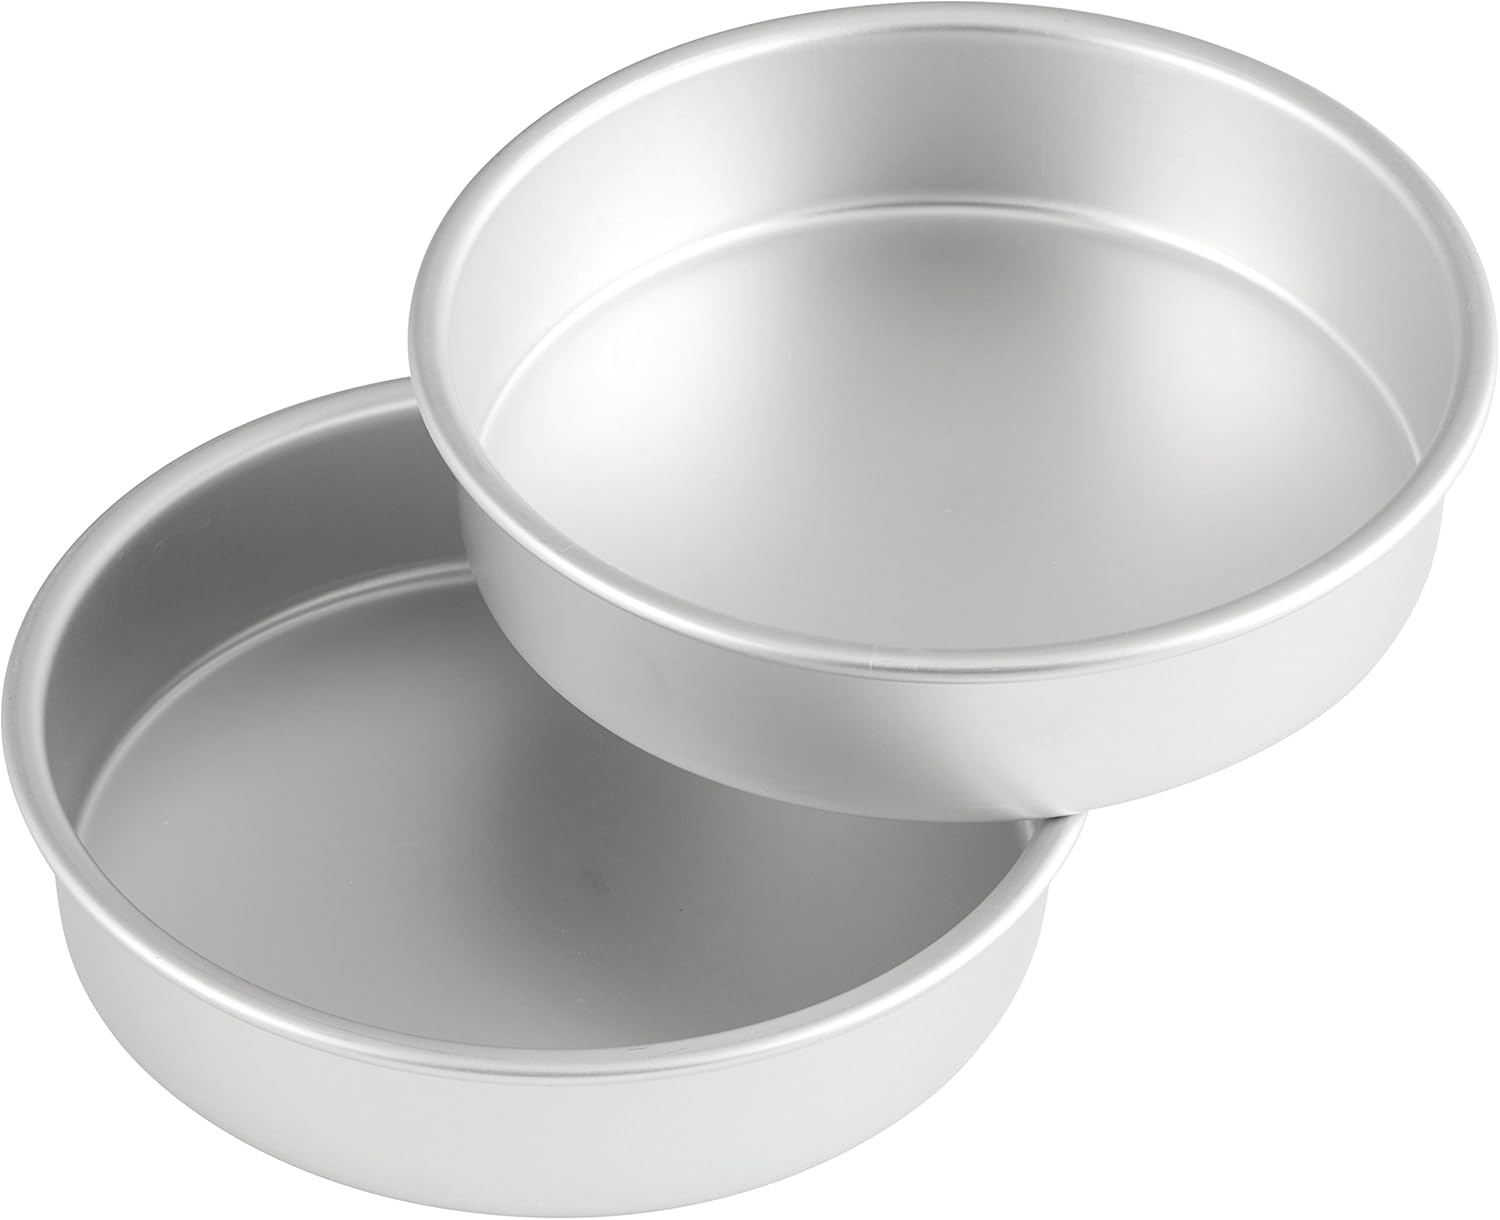
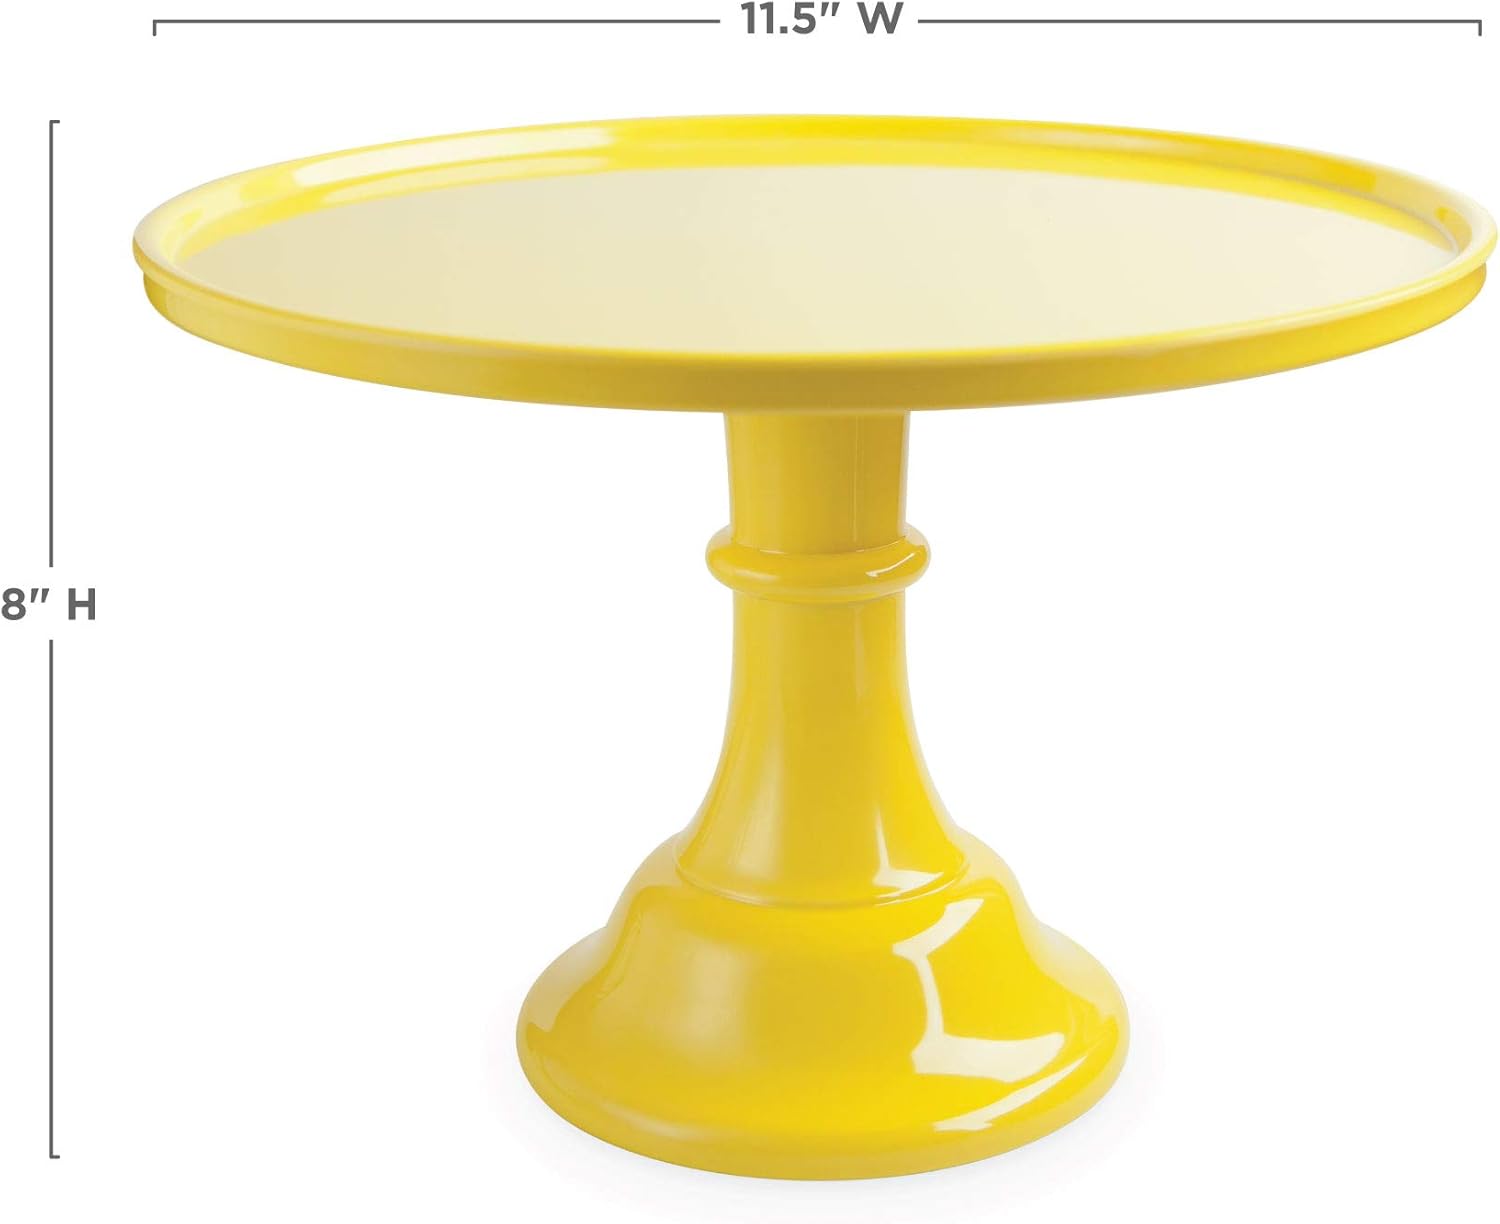
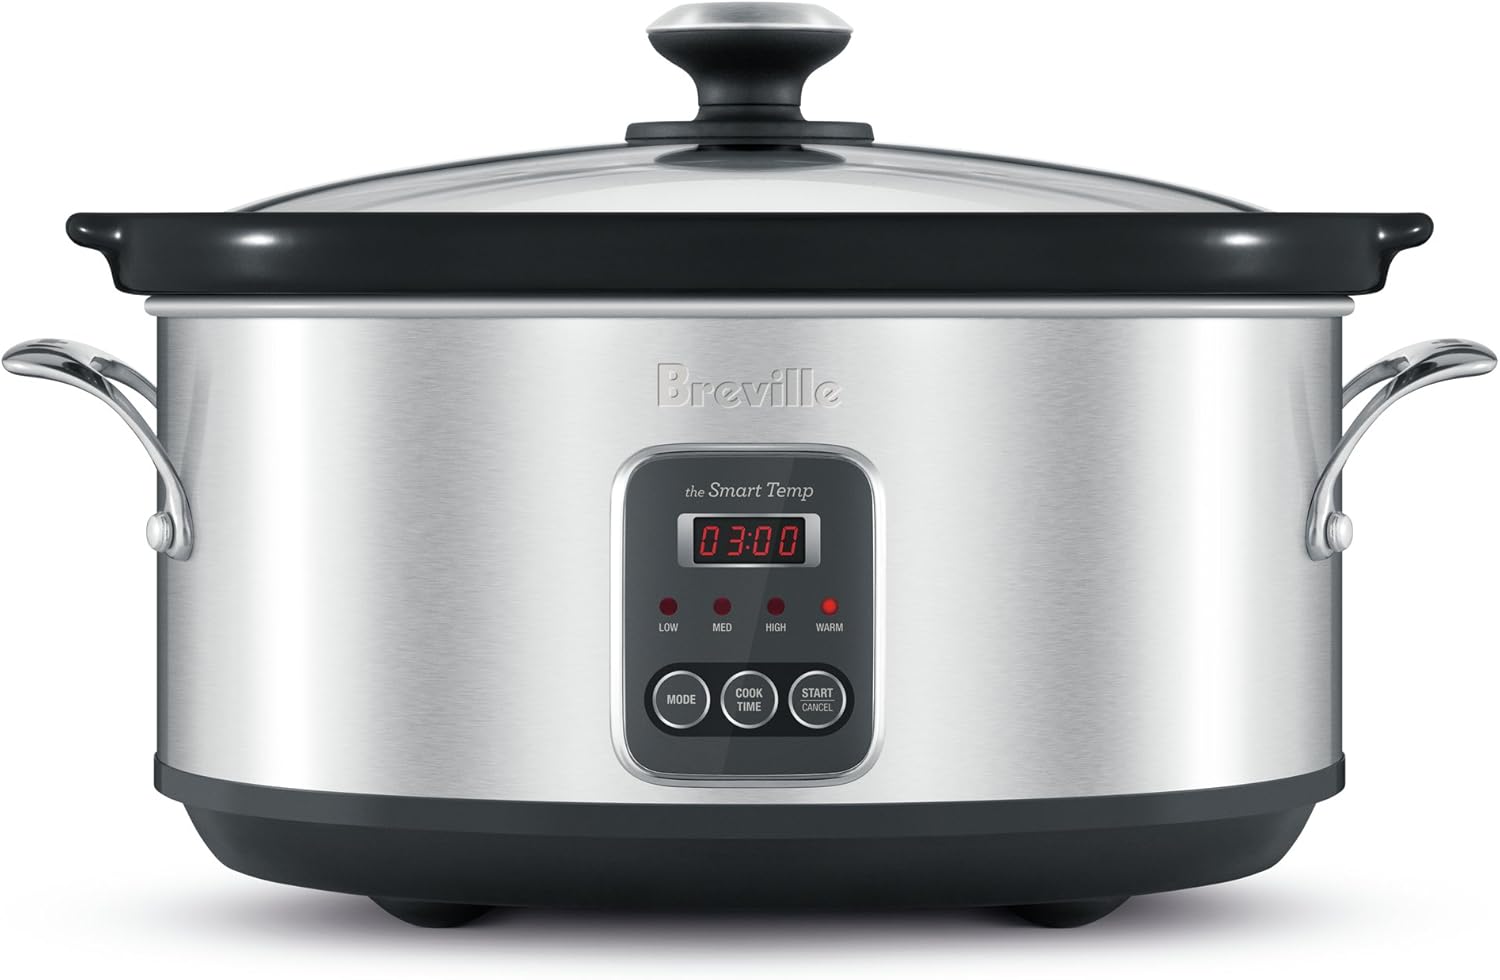
Click on the photos to shop for the products. Most products ship internationally.
Mrs.Fancypants earns a small commission from affiliate links, when you buy the products above. If you’re in Australia, feel free to check the availability on advertised sites.
One thing people ask me a lot is if they need a stand mixer and which one I recommend. I personally use Kenwood Chef Sense XL (pictured below) which I now have for 4 years. Keep in mind that I use it almost everyday and I also make dough, so the big capacity is great and it’s an investment for me. If you really want a Kitchenaid, I think the Kitchenaid Artisan KSM160 is good value because you get 2 size bowls for the price, and of course, you get to choose from an array of colours. But if I am to buy a Kitchenaid and I didn’t have my Kenwood, I would choose the Kitchenaid Proline Mixer KSM7581 which is more for serious bakers and professionals like me. However, if you’re just trying baking out, a hand mixer would do the job and save you $$$ if you realise it’s not for you. Before I bought my big mixer, I would knead my dough by hand and only had the Sunbeam Beatermix Pro, which I still keep in the drawer in case of emergency!
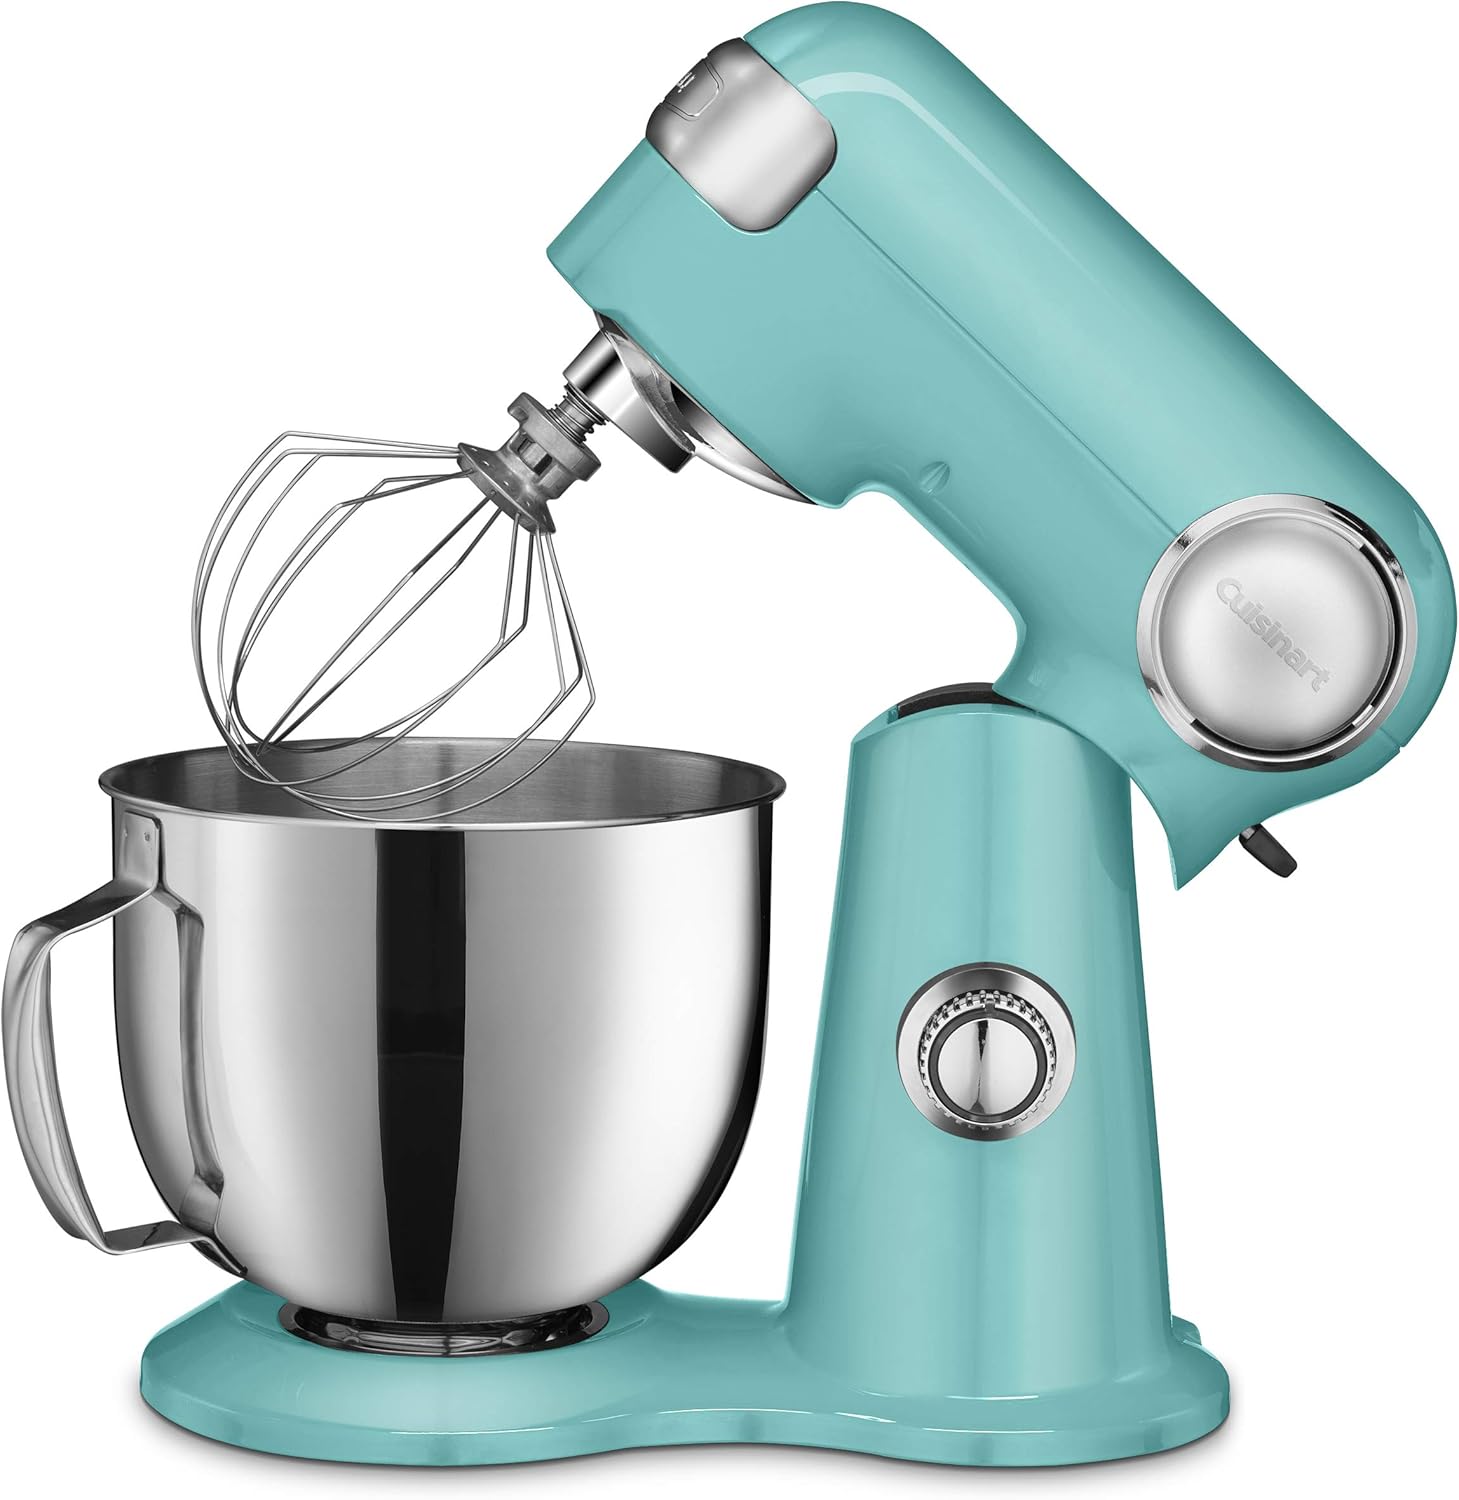


Click on the photos to shop for the products. Most products ship internationally.
Mrs.Fancypants earns a small commission from affiliate links, when you buy the products above. If you’re in Australia, feel free to check the availability on advertised sites.
Now it’s time to make these indulgent s’mores cookies! Don’t forget to take photos of your work and tag me on Instagram and Facebook. Seeing your photos and hearing how my tips and recipes help when you bake totally brightens my day. So please remember to connect! Have fun baking and eating!
S’mores Cookies
Makes 12
You will need the recipe for Mrs.Fancypants Chunky Chocolate Cookies. You can find the recipe here. The steps are identical up to step 3, then for the S’mores cookies, you will need to stuff the cookies with marshmallows.Ingredients
Instructions
- In the bowl of your stand mixer, cream butter & sugar together on high until light and fluffy, about 4 minutes.
- Meanwhile, in a medium bowl, sift together dry ingredients except the marshmallows.
- Add egg and vanilla, mix until incorporated then bring the mixer down to low. Gradually spoon the dry ingredients into the batter, then add the chocolate chunks. Cover the dough and chill for at least 1 hour up to 1 day. (See notes)
- Divide the dough into 12 equal size balls (around 65-70g if you’re using a scale). Roll each portion into a ball then flatten into a disc and place a marshmallow in the centre. Fold edges to seal then roll back into a ball.
- If the cookies feel soft and warm after rolling, chill again for 30 minutes while preheating oven to 170C. Place cookies on a tray lined with baking paper.
- Bake cookies at 170C for 12 mins. The edges will be light brown and the centre will be soft, pop out of the oven and let cool for 5 minutes then transfer to a cooling rack and cool down completely in the fridge. (see notes)
Notes
- Recipe for Mrs.FP Chunky Chocolate Cookies here.
- Use store-bought marshmallows because homemade marshmallows just dissolve in the heat of the oven.
- One reason for cookies spreading is if you over-cream your cookies. On the video above, you will be able to see the process clearly.
- This dough needs to be chilled otherwise the cookies will spread. You can make these cookies ahead and chill for 1 day. If you leave it in the fridge for more than one day, the cookies will not rise in the oven.
- This recipe is also freezer friendly. To freeze, follow the recipe up to stuffing the cookies with marshmallows then pop the balls on a plate lined with baking paper and freeze for 1 hour. Once the balls are frozen on the outside, they can be placed in freezer bags.
- To bake cookie dough from the freezer, take the dough out and place them on a tray line with baking paper, then preheat oven to 170C. The preheating time allows the cookie dough to thaw a little. When the oven is ready bake the cookies for 14 mins. Then cool as instructed.
- I like to let the cookies cool down and set in the fridge instead of room temperature. It takes less time and the cookies retain their softness in the centre.