The cookie dough can be put together in less than 15 minutes, then chilling time is an 1 hour plus baking time of 12-15 minutes. If you’ve never made cookies before, watch the short video below as a guide. I find that a lot of beginners need a little bit of guidance when it comes to cookie baking, so make sure you follow the recipe to the T if you’re making this for the first time. Good luck & happy baking!
Difficulty: Easy
Prep Time: 15 Mins
Cook Time:
18 Mins
Total Time:
33 Mins
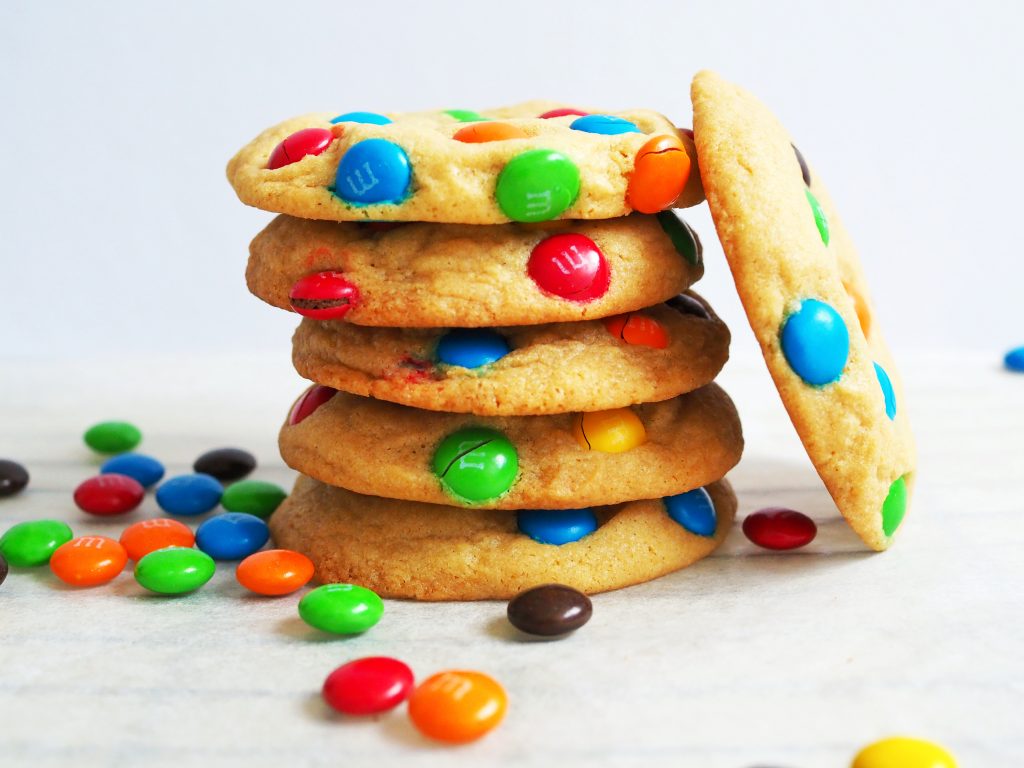
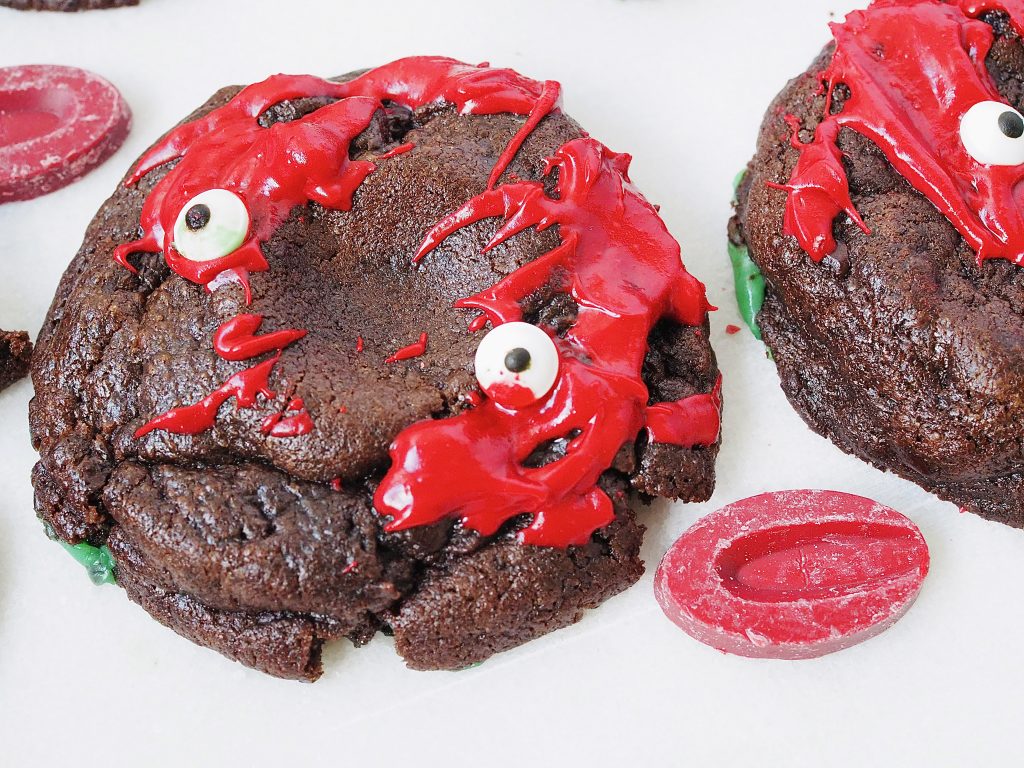
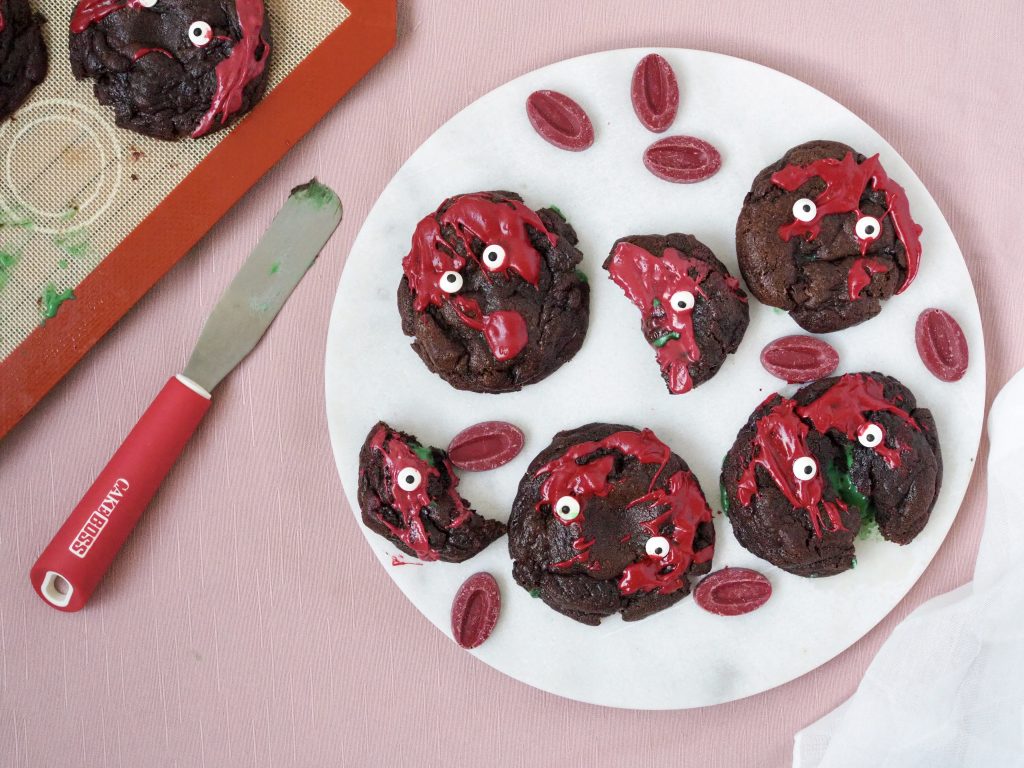
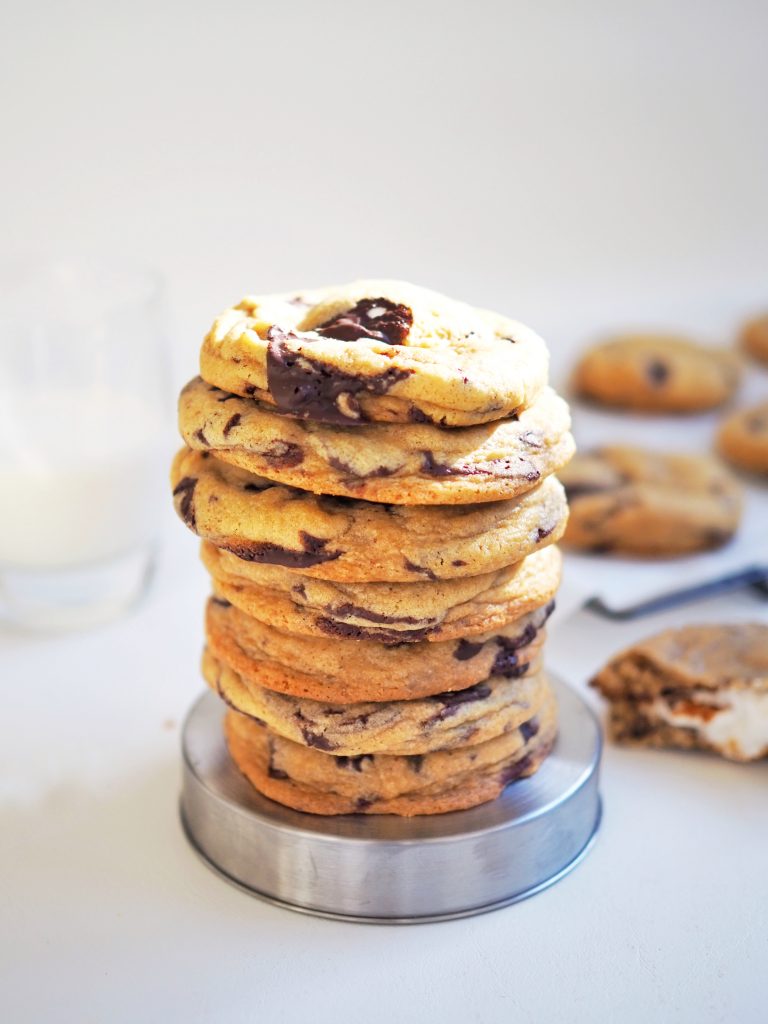
Chunky Chocolate Cookies
Makes 12
I like to use chunks of dark chocolate for this recipe, and I prefer Valrhona Guanaja 70% but it’s not accessible to everyone. You can use any good quality chocolate, and if you have kids, use semi-sweet chocolate instead to give it a tad more sweetness.Ingredients
Instructions
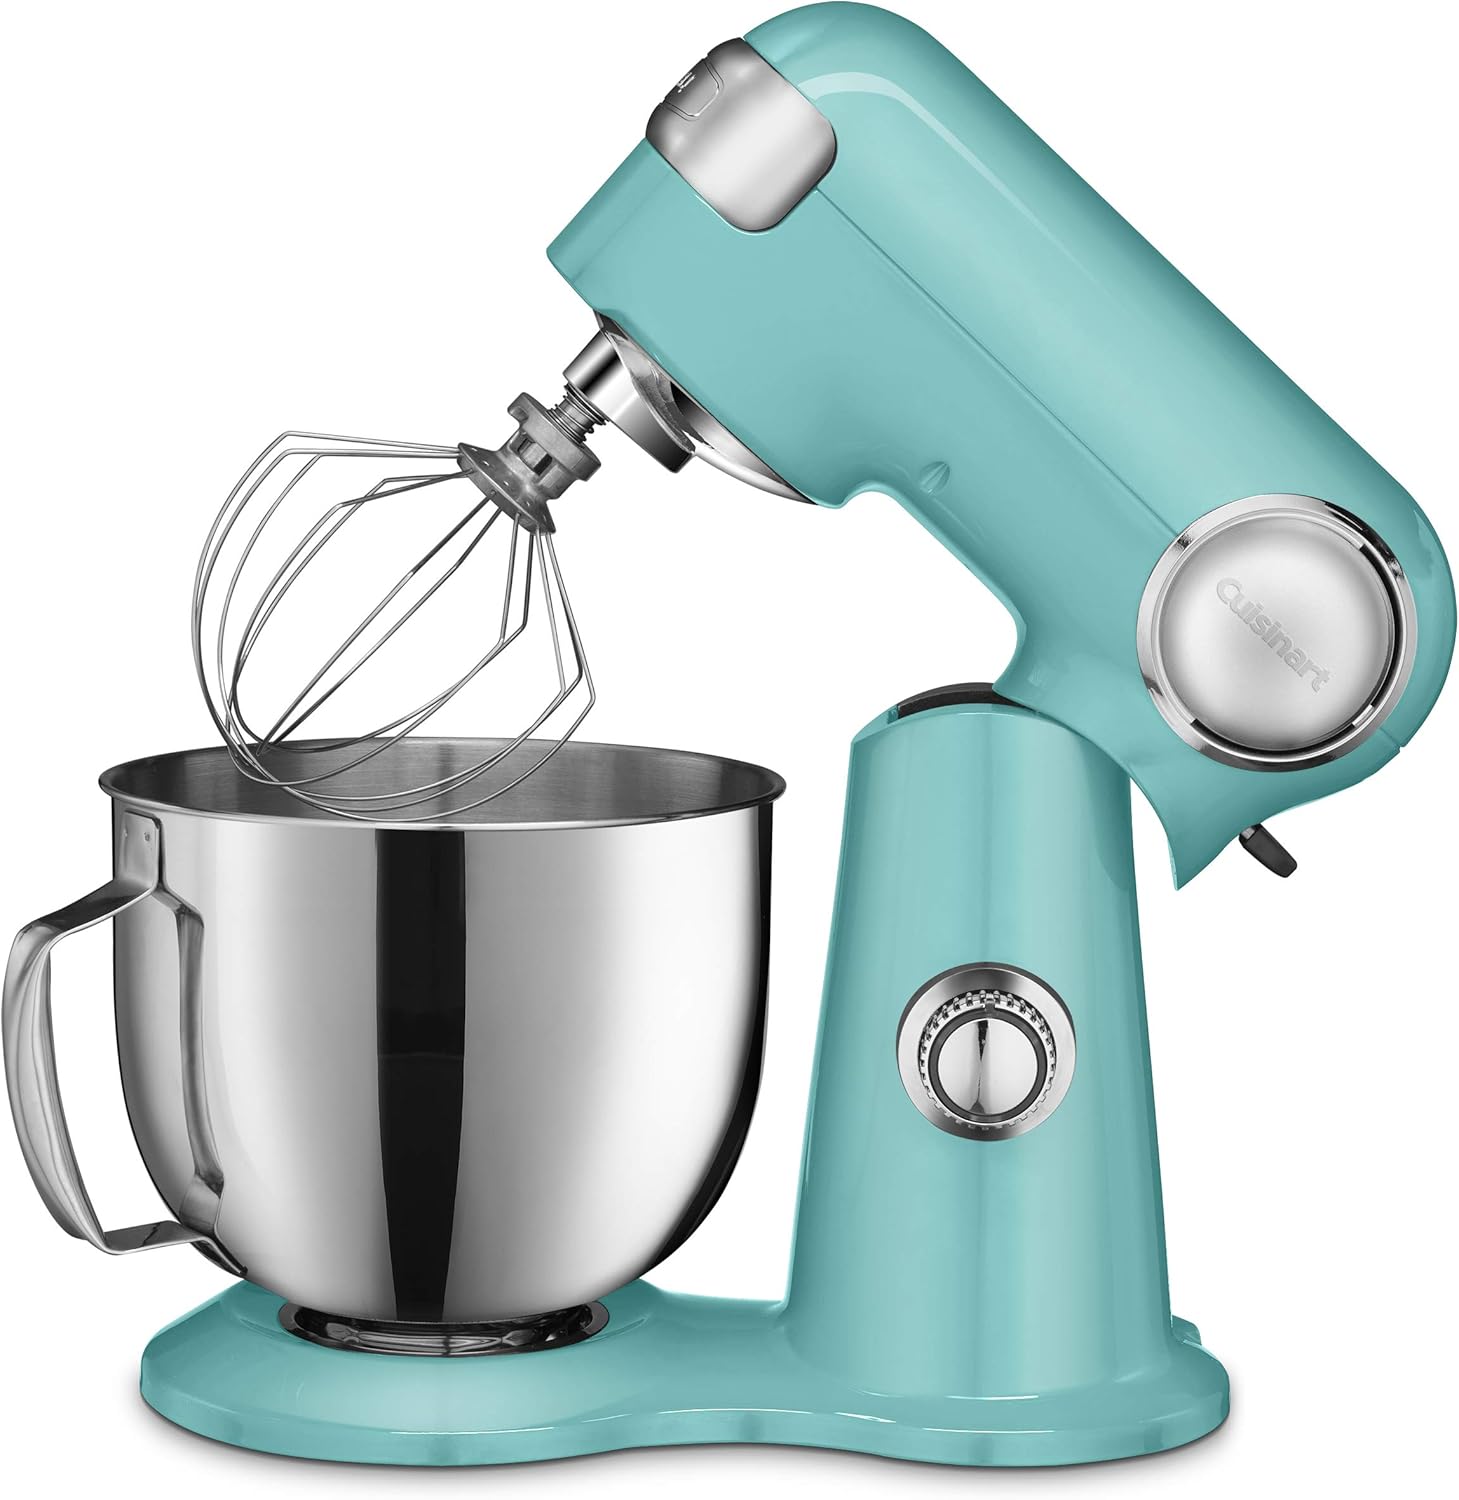
- In the bowl of your stand mixer, cream butter & sugar together on high until light and fluffy, about 4 minutes.
- Meanwhile, in a medium bowl, sift together dry ingredients.
- Add egg and vanilla, mix until incorporated then bring the mixer down to low. Gradually spoon the dry ingredients into the batter, then add the chocolate chunks. Cover the dough and chill for at least 1 hour up to 1 day. (See notes)
- Preheat oven to 170C. Divide the dough into 12 equal size balls (around 65-70g if you’re using a scale). Roll each portion into a ball then place cookies on a tray lined with baking paper.
- Bake cookies at 170C for 15-18 mins. The edges will be light brown and the centre will be soft, pop out of the oven and let cool for 5 minutes then transfer to a cooling rack and cool down completely in the fridge. (See notes)
Notes
- One reason for cookies spreading is if you over-cream your cookies. On the video above, you will be able to see the process clearly.
- This dough needs to be chilled otherwise the cookies will spread. You can make these cookies ahead and chill for 1 day. If you leave it in the fridge for more than one day, the cookies will not rise in the oven.
- This recipe is also freezer friendly. To freeze, follow the recipe up to stuffing the cookies with marshmallows then pop the balls on a plate lined with baking paper and freeze for 1 hour. Once the balls are frozen on the outside, they can be placed in freezer bags.
- To bake cookie dough from the freezer, take the dough out and place them on a tray line with baking paper, then preheat oven to 170C. The preheating time allows the cookie dough to thaw a little. When the oven is ready bake the cookies for 14 mins. Then cool as instructed.
- I like to let the cookies cool down and set in the fridge instead of room temperature. It takes less time and the cookies retain their softness in the centre.