I think every Filipino family has their own version of every Filipino dish. This is then passed down to offsprings and so on. I say this a lot because it’s true, food has a very big role in Filipino culture. We love to eat and we show our love through food, and the best way for us to bond is by sharing a meal.
Growing up, my mom was never very experimental with her cooking, but she had a handful of specialties. If she reads this, she’d probably say that she taught me how to cook, and to be fair, she taught me her staple dishes. Like her spaghetti, macaroni salad, potato salad and caldereta. I think this is also so that I can take over the cooking, but I moved to Macau, then to Sydney, so she’s still the one that cooks at home until now.
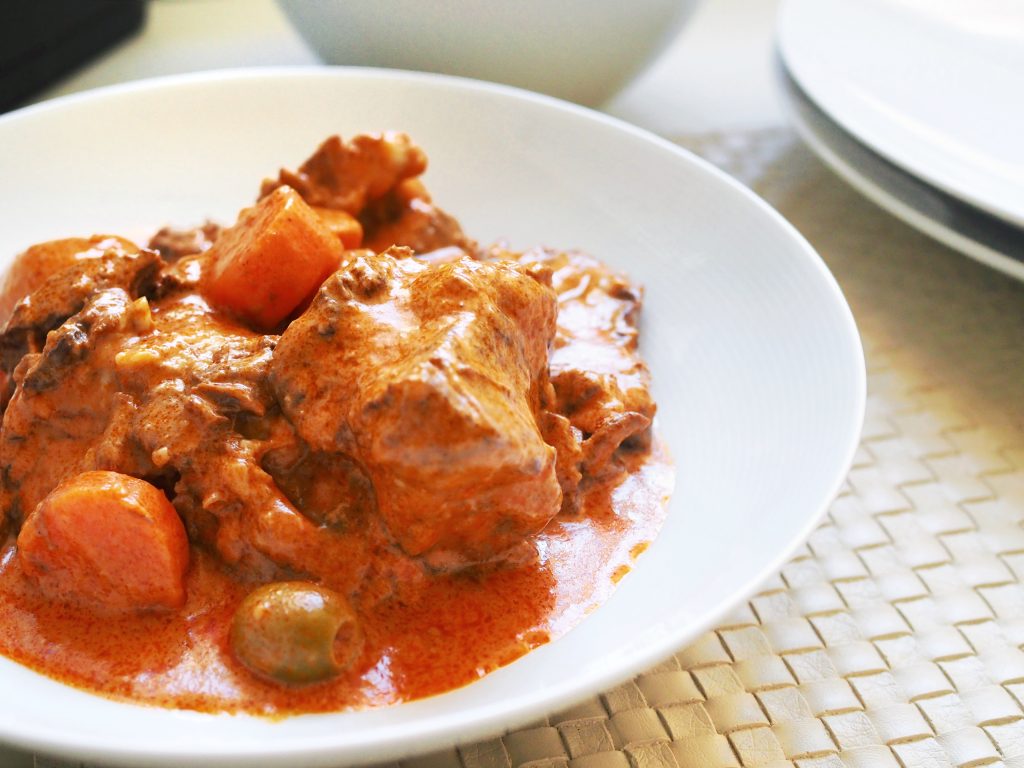
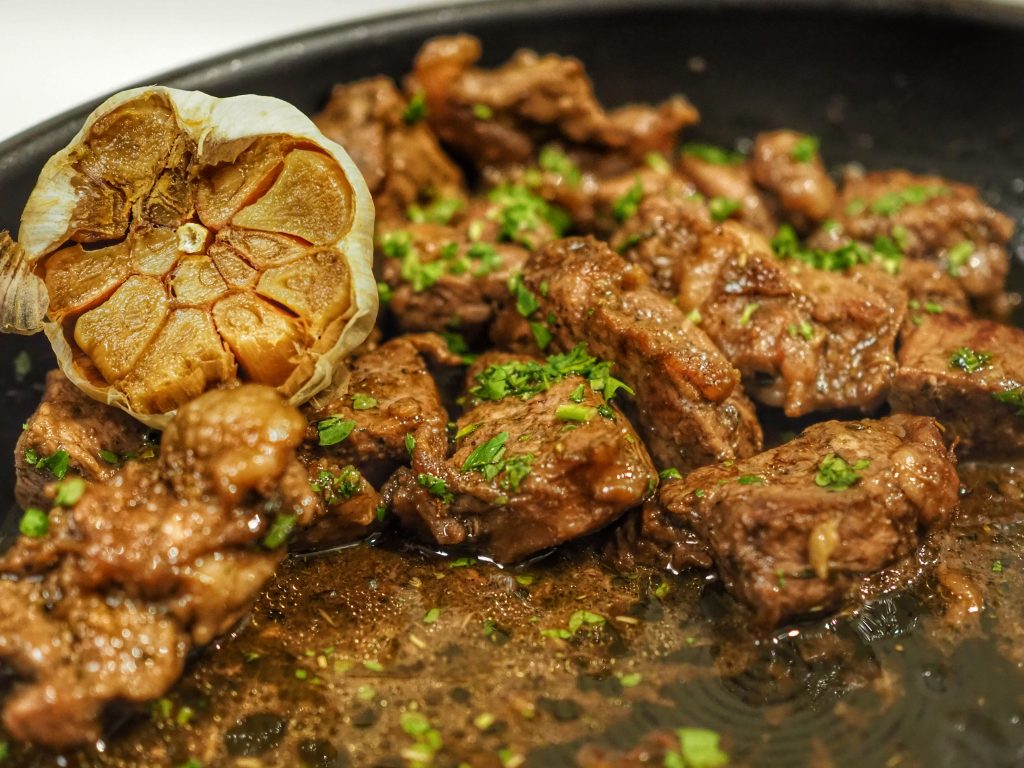
So the recipe below is my mom’s caldereta with coconut milk. Caldereta is a spicy beef stew, normally made with liver spread (liver pate), but this version doesn’t use that. My mom initially taught me to make caldereta and finish it with grated tasty cheese and that was the version that I grew up eating more, then she started cooking this version more, which uses coconut milk to finish the dish. My husband loves the coconut milk version, so that’s what I cook here.
Also, the protein used varies between goat and beef in the provinces, but I never really tried goat, and I always make this with beef. I should try using lamb one day, then I’ll let you know how it fares. That could be my Aussie version of a caldereta!
Anyway, I’ve tweaked my mom’s version by sealing the beef first before braising it so the beef doesn’t lose it’s flavour. I also put mirepoix in the braise and use beef stock, all to give the dish ample flavour. I strain the mirepoix off before adding the rest of the vegetables, so there won’t be the odd mushy carrot in there. This dish takes some time to cook, but very well worth it. I like cooking this in a dutch oven like the ones below, these are perfect for slow cooking. If you don’t have one, don’t worry, if you watch the video, I used a normal deep and wide sauce pan which I’m sure everyone has. I then serve it with plain rice, but if you really like coconut, my recipe for fluffy coconut rice can be found here.
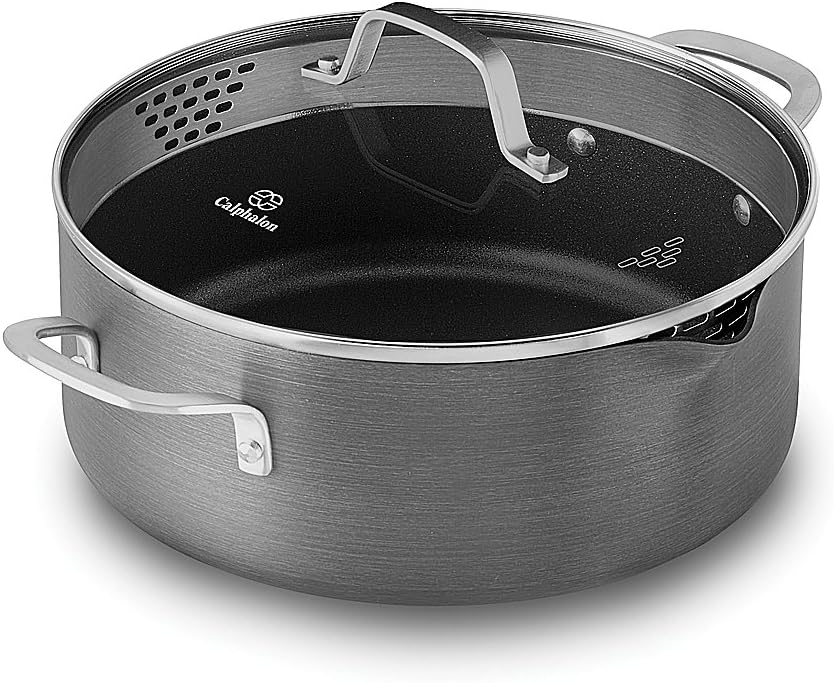

Click on the photos to shop for the products. Most products ship internationally.
Mrs.Fancypants earns a small commission from affiliate links, when you buy the products above. If you’re in Australia, feel free to check the availability on advertised sites.
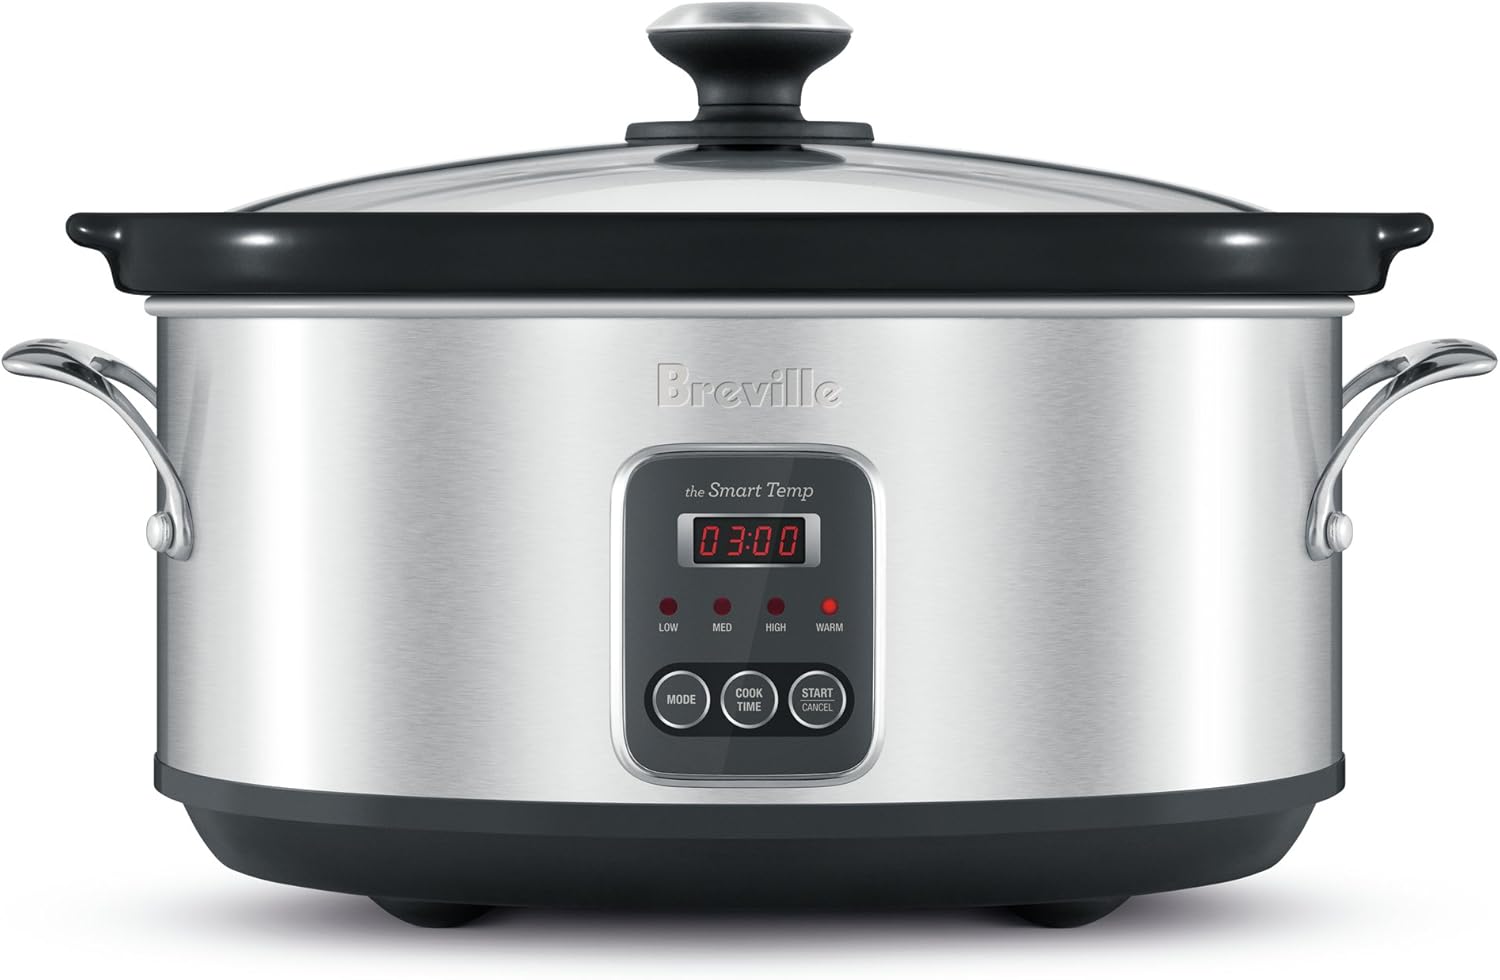
Now, if you’re busy and you don’t have time to wait hours at home, you can make this dish using a slow-cooker. They are very convenient, and have great features like setting the cooking time and keeping the food warm, so it’s ready when you get home. Here are some options, the one on the left is pretty basic, while the one on the right has all the bells & whistles.


Click on the photos to shop for the products. Most products ship internationally.
Mrs.Fancypants earns a small commission from affiliate links, when you buy the products above. If you’re in Australia, feel free to check the availability on advertised sites.
So I hope you try this hearty recipe. If you’re not Filipino, and not used to the flavours this is a good introductory dish to accustom your palate to what Filipino food is like. The cuisine is very diverse, ranging from light salads and raw fish cooked in vinegar, to hearty stews like this one. We also use a lot of strong flavours and some dishes have fairly strong aromas, so this dish is a good entry point because it has a tomato and beef stock base.
My Mom’s Caldereta
(Filipino Beef Stew)
Serves 6
Ingredients
Instructions
- Season beef. Heat oil in a large, deep, wide pan. Brown beef on all sides, take out of the pan. Set aside.
- In the same pan, sauté onion, 1 carrot & celery until caramelised. If there is too much oil in the pain, drain this off to prevent your sauce becoming too oily. Pour the stock into the pan and using a wooden spoon, scrape the bottom of the pan. Put the beef back into the pan, bring to the boil then slow down to a simmer. Partially cover with a lid so the liquid doesn't evaporate too quickly, and cook until beef is tender (at least 1 hour, if you use good quality beef). Skim all the impurities and fat that come up to the surface frequently.
- When beef is ready, strain the liquid into a container big enough to hold it then discard the vegetables. Put the beef and the liquid back into the pan and then stir in tomato paste. Add the rest of the carrots and potatoes, then simmer until the vegetables are cooked. Add the olives and chili then stir in the coconut milk. Season to taste. Serve with steamed rice.
Notes
- This recipe is freezer-friendly. To freeze: portion the stew into airtight containers, cool down completely with no lid, place the lid on then freeze. Keeps up to 3 months. Thaw in the fridge overnight before heating up, heat up gently, or the coconut milk might split.