Chocolate tart is probably one of my favorite desserts to serve. It never gets old, it’s a crowd pleaser and goes well with anything from fresh berries, berry puree, vanilla ice cream, salted caramel, and the list goes on. Be forewarned though, this dessert was made for the chocolate lovers, and this is not extremely popular with kids. I recommend using Valrhona Guanaja 70% or an equivalent high quality dark chocolate, this is not the dessert to skimp on your chocolate, use your cheaper chocolate for chocolate chip cookies or brownies, but for this, I can’t emphasise it enough, USE HIGH QUALITY CHOCOLATE. Why? Because there’s no sugar in the filling, so the chocolate flavour is intense and if it’s not the great kind, it will just be bitter and not pleasant at all.

My recipe was adapted from the late Joel Robuchon’s Tarte au Chocolat recipe. I added a few of my own tweaks and I think mine has richer flavours compared to the original. I wrote this recipe as simple to follow as possible, and I give you the option to make everything from scratch or to get store-bought pastry for the shell. I also have some optional ingredients like brown butter and raspberry puree, depending on how special you want the tart to be. The addition of these two things makes this tart next level, I promise. So if you can, I suggest you go all out. Otherwise, without the optional ingredients, the tart is still amazing with a scoop of vanilla ice cream or even by itself.

I cool my tart down in the oven with the door left ajar. I leave it in there for an hour to two hours and by then the chocolate sets. Note thought, I live in Sydney, Australia and I don’t know if this would work the same in warm places, if the tart still looks super soft after 2 hours, refrigerate it until it sets. This process of cooling down the tart slowly, prevents cracking. I recommend serving the tart on the same day, but you can make it ahead a day before and keep it at room temperature, again, if you live in warmer climate, best to refrigerate. If you need a visual guide, you can watch the video below on how to make this chocolate tart. Don’t forget to like and follow!

 
Difficulty: Easy

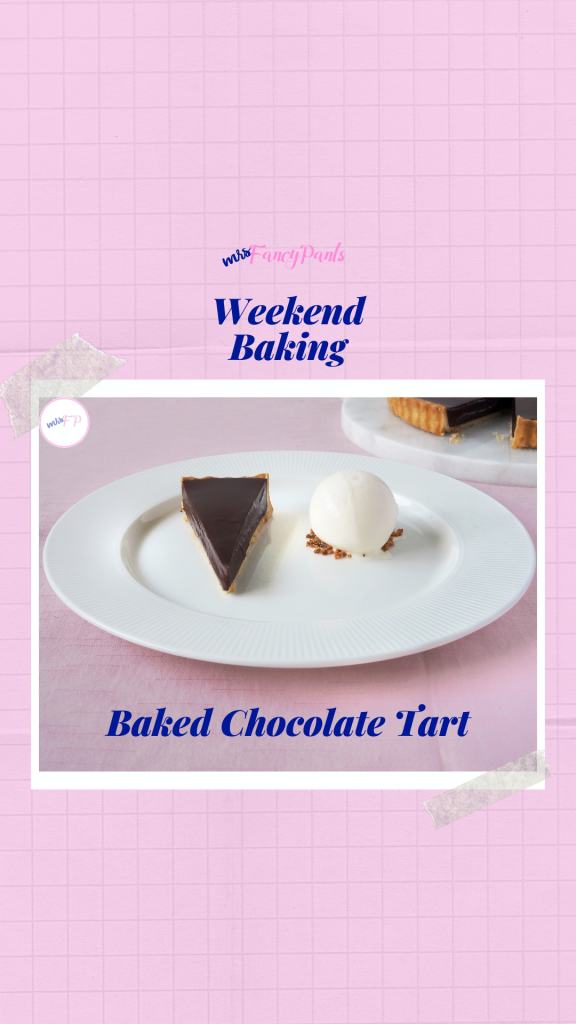
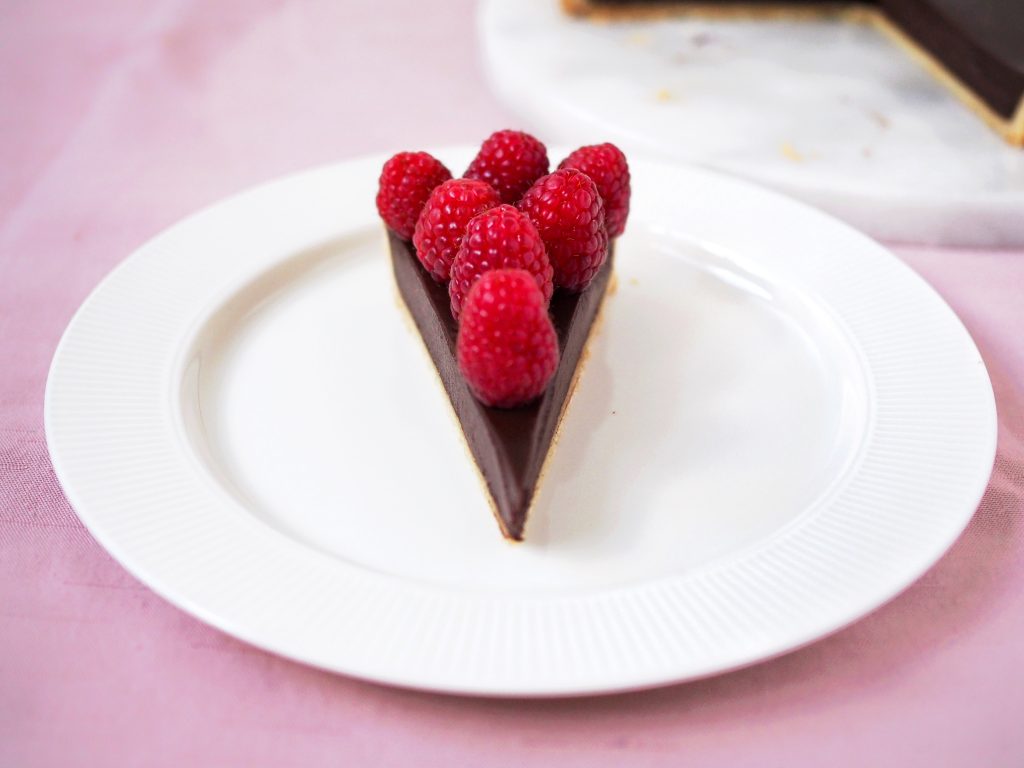
Baked Chocolate Tart

1 x 25-28 cm tart


Ingredients

    For the tart:
  • To serve:
  • Optional raspberry puree:

Instructions

0/14 Instructions
    Make the tart:
  • Follow the recipe for the shortcrust pastry (see notes for my recipe or the packet instructions if you bought your pastry). The tart shell should already be blind baked and should just be cooling down.
  • Preheat oven to 120C.
  • Start making the filling. Chop chocolate and brown butter (if using) into small pieces and place in a medium bowl.
  • In a small sauce pan, bring the cream, milk and vanilla to the boil then pour on top of chocolate.
  • Let sit for a minute then start stirring vigorously with a wooden spoon or mariz (rubber spatula) until smooth.
  • Add eggs one at a time whisking until combined.
  • Pour the mixture into the tart shell and bake for 45 minutes. The centre of the tart will still be wobbly.
  • Turn the oven off and leave the door slightly ajar. Let the tart cool down in the oven for 1-2 hours until it's set. At this stage it shouldn't wobble at all.
  • Optional raspberry puree:
  • Bloom gelatin by sprinkling it on top of the water. Set aside.
  • Bring all other ingredients the boil. Blend until smooth, being careful with the hot liquid.
  • Add the gelatin, mix and strain. Refrigerate until set.
  • Blend to a smooth puree and serve alongside tart.
  • To serve:
  • Slice tart with a hot sharp knife with a thin blade. This will ensure you have sharp edges. Wipe knife after each stroke for a clean cut.
  • Serve chocolate tart slice by itself or with vanilla ice cream and raspberry puree or fresh raspberries (if using any).

Notes

  1. You can either use store-bought shortcrust pastry or use my simple sweet shortcrust pastry recipe.
  2. Brown butter adds a nice nutty flavour to the tart, but it's optional. You can watch how to make brown butter here.

I love a good cheesecake, and a lot of people I know do too. The only problem is, they say they get disappointed each time they order a cheesecake for dessert. To be honest, I agree… The cheesecake game is not strong in Sydney, however, I am hoping to change that! My cheesecakes are my most requested dishes to bring to family and friends’ events. I am not joking when I say that since I started selling cakes online, my cheesecakes combined make up 75% of the online orders, not including bespoke events and custom cakes. So if you’re not the bake it from scratch type, check out my kitchen to see my different cheesecakes by clicking the button above or order this cheesecake below!


View this post on Instagram


A post shared by Joanne | Mrs.FancyPants (@mrs.fancypants.recipes)

This recipe is perfect for summer because it doesn’t require an oven, it is also quite easy to make, but it’s essential to use good quality chocolate. I didn’t use any gelatine in this recipe, so the ganache helps set your cheesecake. The recipe is basically mix and chill. Chilling is at least 4 hours to give it ample time to set. This is definitely not gluten-free or dairy-free but since there are no eggs, this is safe for pregnant women.

I love this with seasonal fruit, but you can have it by itself. I you make this, let me know what you think via the comments section below. This is a crowd-pleaser without being too challenging to make, all you need to do is to make sure your ingredients are room temperature! Aside from that, you can keep your ovens off and smile at the fact that there is no chance that this cheesecake would crack. Good luck!

 
Difficulty: Medium

White Chocolate Cheesecake

makes 1 x 20cm (8’ springform)

Ingredients

    For the crust
  • For the filling

Instructions

0/5 Instructions
    First melt the chocolate:
  • Place chocolate in a heatproof bowl. In a small pot, bring cream to the boil then pour on top of the chocolate. Let it stand for a minute then whisk until smooth. Set aside to cool down.
  • Now make the crust:
  • In a large bowl, mix digestive biscuit crumbs and brown butter until it resembles wet sand. Take a 20cm (8in) round springform pan and press crumbs into the bottom and all the way up the sides with the back of a measuring cup. Chill until filling is done.*
  • For the filling:
  • In the bowl of your stand mixer fitted with a whisk attachment, or a large mixing bowl with a handheld mixer, whisk cream cheese on medium speed until fluffy then add yogurt and vanilla then whisk for 1 minute. Turn up mixer to high speed then add sugar a spoonful at a time and mix until smooth.
  • Turn mixer down add the melted chocolate and cream. Then whisk on high until smooth. Pour filling into prepared pan, then with a hot offset spatula or spoon, flatten the top. Chill to set for at least 4 hours.
  • To serve:
  • Top with fresh mango slices, berries, passionfruit pulp, caramelised pineapple, the list is endless. Use a hot knife to cut a slice and wipe it after each time you cut into the cheesecake to get a clean slice.

Notes

  • Graham crackers is not readily available in Australian supermarkets, so I have now adjusted to using digestive biscuits and Oreo cookies for my cheesecake crusts. I use the Oreo cream too, so there’s no wastage. If you don’t like a chocolate crust or if chocolate doesn’t go with your filling, you may use golden Oreos instead, or digestive biscuits are really good. When using Oreos for the recipe, reduce the brown butter to 80g because the cream helps hold the crust together.
  • Measurement of brown butter is based on yield after unsalted butter has been cooked. Please watch this video on how to make brown butter or beurre noisette.
  • If yogurt is unavailable, you may substitute sour cream. I prefer yogurt because it’s texture is lighter than sour cream and cream cheese. 
  • Pressing the crumbs all the way up the springform pan takes practice and patience, so don’t give up on it too easily if you love having good cheesecake to crust ratio. Just take your time and you’ll get the hang of it. If you do not want the crust all the way around the sides of your cheesecake, use only 1/2 of the crust recipe above. This should be enough to cover the bottom plus a few spoonfuls extra for snacking.