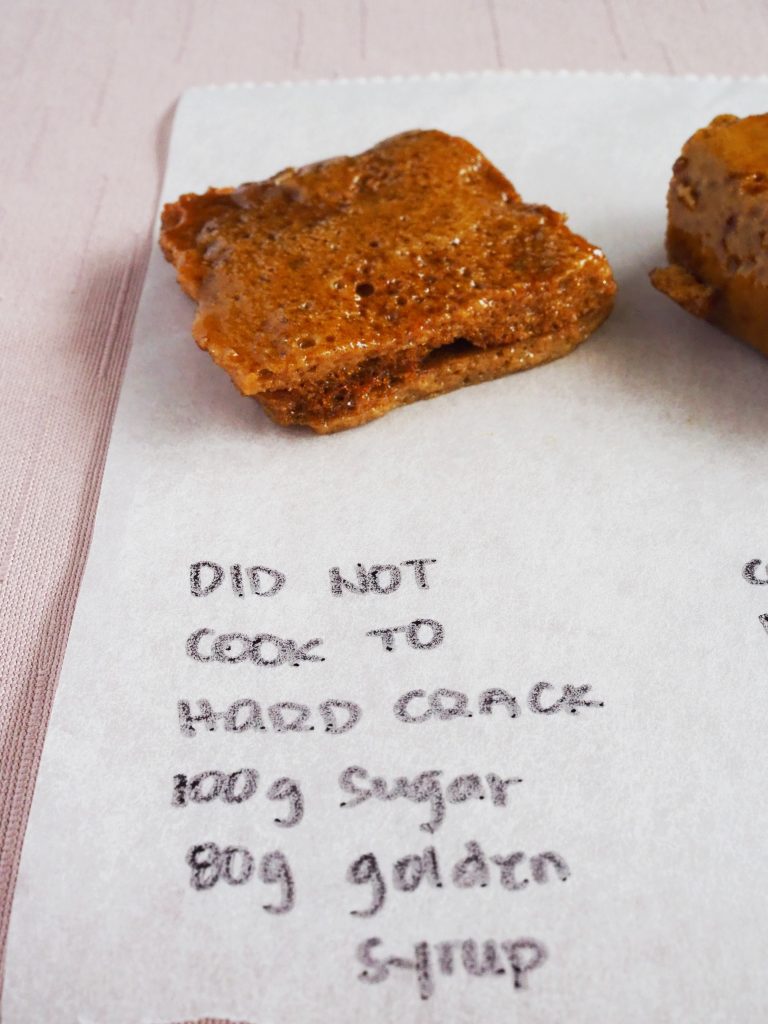
Test 1: This was my original scribbled recipe from the stone ages. LOL. I used 100g white sugar, 80g golden syrup and 8g bi-carb soda. I brought the sugar and golden syrup to the boil on medium heat and left it for 3 minutes then whisked in the bi-carb soda. I never really had a problem with this recipe, except that it was sickly sweet and has the after taste of bi-carb soda. The other thing wrong was, some readers just couldn’t get the right result and it’s frustrating for them (and me!). I knew this was because there were too many variables and there was no temperature specified for the caramel. I needed a recipe that was accurate so there’s less chance for failure.
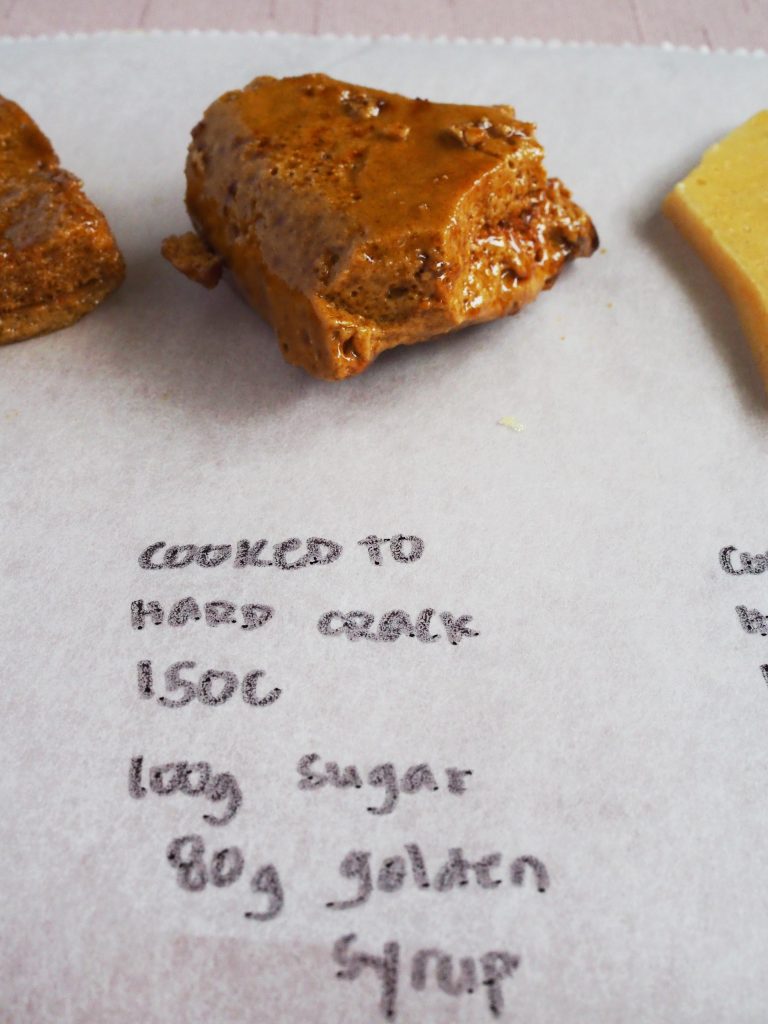
Test 2: So then came test 2. This is the same ratio as above, however, I pulled out my handy-dandy candy thermometer and heated my sugar to 150C (aka hard crack) then instead of whisking, I stirred the bi-carb soda using a wooden spoon. The sugar took 8 minutes from when I turned my stove on, to reach 150C. So in case you don’t have a thermometer, you can use a timer as a guide. This was great because it wasn’t sticky at all and it was super crunchy. However, I still found it sickly sweet. That’s where test 3 comes in.
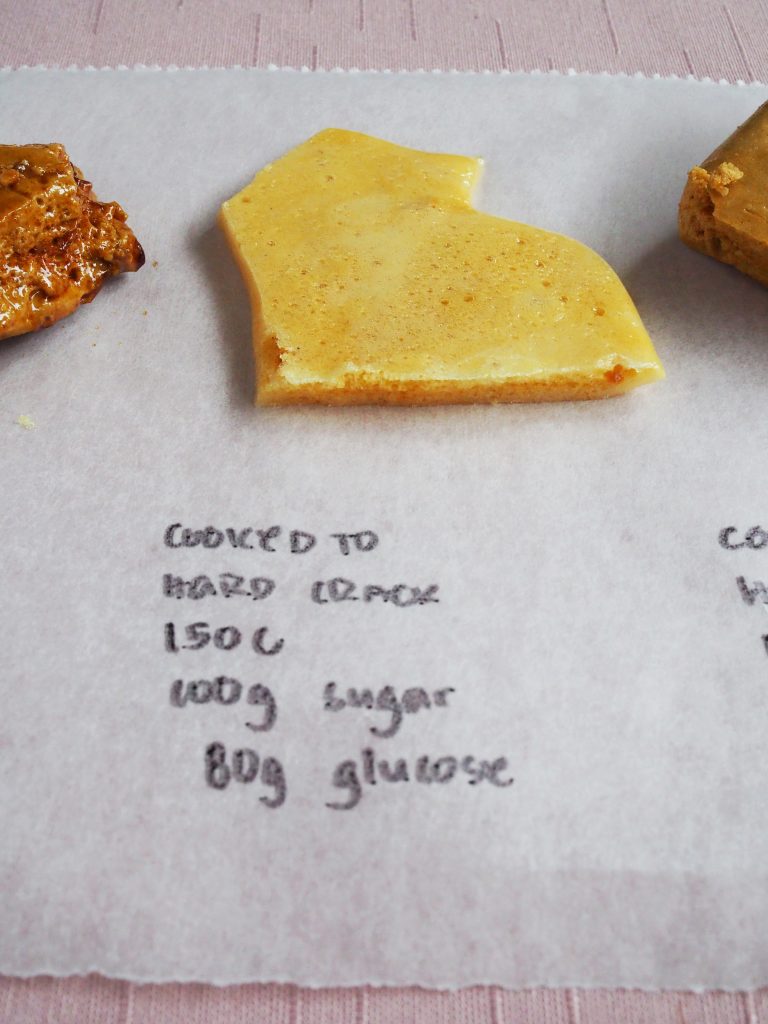
Test 3: I thought maybe use glucose instead of golden syrup. Glucose has very mild sweetness while golden syrup is 25% sweeter than sugar, I was just concerned about the colour. I was tempted to do half and half glucose and golden syrup, but I thought, if I wasn’t a chef, would I have golden syrup and glucose in my pantry at the same time, all the time? NO. So I stuck with glucose. It just didn’t turn out great, that’s all I could say. LOL. The result was pale and thin, more like a light caramel shard than honeycomb. So that’s that, back to the drawing board.
Test 4: Since I haven’t addressed the sickly sweet problem, I then thought back to golden syrup but half the amount then make up the other half with water. Same as before, on medium heat, bring the mix to 150C. This time it took 10 minutes. Again, in case you don’t have a candy thermometer, that’s your guideline, as well as the visual in the video. And if you watch and listen, you’ll see what I mean.
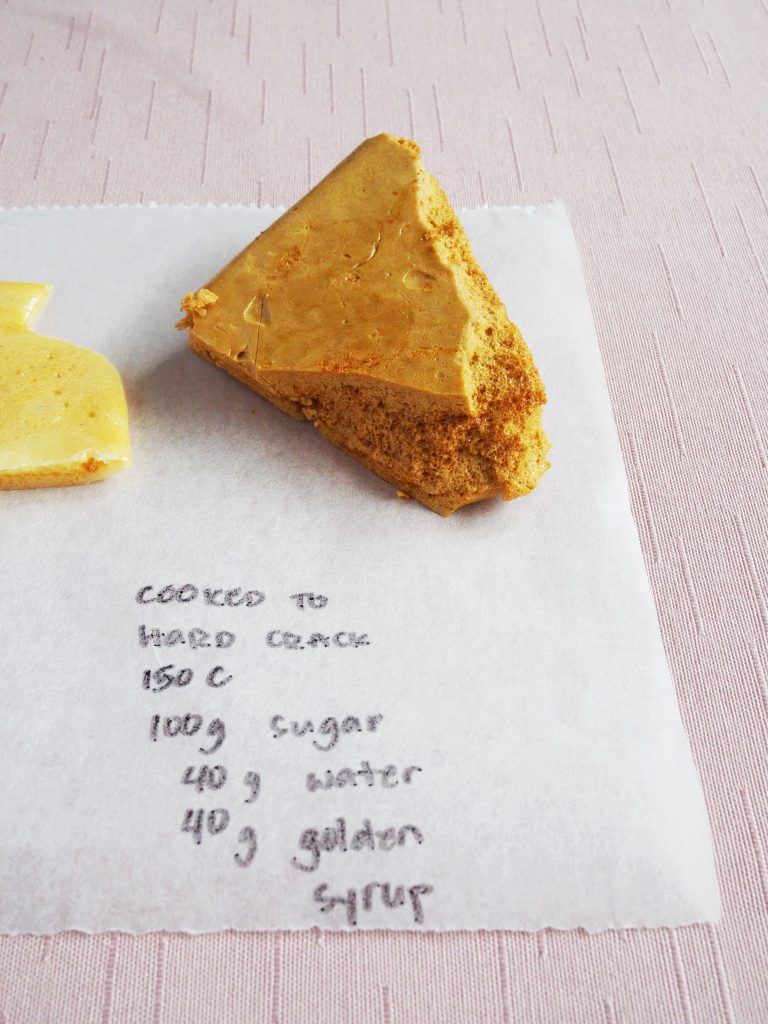
After all the experimentation and multiple tooth brushing to get rid of the sugar on my teeth, I’m happy to report that both test 2 & 4 gave me good results. Both were crunchy, aerated and golden. But I have to pick a winner, and I choose test 4 because it’s less sticky on top and easier to handle plus it sorted out the sickly sweetness that I didn’t like from test 2.
-
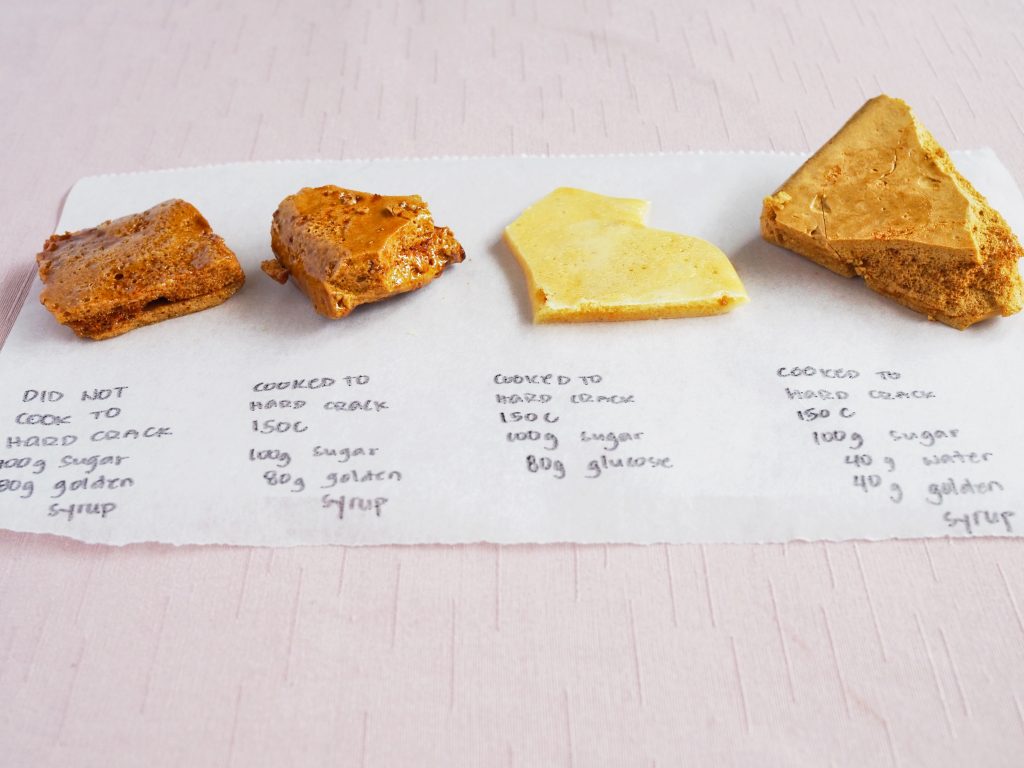
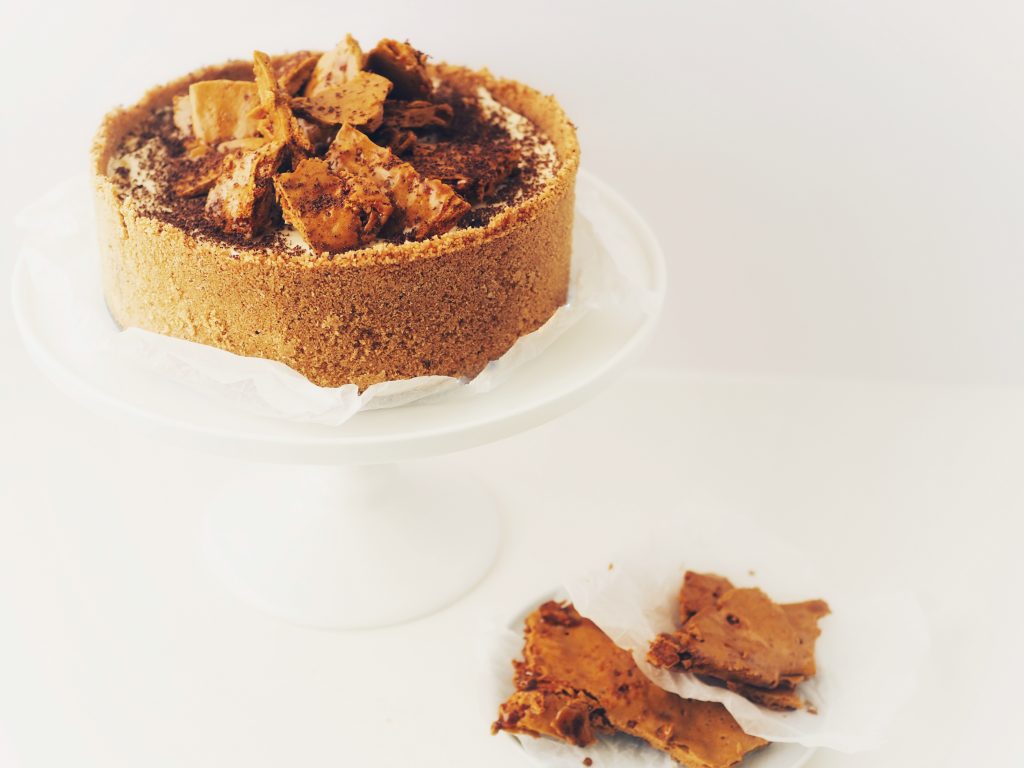
I made 4 batches of honeycomb today! -
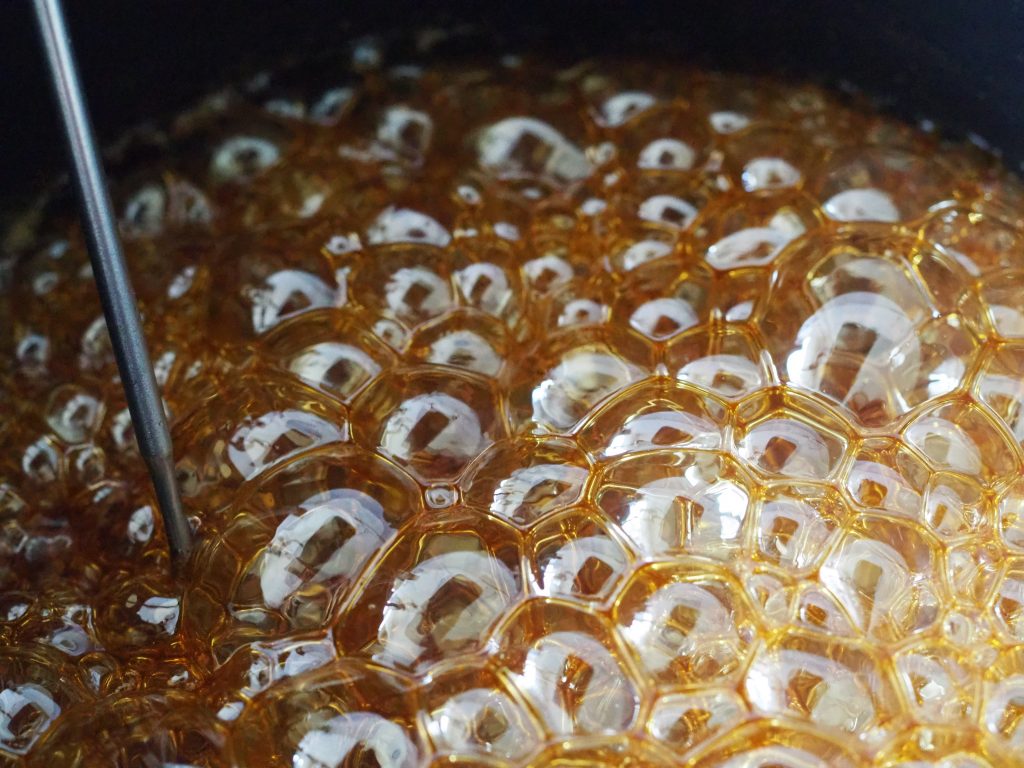
A candy thermometer will help you accurately make honeycomb and other sugar recipes.
I also want to point out that both 2 & 4 didn’t have an after taste because the sugar is cooked to 150C the bi-carb soda dissolves in the mix easily, which is great. Test 1 has a bi-carb soda after taste and that used to bother me, but now with my tried and tested updated recipe, my honeycomb is exactly how I want it. I strongly recommend to get a candy thermometer, they come as cheap as $6 and totally worth skipping 2 coffees for.
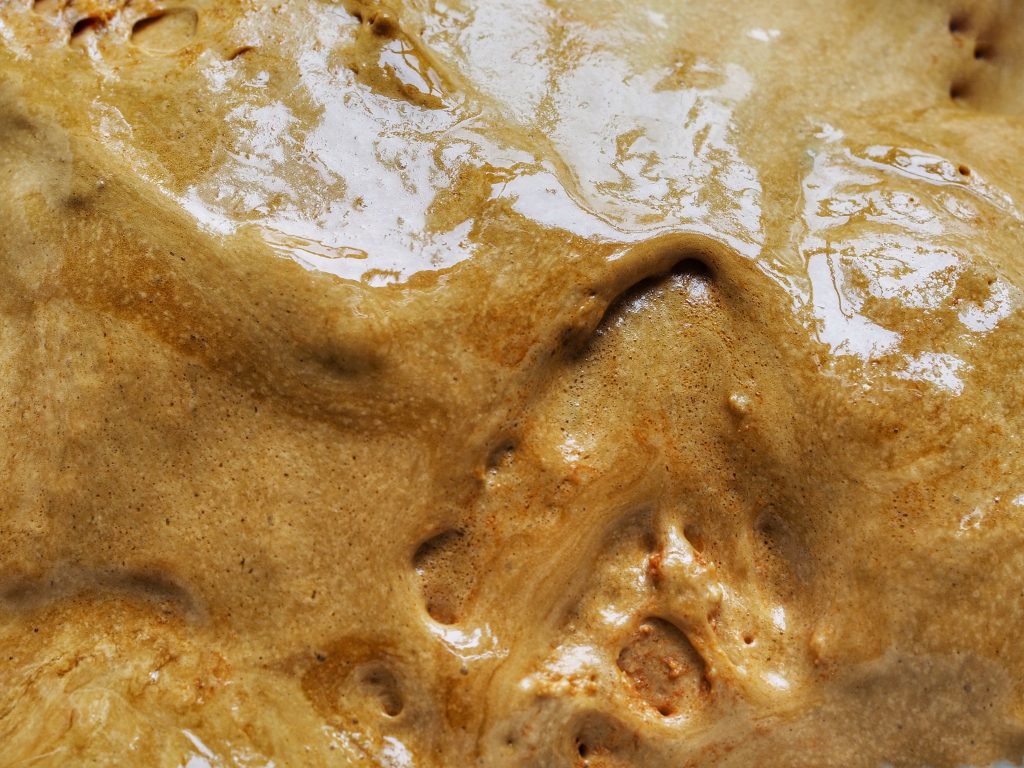
I made a video to serve as a visual guide. In baking and cooking, I like to get to know the process. I didn’t have time to do this in a commercial kitchen, because of course, I needed to be super quick, but when I can, I look for signs when I cook that when the food tells me it’s ready. Like when the bubbles slow down or they change size, small things like this. So please watch the video, you might pick up something new!
So there you have it, now that you know how to make honeycomb, give my Banoffee Pie a go! I hope you learned something today, and please comment below for any questions and tag me on social media if you try this at home. Be careful in handling hot sugar, but more importantly have fun while cooking!
Failproof Honeycomb
Makes 2 cups
Ingredients
Instructions
- You will need a candy thermometer, a wooden spoon for mixing and a medium rectangular baking pan. Make sure everything you need is ready before starting the recipe.
- Line a medium rectangular baking pan with parchment paper then grease lightly.
- In a small sauce pot stir golden syrup, water and sugar together then put on a medium flame.
- Leave the mixture on medium heat and bring it to the boil then clip on a candy thermometer, cook until candy thermometer registers 150C, about 10 minutes from when you put the sugar on the heat.
- Turn off the heat then sprinkle bi-carb soda and use a wooden spoon incorporate the bi-carb into the mix. This will make your honeycomb bubble. Do not over mix or you will not get aeration on your honeycomb.
- Turn over onto your prepared baking pan and let set for a few hours then you can snap or cut it into small pieces.