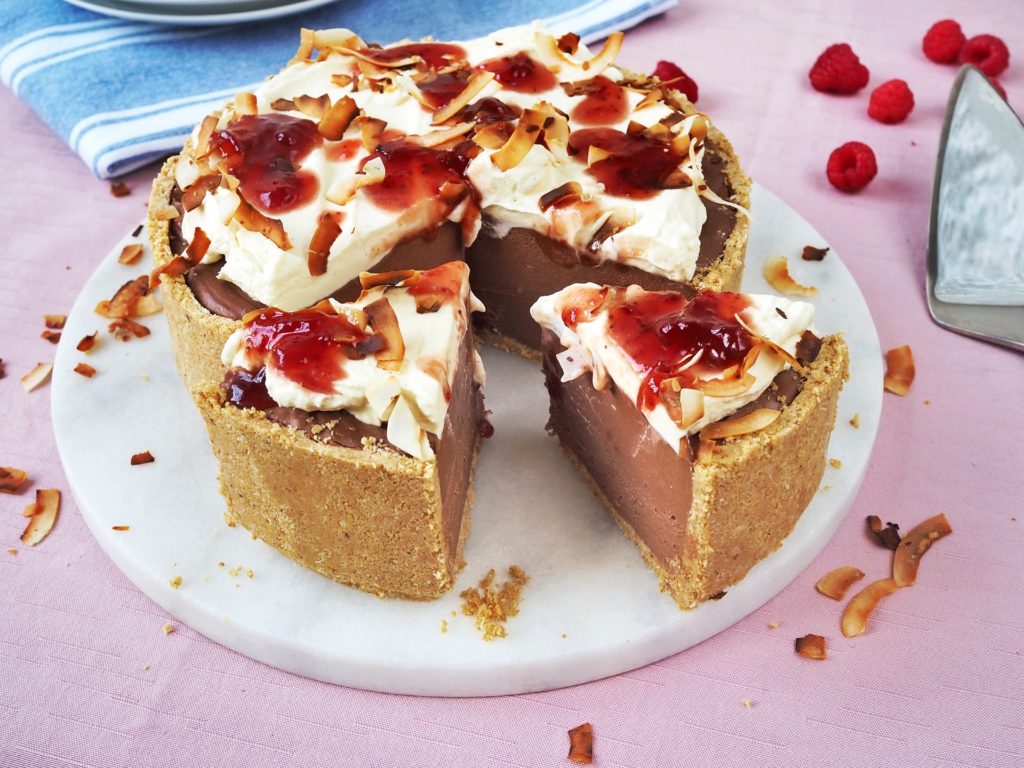
What is a Lamington? It’s an Aussie bakery staple of sponge cakes sandwiched with a raspberry jam filling dipped in chocolate then rolled in coconut. Here, I take the flavours of a classic lamington and make a cheesecake from it. Why? Because I like lamingtons and cheesecake and was inspired by the Delicious Bake Club Challenge when they featured a Lamington Cheesecake Recipe. I made this to compete and win the Breville Wafflemaker–which I unfortunately didn’t! I didn’t follow their recipe and used my no bake cheesecake as a base. Their recipe is baked in the oven and contains eggs, my recipe is no-bake, no eggs and uses different ratios.
Will this measure up to a lamington? Unfortunately not, much as I wanted it to. The flavours are there but a good cake base makes a really good lamington and obviously, there’s no cake here. But the flavour combination is still delicious! I hope you like it. Remember to bring all your ingredients to room temperature for a smooth finished product.
Place chocolate in a heatproof bowl. In a small pot, bring coconut cream almost to the boil then pour on top of the chocolate. Let it stand for a minute then whisk until smooth. Set aside to cool down.
In a large bowl, mix digestive biscuit crumbs and brown butter until it resembles wet sand. Take a 20cm (8in) round springform pan and press crumbs into the bottom and all the way up the sides with the back of a measuring cup. Chill until filling is done.*
In the bowl of your stand mixer fitted with a whisk attachment, or a large mixing bowl with a handheld mixer, whisk cream cheese on medium speed until smooth. Turn up mixer to high speed then add sugar a spoonful at a time and mix until smooth.
Turn mixer down add the melted chocolate and cream. Whisk until smooth. Pour filling into prepared pan, then with a hot offset spatula or spoon, flatten the top. Chill to set for at least 4 hours.
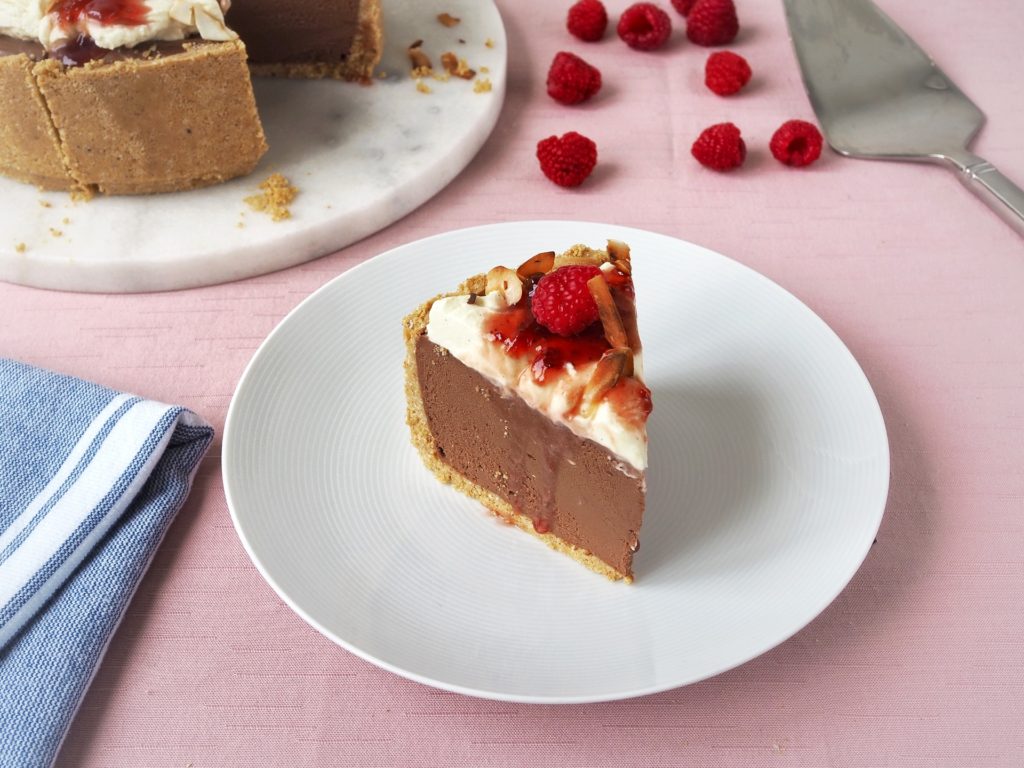
To serve: Warm raspberry jam to make it more liquid and easy to drizzle. Whip cream and sugar until medium. Dollop or pipe the cream on the cheesecake, drizzle jam on top and sprinkle coconut flakes.
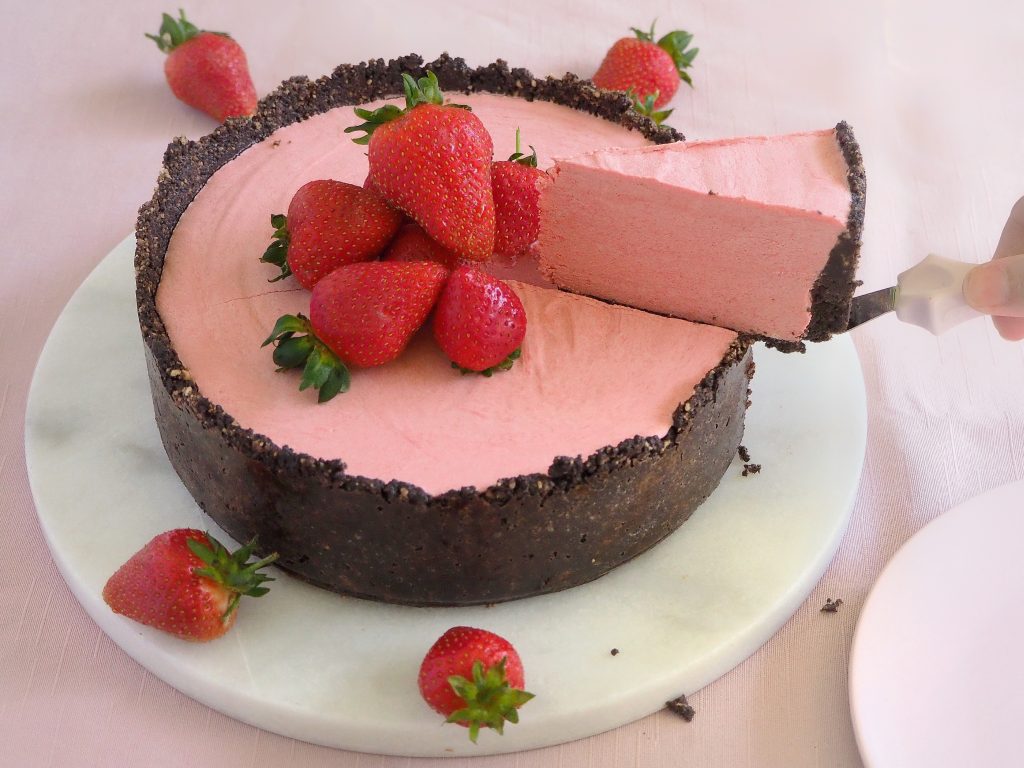
You have not met a cheesecake as pretty as this! Lighter than your average cheesecake, this is set with chocolate ganache. There are many ways to make a no-bake cheesecake, but I have 2 trusted ways to make my version.
Version 1:
A few years ago Valrhona introduced a new line of products called Valrhona Inspiration. These are different chocolates flavoured with various fruits and nut, and I use this for my no-bake cheesecakes these days. I call this the Valrhona Inspiration Cheesecake.
Version 2:
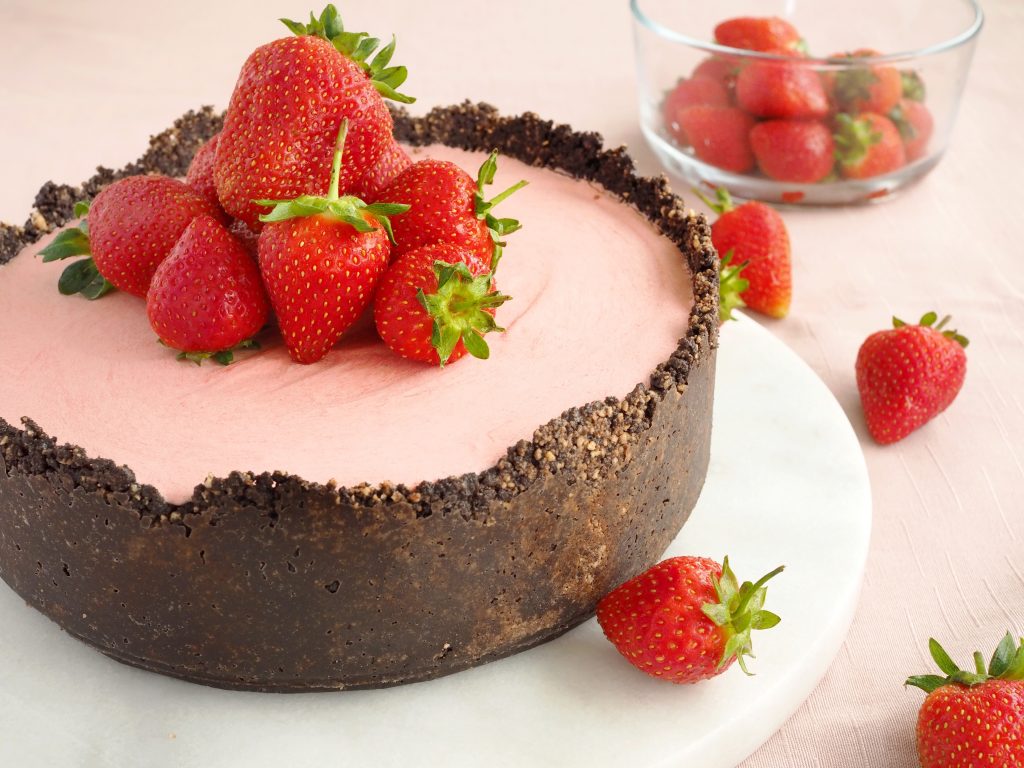
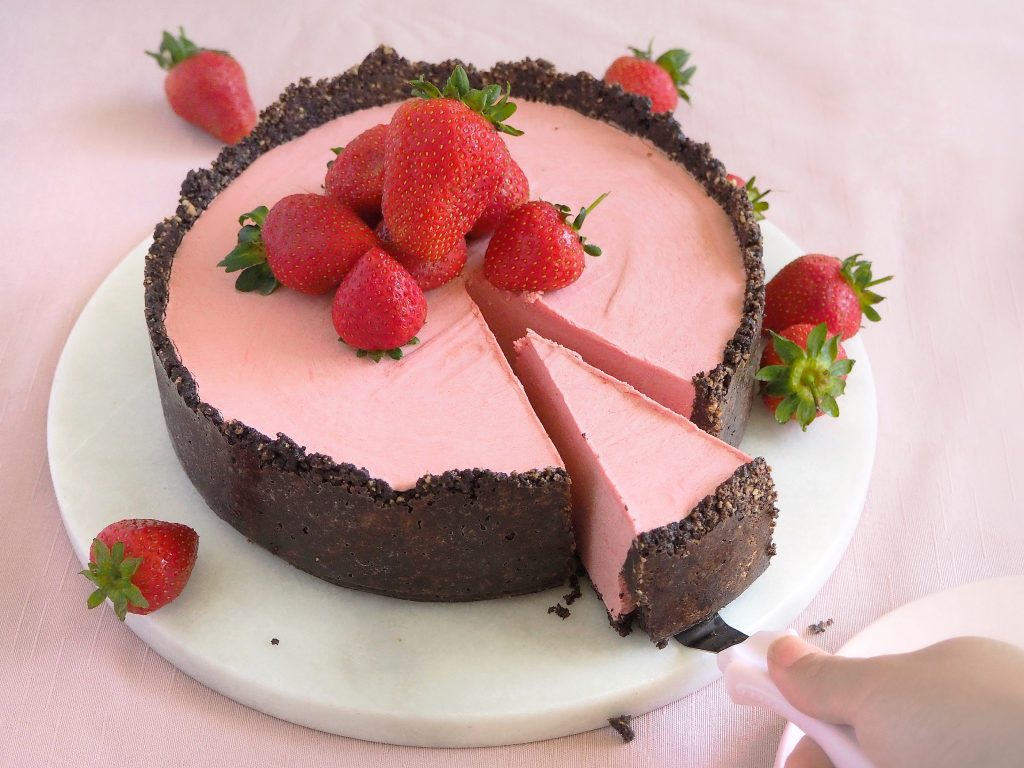
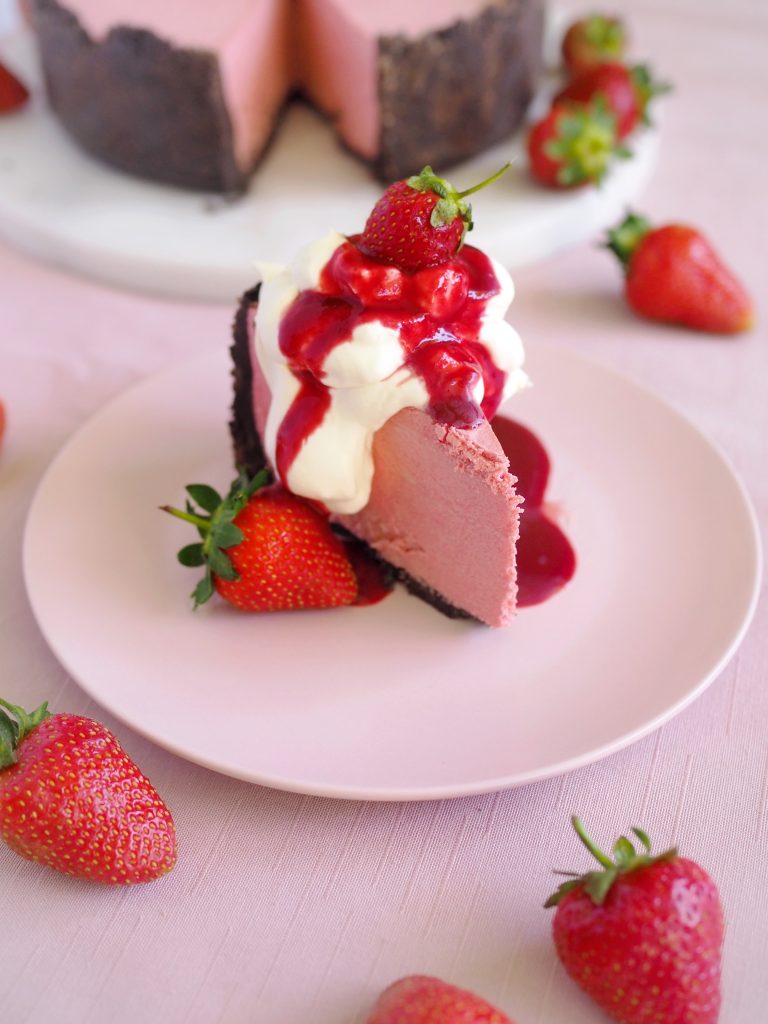
This is the version I am sharing today. This is the original method of how I made my cheesecake before Valrhona Inspiration came along. This one uses white chocolate ganache, and you can use any kind of baking white chocolate. The flavour and colour come from pureed (blended) strawberries, and the good thing is, both frozen and fresh strawberries will work in this recipe, so use whichever one you prefer.
What is a ganache?
Ganache is a term used for a mixture of chocolate and cream. There are different ratios for ganache depending on it’s purpose, a higher ratio of chocolate to cream makes a firmer ganache that can be used for truffles and tart fillings while the opposite results to a runnier ganache that is great for dips, sauces and glaze.
What is the purpose of ganache in this recipe?
There are plenty of ways to make a no-bake cheesecake, and the main difference lies on what sets the cheesecake. Baked cheesecake have eggs in them that act as a binder, however, there are no eggs in this recipe. Some recipes use gelatine to set the cheesecake but I find that tricky, because there are different gelatine strengths. Other recipes use whipped cream but whipped cream gradually loses it’s stiffness resulting to your cheesecake softening. However, I found that using white chocolate ganache not only adds a nice flavour to the cream cheese, it also sets it beautifully and gives it a smooth texture and the cheesecake holds together better.
Now that you know how the recipe works, it’s time to get the bowls and whisks ready and try my recipe! I wrote it as easy to follow as possible, but if you still have questions, please feel free to ask in the comments section below. This takes longer to set than a cheesecake made with gelatine but the taste develops and it is actually better the next day. One last thing, if you want a brighter pink hue, a drop or 2 of food gel colour is all it takes.
Using a food processor, blend the cookies into fine crumbs. Slowly add the brown butter. Mix until it resembles wet sand.
Take a 20cm (8in) round springform pan and press crumbs into the bottom and all the way up the sides with the back of a measuring cup. Chill until filling is done.
Prepare the chocolate
Place the chocolate in a medium bowl. In a small sauce pan bring the cream to the boil and pour on top of chocolate. Let sit for a minute. Stir vigorously with a wooden spoon or mariz (rubber spatula) until smooth. Set aside to cool down.
Prepare the strawberry puree
If using frozen strawberries, thaw the strawberries completely. Cut into smaller pieces and remove any stems. Place strawberries and lemon juice in the blender jug and blend into a smooth puree. Set aside.
Make the filling
In the bowl of your stand mixer fitted with a whisk attachment, or a large mixing bowl with a handheld mixer, whisk cream cheese on medium speed until fluffy then add strawberry puree then whisk for 1 minute. Turn up mixer to high speed then add sugar a spoonful at a time and mix until smooth.
Turn mixer down add the melted chocolate and cream mixture (ganache). Then whisk on high until smooth. Pour filling into prepared pan, then with a hot offset spatula or spoon, flatten the top. Chill to set for at least 8 hours or overnight.
To serve
Whip cream and vanilla until medium peaks. Refrigerate until ready to serve. The cheesecake is ready when it is hard to the touch and fully set.
Unmold the cheesecake from the springform pan carefully. Run a knife under hot water and slice cheesecake into 12 portions. Wipe knife after each stroke. Serve with a dollop of whipped cream and fresh strawberries (if using).
I love a good cheesecake, and a lot of people I know do too. The only problem is, they say they get disappointed each time they order a cheesecake for dessert. To be honest, I agree… The cheesecake game is not strong in Sydney, however, I am hoping to change that! My cheesecakes are my most requested dishes to bring to family and friends’ events. I am not joking when I say that since I started selling cakes online, my cheesecakes combined make up 75% of the online orders, not including bespoke events and custom cakes. So if you’re not the bake it from scratch type, check out my kitchen to see my different cheesecakes by clicking the button above or order this cheesecake below!
This recipe is perfect for summer because it doesn’t require an oven, it is also quite easy to make, but it’s essential to use good quality chocolate. I didn’t use any gelatine in this recipe, so the ganache helps set your cheesecake. The recipe is basically mix and chill. Chilling is at least 4 hours to give it ample time to set. This is definitely not gluten-free or dairy-free but since there are no eggs, this is safe for pregnant women.
I love this with seasonal fruit, but you can have it by itself. I you make this, let me know what you think via the comments section below. This is a crowd-pleaser without being too challenging to make, all you need to do is to make sure your ingredients are room temperature! Aside from that, you can keep your ovens off and smile at the fact that there is no chance that this cheesecake would crack. Good luck!
Place chocolate in a heatproof bowl. In a small pot, bring cream to the boil then pour on top of the chocolate. Let it stand for a minute then whisk until smooth. Set aside to cool down.
Now make the crust:
In a large bowl, mix digestive biscuit crumbs and brown butter until it resembles wet sand. Take a 20cm (8in) round springform pan and press crumbs into the bottom and all the way up the sides with the back of a measuring cup. Chill until filling is done.*
For the filling:
In the bowl of your stand mixer fitted with a whisk attachment, or a large mixing bowl with a handheld mixer, whisk cream cheese on medium speed until fluffy then add yogurt and vanilla then whisk for 1 minute. Turn up mixer to high speed then add sugar a spoonful at a time and mix until smooth.
Turn mixer down add the melted chocolate and cream. Then whisk on high until smooth. Pour filling into prepared pan, then with a hot offset spatula or spoon, flatten the top. Chill to set for at least 4 hours.
To serve:
Top with fresh mango slices, berries, passionfruit pulp, caramelised pineapple, the list is endless. Use a hot knife to cut a slice and wipe it after each time you cut into the cheesecake to get a clean slice.
Notes
Graham crackers is not readily available in Australian supermarkets, so I have now adjusted to using digestive biscuits and Oreo cookies for my cheesecake crusts. I use the Oreo cream too, so there’s no wastage. If you don’t like a chocolate crust or if chocolate doesn’t go with your filling, you may use golden Oreos instead, or digestive biscuits are really good. When using Oreos for the recipe, reduce the brown butter to 80g because the cream helps hold the crust together.
If yogurt is unavailable, you may substitute sour cream. I prefer yogurt because it’s texture is lighter than sour cream and cream cheese.
Pressing the crumbs all the way up the springform pan takes practice and patience, so don’t give up on it too easily if you love having good cheesecake to crust ratio. Just take your time and you’ll get the hang of it. If you do not want the crust all the way around the sides of your cheesecake, use only 1/2 of the crust recipe above. This should be enough to cover the bottom plus a few spoonfuls extra for snacking.
Keep your ovens off with this most-loved classic dessert. It’s the dessert I can’t say no to when I go to an Italian restaurant. It’s also the one I use as a criteria to decide if I will come back. With my easy recipe, you don’t have to go out to enjoy a good classic tiramisu, you can wow your friends and family by making it for them at home!
A lot of people think that tiramisu contains raw eggs, but this recipe cooks the egg yolks with the sugar then whips the mixture to a thick sabayon. I’ve made it really easy to follow, and the ingredients called for are available in most supermarkets if you don’t already have them in your pantry.
Can’t find mascarpone? Well, I don’t normally use this because it’s never really the same, but it’s a passable substitute. You can mix 1 cup cream cheese and 1/4 cup natural yogurt or sour cream if you really can’t get your hands on mascarpone. If you try this substitute, let me know what you think, I tested this recipe using the cream cheese and yogurt and cream cheese and sour cream combo and nobody even tasted the difference. Maybe the coffee flavour masks it in the end.
So yeah, this is perfect for your next potluck. For sure you have at least one coming up, with Christmas just around the corner. It’s easy to make, you don’t need an oven, everybody loves a good tiramisu and you’ll impress your friends! You might have to double the recipe because people normally come back for seconds–and thirds–whenever I make this.
Finally, if you’re not a purist, and you like a little crunch to your desserts, sprinkle a little bit of crunchy chocolate pearls on top before serving. As I did in my video above. I love Valrhona Caramel pearls but they also have Dark Chocolate pearls if you want to stick to the classic Tiramisu flavours. Callebaut also have crunchy pearls available if you can’t get a hold of Valrhona ones. These are normally available from specialty baking stores.
Let me know how you go with this recipe, and if you have any questions or feedback, feel free to comment below or shoot me an email! I love hearing from you guys and I will try my best to answer all questions. Also, don’t be a stranger and connect with me on Instagram and Facebook.
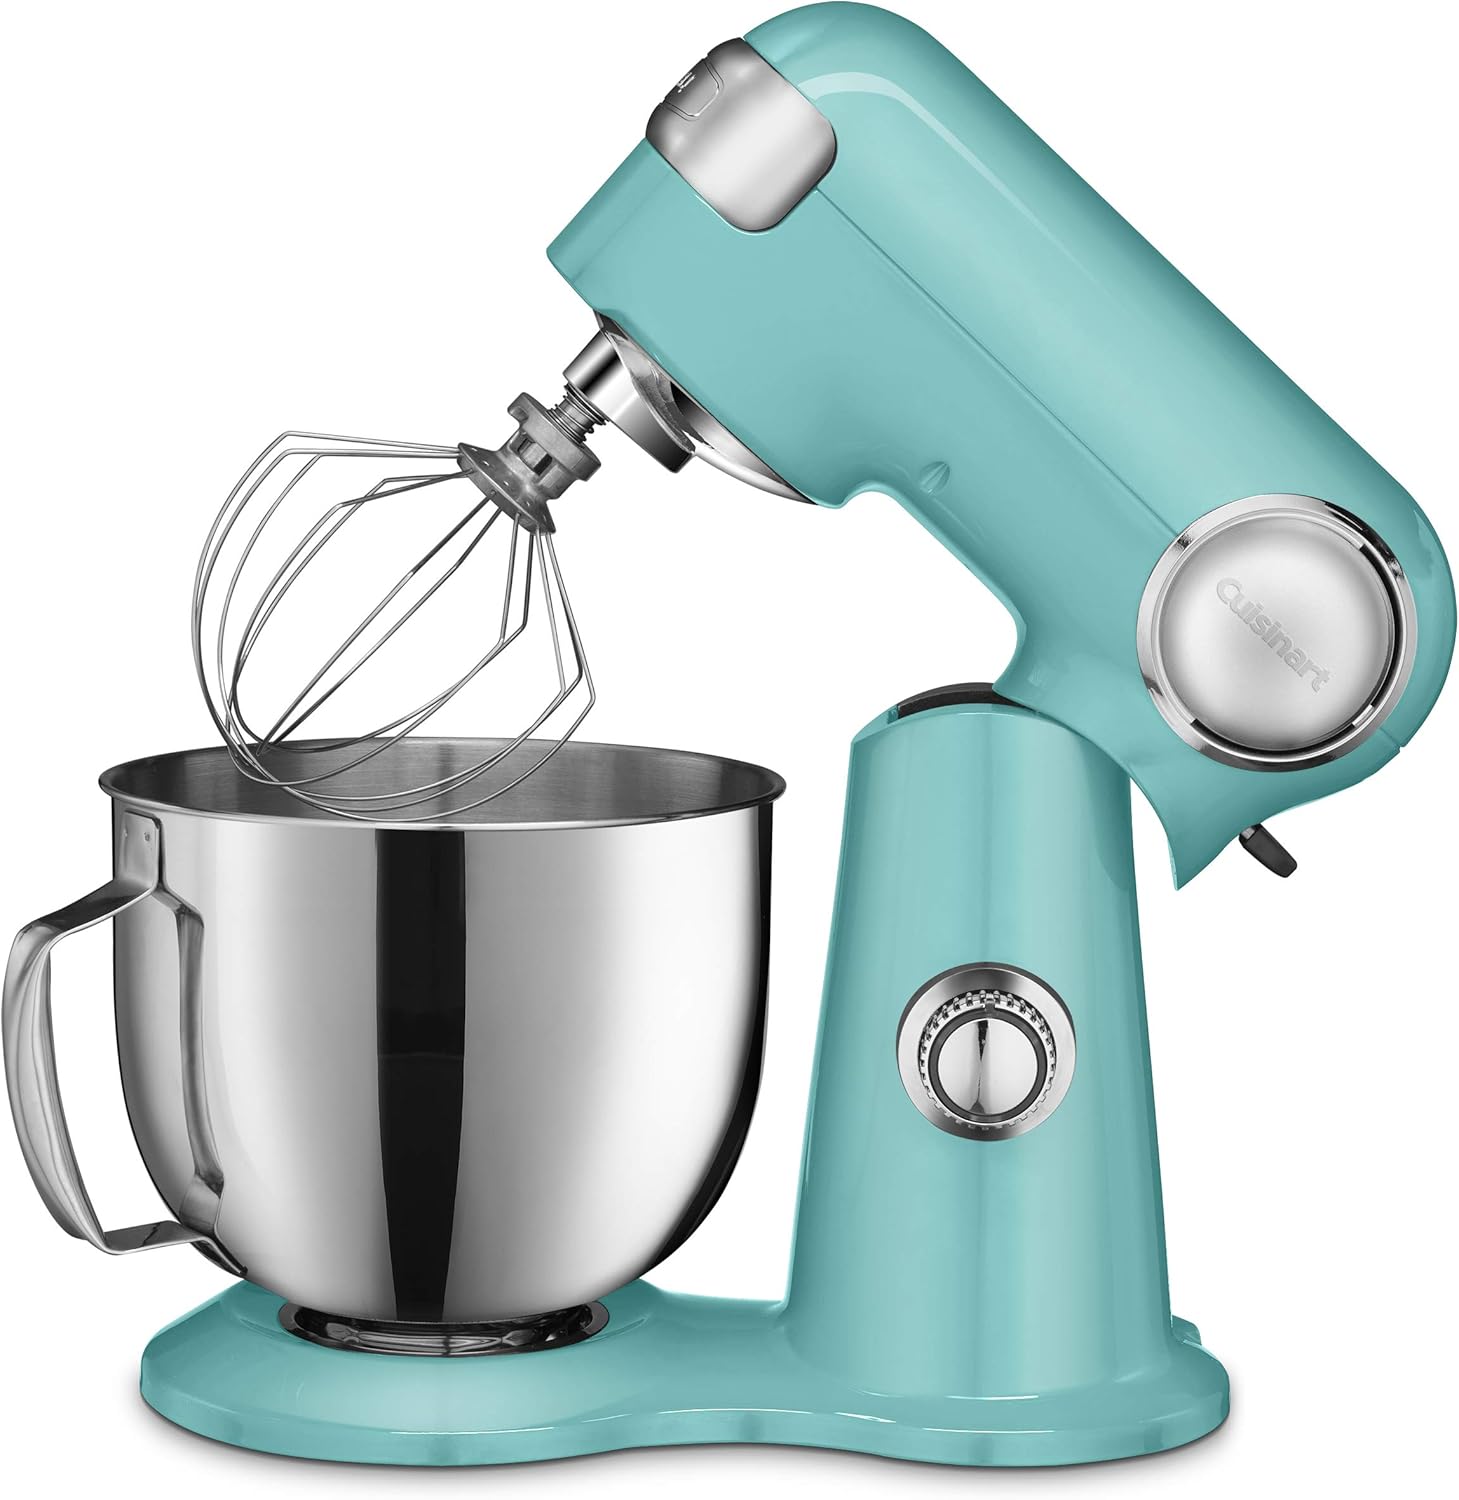
Click on the photos to shop for the products. Most products ship internationally.
I get a lot of questions about stand mixers, and these are my recommendations. It comes with a caveat though, I only recommend you get one if you bake a lot because they are not cheap. Otherwise, a hand mixer is the more practical option.
Mrs.Fancypants earns a small commission from affiliate links, when you buy the products above. If you’re in Australia, feel free to check the availability on advertised sites.
Make your sabayon by combining egg yolks, half the liqueur and sugar in a bowl and placing that on top of a pot with simmering water. Make sure the water doesn't touch the bottom of the bowl.
Reduce heat to low, and cook mixture until 65C, about 10 minutes, stirring constantly. Remove from the heat and whisk yolks until thick and light-coloured. This will take about 5-10 minutes depending on your mixer. Sabayon is thick enough when it forms ribbons that don't quickly disappear on the surface. Cool down to room temperature.
Mix in the mascarpone until fully incorporated. Meanwhile, in the bowl of your stand mixer or with a hand mixer, start whipping the cream to medium.
Gently fold the sabayon mix into the whipped cream, mixing in half of the sabayon until incorporated then the rest of the sabayon. Set aside in the fridge.
Mix the coffee and liqueur together. Line the bottom of a deep 8x8 inch baking dish with half the biscuits. Make sure they are quite tight you can push them together once they are soaked.
Pour a third to half the coffee mix onto the biscuits and let the biscuits soak all the liquid. Depending on your biscuits, this may take a few minutes. Press the biscuits together and add more biscuits if there's space for more, making sure you dip the additional biscuits in the coffee mix. Spoon half the sabayon on top.
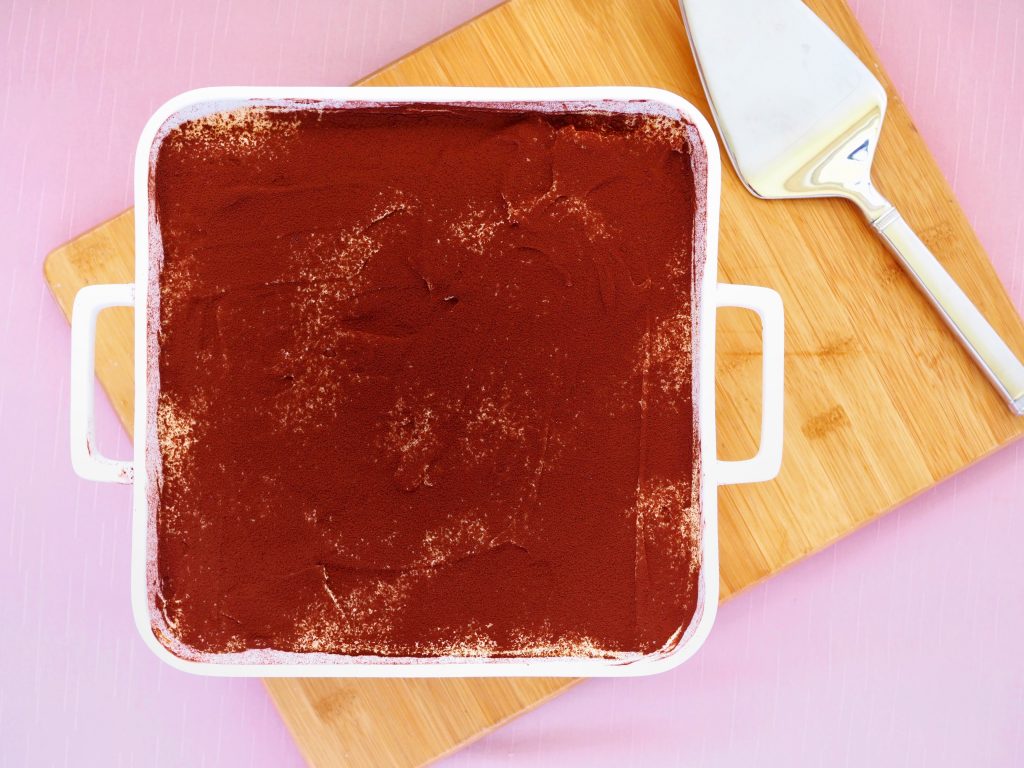
Dip and soak the rest of the biscuits in the coffee mix then make another layer on top of the sabayon. Spoon the rest of the sabayon then level with a spoon or offset spatula. Chill for at least 4 hours to set, or overnight to let the flavours develop.
Dust with cocoa powder before serving.
Notes
You may or may not use all the liquid depending on how much you soak your biscuits. I like to soak them a lot in the coffee because tiramisu is coffee-flavoured after all. You can make your own strong coffee by mixing 2 tbsp of instant coffee with 1 cup of hot water.