https://youtu.be/N_zmg0HuKoE

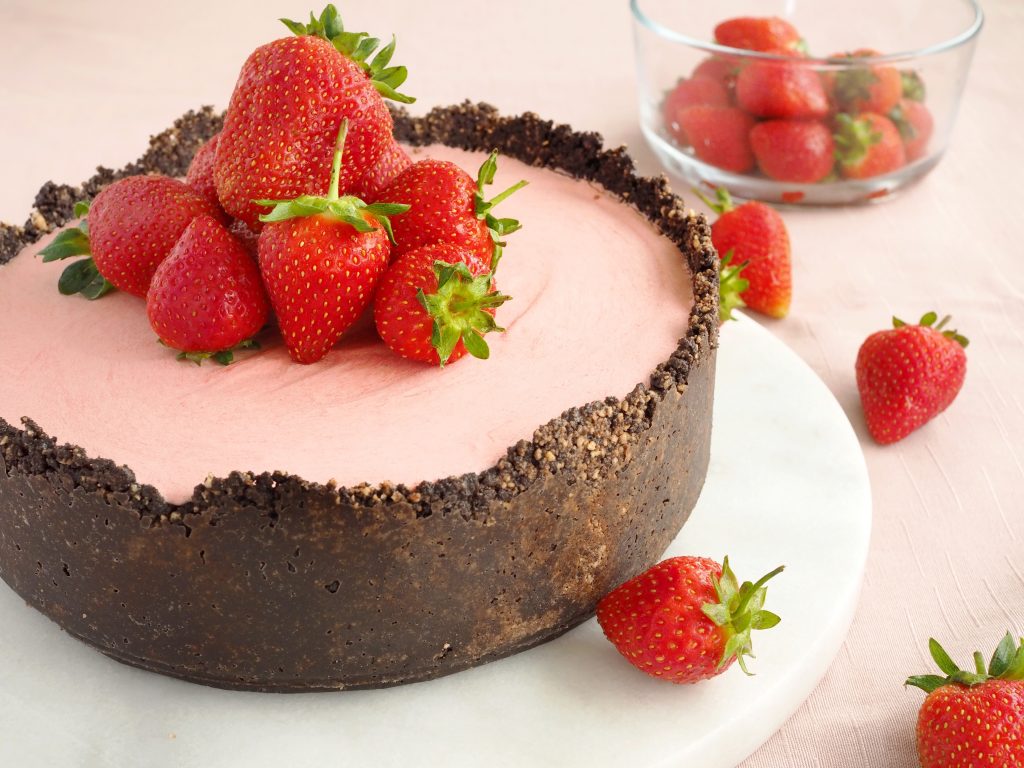
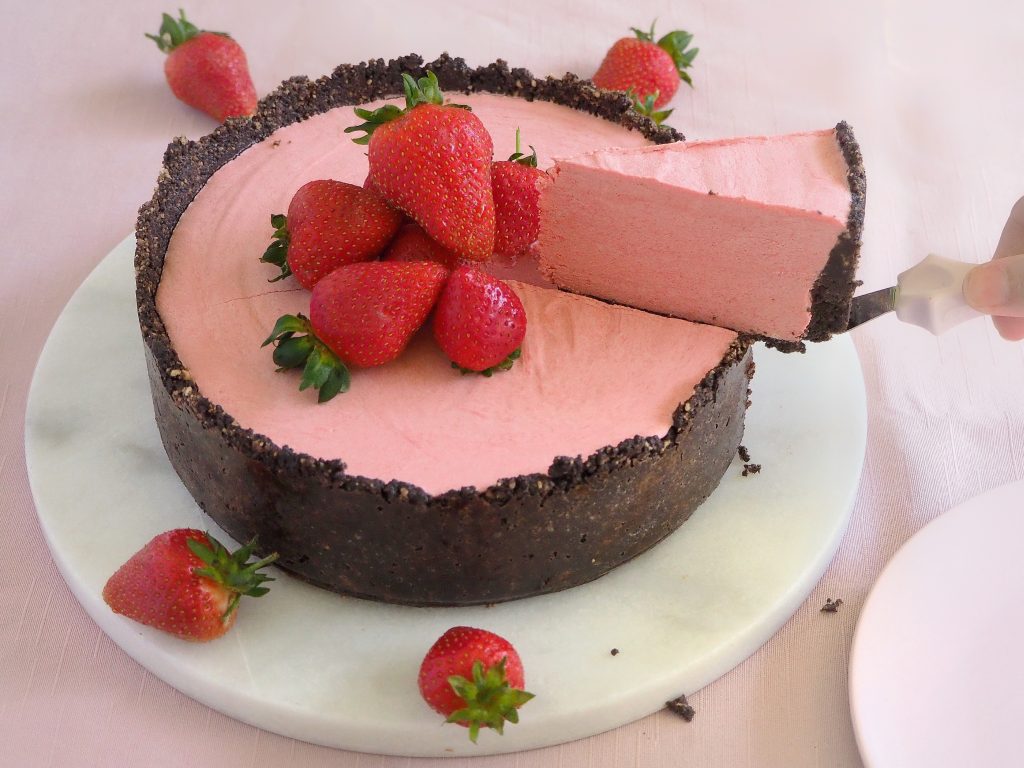
You have not met a cheesecake as pretty as this! Lighter than your average cheesecake, this is set with chocolate ganache. There are many ways to make a no-bake cheesecake, but I have 2 trusted ways to make my version.

Version 1:

A few years ago Valrhona introduced a new line of products called Valrhona Inspiration. These are different chocolates flavoured with various fruits and nut, and I use this for my no-bake cheesecakes these days. I call this the Valrhona Inspiration Cheesecake.

Version 2:

This is the version I am sharing today. This is the original method of how I made my cheesecake before Valrhona Inspiration came along. This one uses white chocolate ganache, and you can use any kind of baking white chocolate. The flavour and colour come from pureed (blended) strawberries, and the good thing is, both frozen and fresh strawberries will work in this recipe, so use whichever one you prefer.

What is a ganache?

Ganache is a term used for a mixture of chocolate and cream. There are different ratios for ganache depending on it’s purpose, a higher ratio of chocolate to cream makes a firmer ganache that can be used for truffles and tart fillings while the opposite results to a runnier ganache that is great for dips, sauces and glaze.

What is the purpose of ganache in this recipe?

There are plenty of ways to make a no-bake cheesecake, and the main difference lies on what sets the cheesecake. Baked cheesecake have eggs in them that act as a binder, however, there are no eggs in this recipe. Some recipes use gelatine to set the cheesecake but I find that tricky, because there are different gelatine strengths. Other recipes use whipped cream but whipped cream gradually loses it’s stiffness resulting to your cheesecake softening. However, I found that using white chocolate ganache not only adds a nice flavour to the cream cheese, it also sets it beautifully and gives it a smooth texture and the cheesecake holds together better.

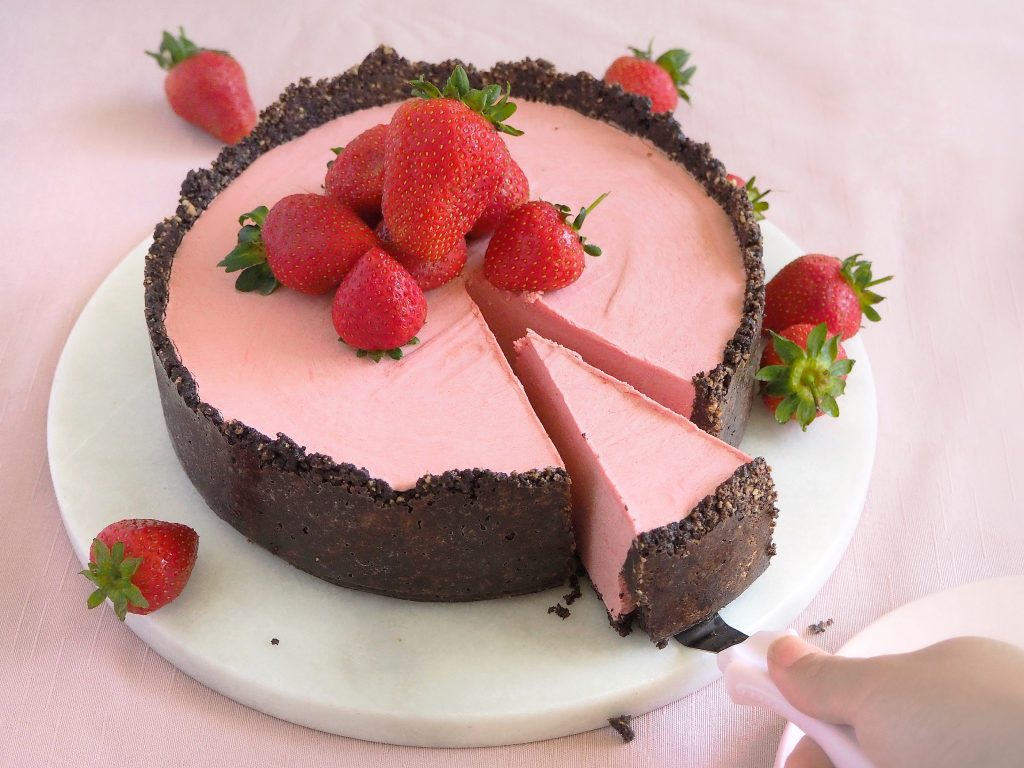
Now that you know how the recipe works, it’s time to get the bowls and whisks ready and try my recipe! I wrote it as easy to follow as possible, but if you still have questions, please feel free to ask in the comments section below. This takes longer to set than a cheesecake made with gelatine but the taste develops and it is actually better the next day. One last thing, if you want a brighter pink hue, a drop or 2 of food gel colour is all it takes.

Happy baking!

 
Difficulty: Easy

No-bake Strawberry Cheesecake

Makes 1 x 20cm springform pan

Ingredients

    For the crust
  • For the strawberry puree:
  • For the filling
  • Optional for serving

Instructions

0/8 Instructions
    Make the crust
  • Using a food processor, blend the cookies into fine crumbs. Slowly add the brown butter. Mix until it resembles wet sand.
  • Take a 20cm (8in) round springform pan and press crumbs into the bottom and all the way up the sides with the back of a measuring cup. Chill until filling is done.
  • Prepare the chocolate
  • Place the chocolate in a medium bowl. In a small sauce pan bring the cream to the boil and pour on top of chocolate. Let sit for a minute. Stir vigorously with a wooden spoon or mariz (rubber spatula) until smooth. Set aside to cool down.
  • Prepare the strawberry puree
  • If using frozen strawberries, thaw the strawberries completely. Cut into smaller pieces and remove any stems. Place strawberries and lemon juice in the blender jug and blend into a smooth puree. Set aside.
  • Make the filling
  • In the bowl of your stand mixer fitted with a whisk attachment, or a large mixing bowl with a handheld mixer, whisk cream cheese on medium speed until fluffy then add strawberry puree then whisk for 1 minute. Turn up mixer to high speed then add sugar a spoonful at a time and mix until smooth.
  • Turn mixer down add the melted chocolate and cream mixture (ganache). Then whisk on high until smooth. Pour filling into prepared pan, then with a hot offset spatula or spoon, flatten the top. Chill to set for at least 8 hours or overnight.
  • To serve
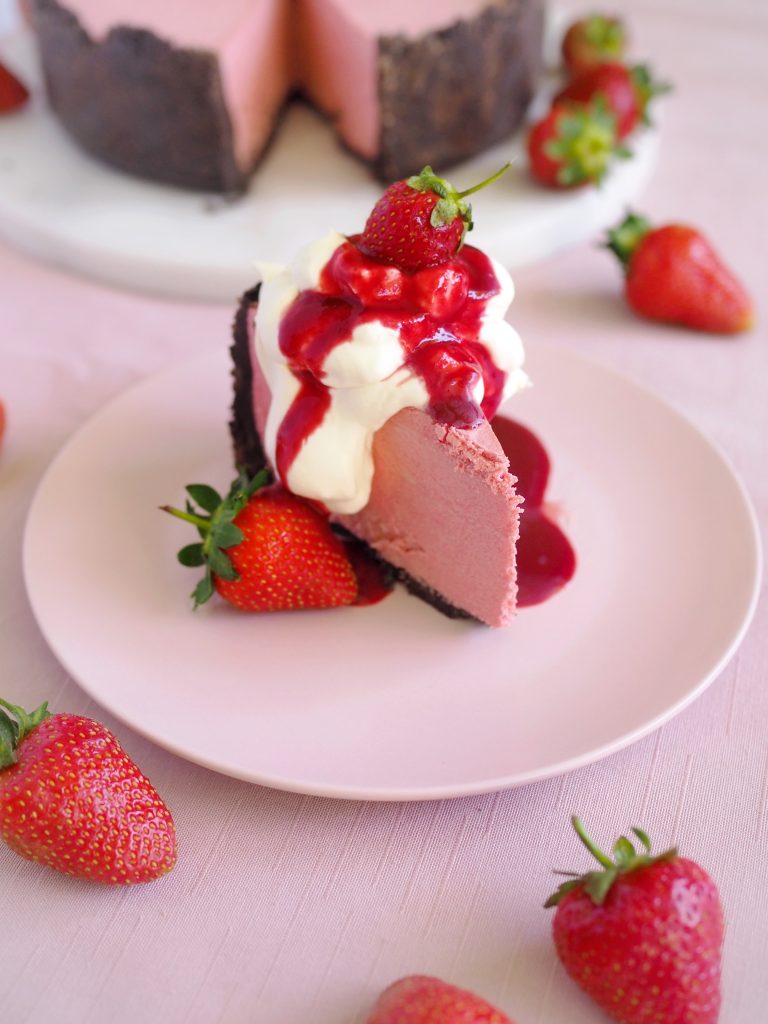
  • Whip cream and vanilla until medium peaks. Refrigerate until ready to serve. The cheesecake is ready when it is hard to the touch and fully set.
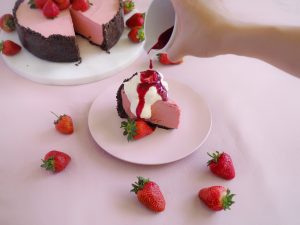
  • Unmold the cheesecake from the springform pan carefully. Run a knife under hot water and slice cheesecake into 12 portions. Wipe knife after each stroke. Serve with a dollop of whipped cream and fresh strawberries (if using).

Notes

  1. Measurement is based on yield after the unsalted butter has been cooked. Please watch this video on how to make brown butter or beurre noisette.


You might have heard and seen photos of a burnt cheesecake in your social media in the last couple years. This was made famous by a small bar in San Sebastian, Spain called La Viña. I mentioned before how my friends and I love cheesecakes. I remember going to New York and heading straight to Junior’s cheesecake in Manhattan, but this cheesecake is not like the NY Baked cheesecake. This one is crustless, light, soft in the centre and for me, tastes a bit like a Portuguese egg tart because it contains plenty of eggs. I refer to New York because I’ve never been to San Sebastian, but I know exactly what my first stop would be when I finally visit.

Since I’ve never been to the birthplace of the burnt cheesecake, I did plenty of research and found a video by Santiago Rivera who is the chef behind the La Viña Cheesecake. I kindly asked a friend to translate the video and from there the only thing that’s left was for me to trial which springform size to use because it wasn’t specified. The original recipe is as follows:

Original La Viña Cheesecake Recipe

  • 1 kilogram cream cheese (I used Philadelphia because that’s what was available, it’s rumoured that the original uses San Millan cream cheese)
  • 400 grams sugar
  • 7 eggs (I used large eggs because that’s the standard)
  • 1/2 liter cream (I used pure cream which has minimum 35% fat)
  • 1 1/2 spoon plain flour

In the video, Santiago Rivera used a spoon to mix the cream cheese and sugar, then added eggs one at a time. He then added the flour and finally the cream. He pours the mix into a springform pan and bakes at 210C for 40 minutes. You can watch the video I’m talking about below, I found it on a European online radio and TV channel EITB.eus.

I made the cheesecake as instructed above and settled on a 26cm springform. It’s creamy, and custard-like, and I find a lot of people find it too eggy for a cheesecake. I personally love it. It reminds me of a Portuguese egg tart and a Japanese cheese tart, but without the shell. If you haven’t tried the original, I suggest you make it at least once, because really, what’s the point of jumping on the burnt cheesecake bandwagon when you are clueless on what the original actually is like.

The goal is for the cheesecake to be dark brown outside while preserving the soft and creamy centre. To do this, you need to bake the cheesecake at a high temperature. This cheesecake is beautifully rustic, and very photogenic, as you can see from my photos above.

My version is a tad smaller than the original and baked in a 23cm springform instead of 26cm. Because of this, I adjusted the the temperature for the same baking time. I also added vanilla and lemon for flavour. You can find my recipe below. Try making both and let me know which one you prefer. Don’t forget to tag me on social media when you post your beautiful cheesecakes and use #mrsfancypantsrecipes. Happy baking!

 
Difficulty: Easy Prep Time: 15 Mins Cook Time: 50 Mins Total Time: 1 Hr 5 Mins

Burnt Cheesecake à la La Viña

Makes 1 x 23cm springform

Make the famed Basque burnt cheesecake at home!

Ingredients

Instructions

0/4 Instructions
  • Start with room temperature ingredients. Preheat oven to 220C. Line a 9” springform with baking paper, make sure you have an overhang of at least 5cm.
  • Mix cream cheese, sugar and cream. Add eggs one by one, fully incorporating after each addition. Sift flour into the batter and mix just until the flour is incorporated. Do not over mix.
  • Pour into the pan and bake for 50 minutes. The top should be caramelised but cheesecake should be jiggly.
  • Take out of the oven and rest for at least 2 hours at room temperature. Serve warm, consume immediately. (see notes if making ahead)

Notes

  1. If making ahead, take out of the oven and cool down at room temperature for 1 hour then place in the fridge to cool down completely. Take out of the fridge 30 minutes before serving and serve at room temperature.
  2. I recommend serving this cheesecake warm, if you made this ahead, you can slice into wedges and blast each slice for 15 seconds in the microwave. Serve and consume immediately after.
  3. You can make this gluten free by substituting the plain flour with 1 tsp corn flour/cornstarch. This prevents a lot of cracking, but I've tried making this with no flour and it still works, you just get a bit of cracking around the rim.