Beat the Heat

In Australia, February is the hottest month of the year. Obviously, I’m inclined to keep the oven off as much as I can. Enter superb panna cotta recipes. What is a panna cotta? This cream based Italian dessert seems simple to make, the basic recipe includes cream, sugar, vanilla and gelatin. Seems easy enough, right? Well, sort of… A perfect panna cotta jiggles on the plate and melts in your mouth. So you need the perfect ratio. That’s what I’m here for today.

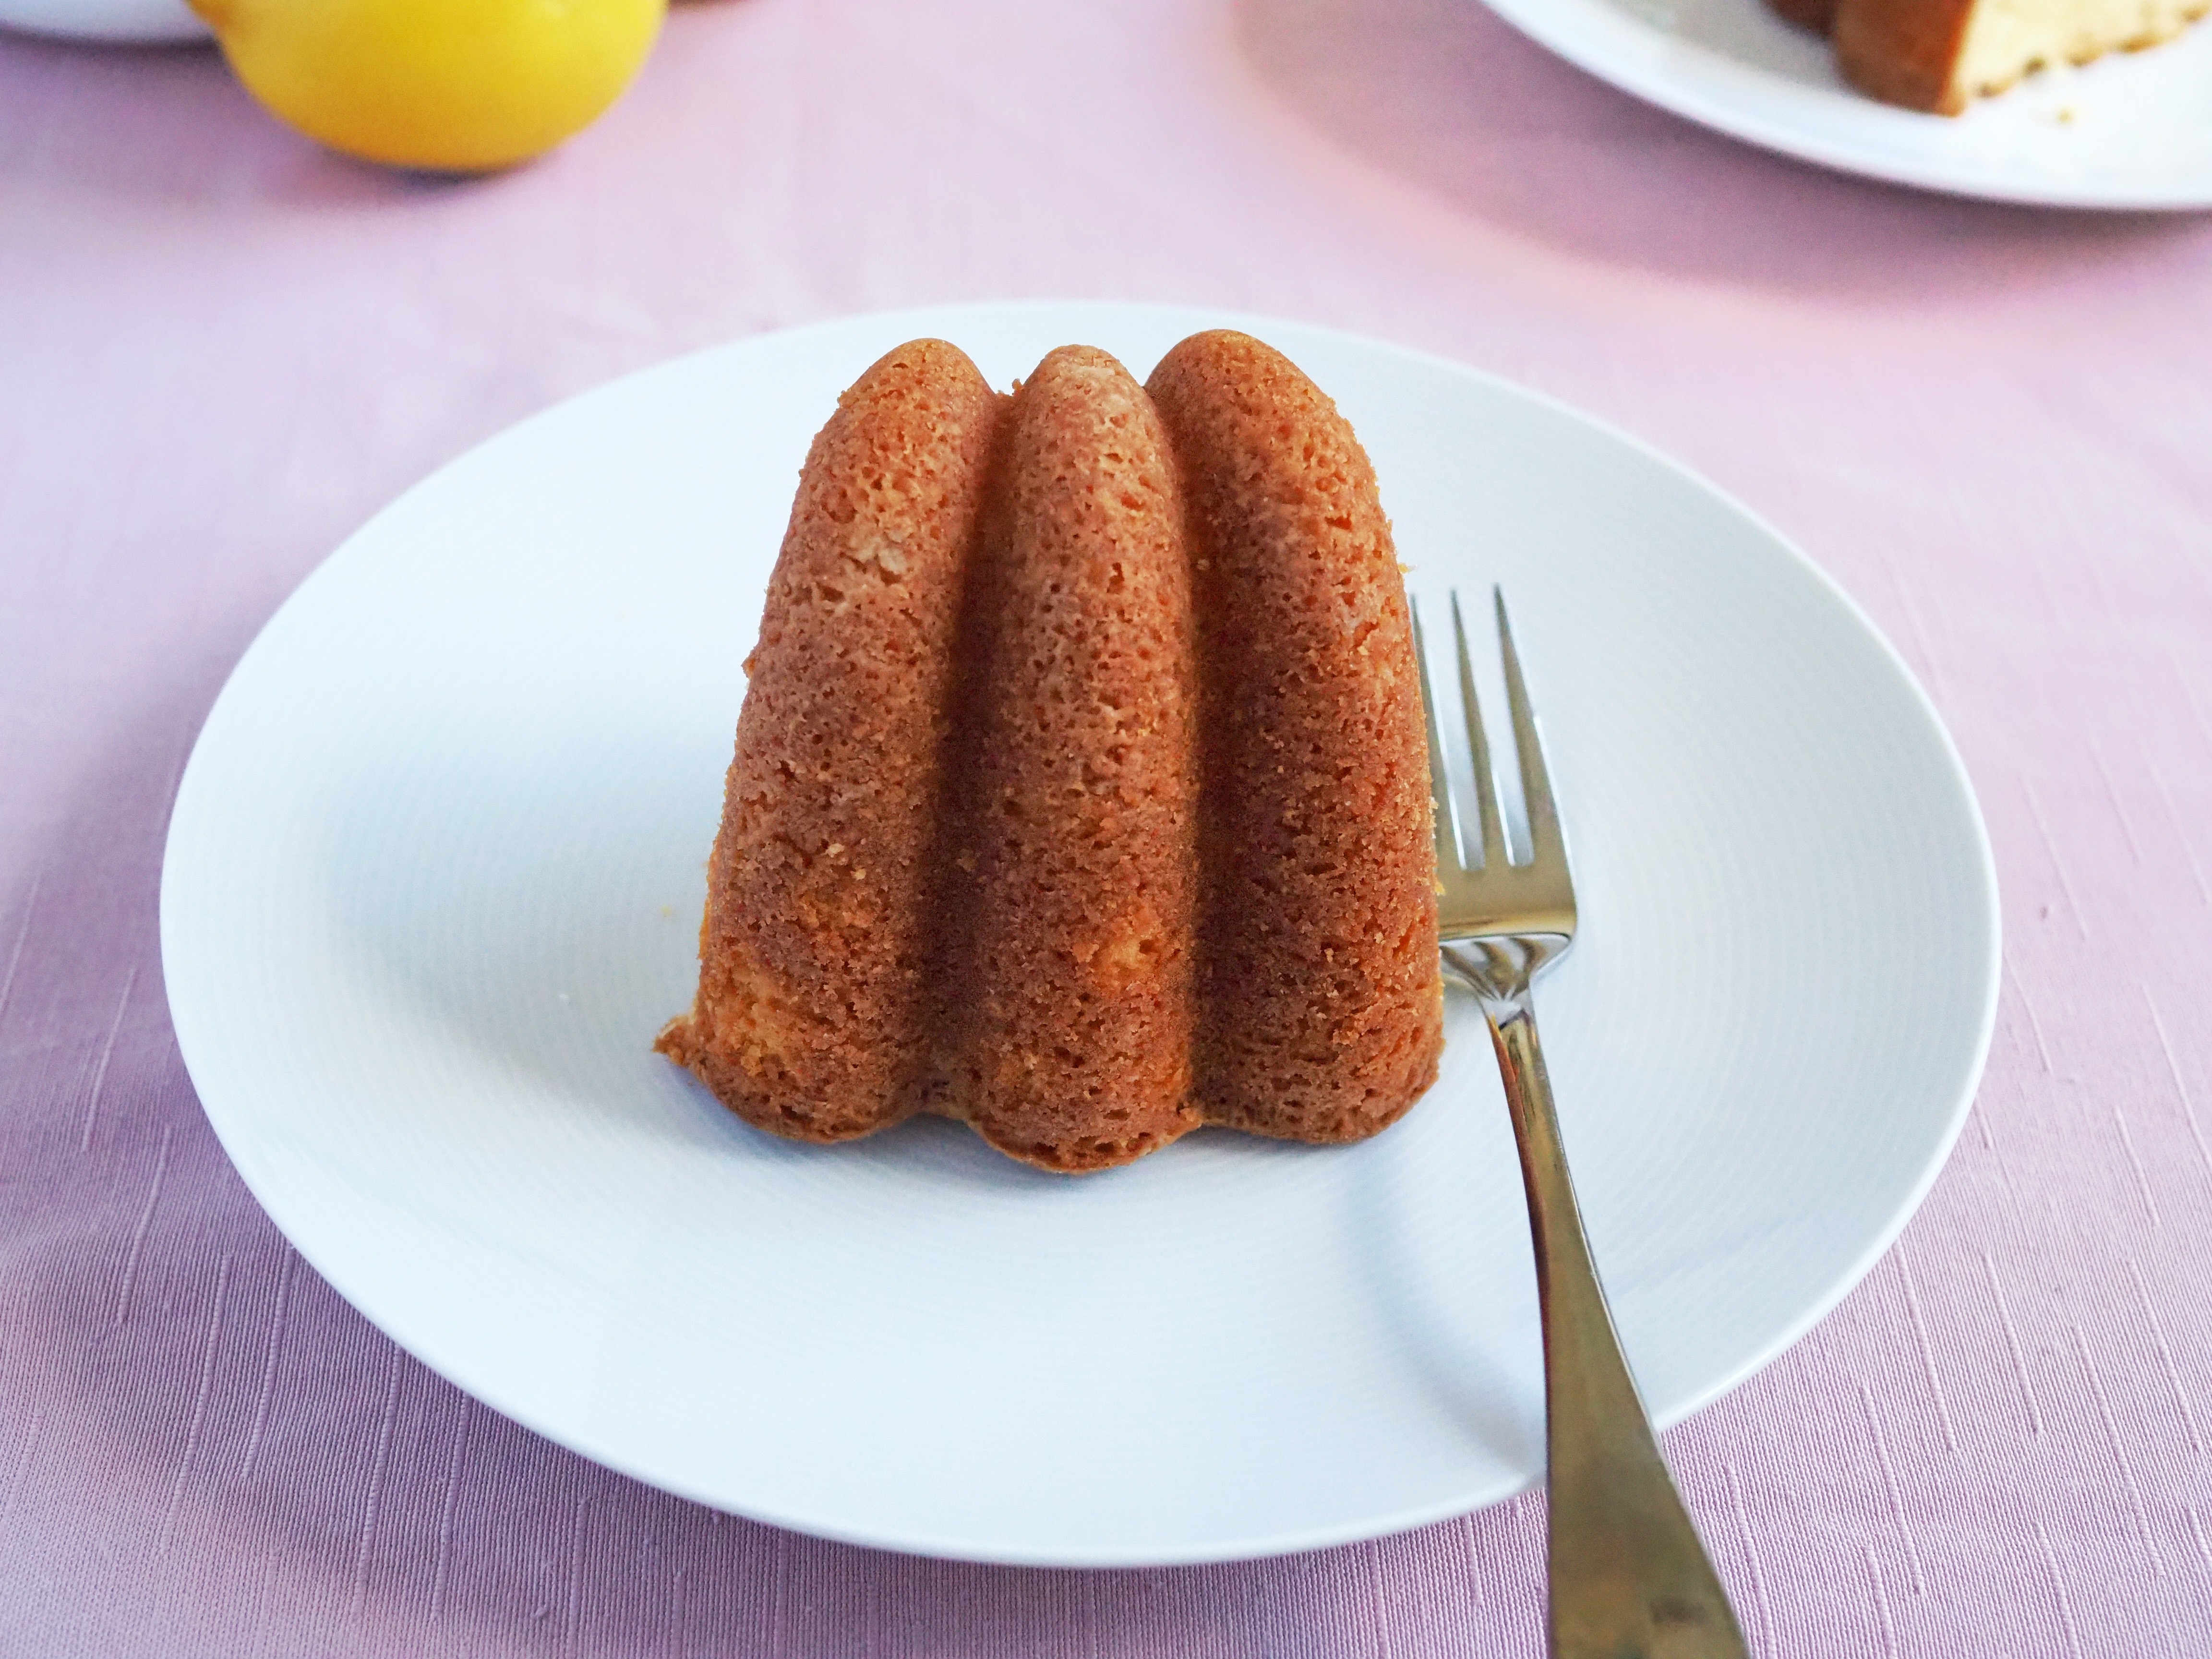
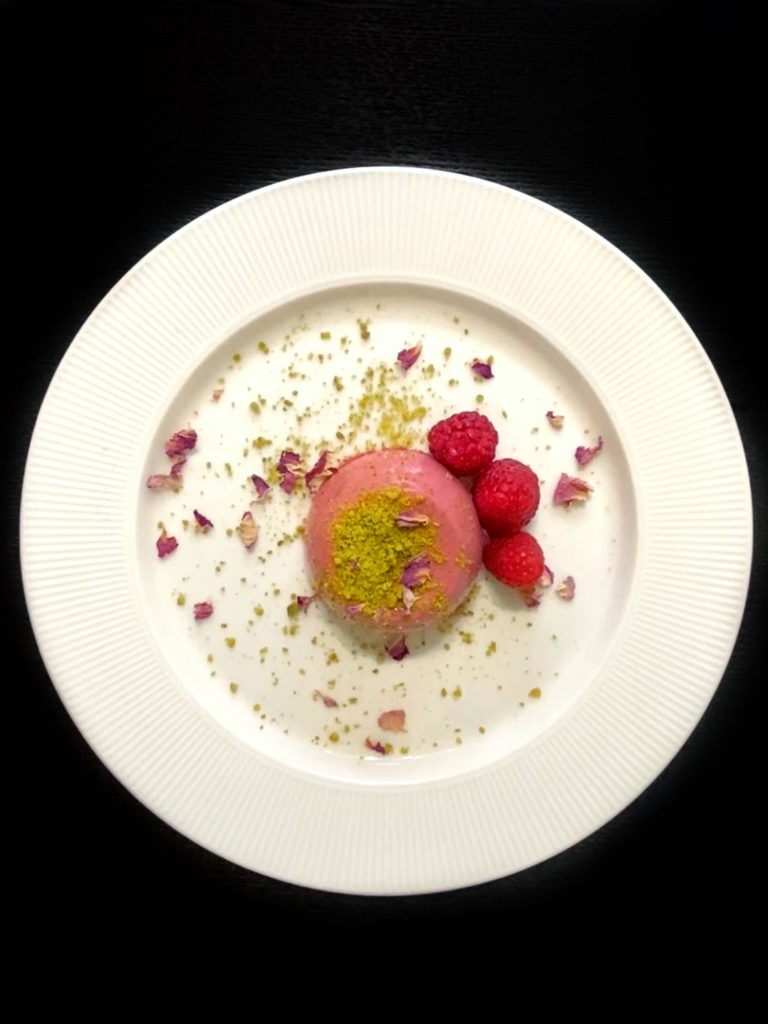
I will share with you my recipe for raspberry panna cotta today. I use raspberry puree and I add a touch of vanilla to the mix too. You can serve this in a lovely dessert glass or you can use dariole moulds to set them and turn them out. I like mine simple with a little sprinkling of pistachios, a couple of fresh raspberries and some dried rose petals give it a hint of another flavour. It’s light and enjoyable and won’t leave you feeling guilty for having dessert.

This is also a perfect dessert to serve on a Valentine’s Day dinner or any romantic dinner, really. You can make it the day before and just focus on flowers and the rest of dinner on the day. Add a chocolate heart to make it extra romantic!

Yields: 4 Servings Difficulty: Easy

Raspberry Panna Cotta

Serves 4

Ingredients

0/9 Ingredients

Instructions

0/7 Instructions
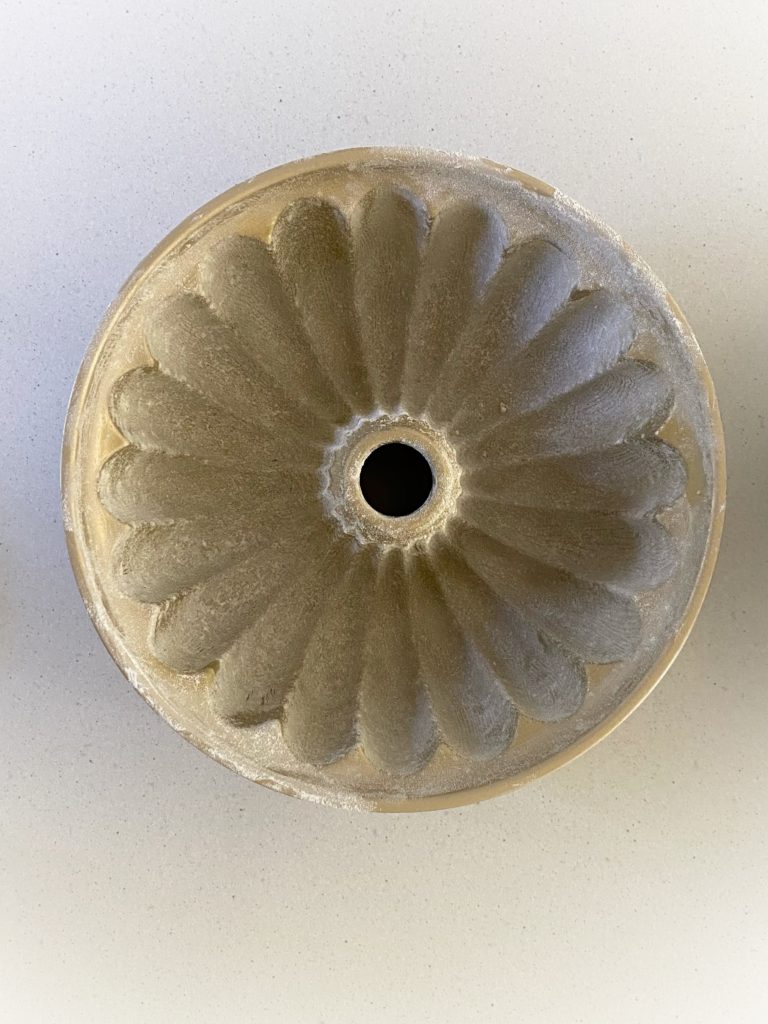
  • Lightly oil, 4 200mL panna cotta moulds or 4 nice dessert cups.
  • Blend the raspberries and water until super smooth then push through a fine sieve. You should yield 150mL. Set aside.
  • Bloom gelatin in cold water. In a saucepan, bring cream, vanilla and sugar to the boil. Turn off the heat and add 150mL of raspberry puree. Stir until incorporated.
  • Squeeze off excess water from gelatin and add to cream mix. Stir until gelatin is dissolved. If you want to make the panna cotta more pink, add a drop of red food gel and stir until it blends together.
  • Strain panna cotta using a fine sieve and divide between 4 moulds. Set in the fridge for at least 4 hours or longer if turning out.
  • To serve: you can turn out the panna cotta onto a plate by breaking the seal between the panna cotta and the mould by pressing the panna cotta edge lightly with your finger until you create an air pocket. Then turn it over onto a plate. Otherwise, you can serve them in the cups you have set them in.
  • Decorate with crushed pistachios and fresh raspberries.
Let’s be honest, intricate bundt cakes look so amazing. But there’s always that risk that because the design is so intricate your cake will get stuck. If you are a bundt cake pro, please keep doing what you’re doing, because why fix what’s not broken? Now if you’ve had bundt cake stuck in the pan several times and you’re ready to give up, please give this recipe a try before totally throwing your beautiful pan out.

Here are a few key things to remember:

  1. Softened butter is my preference when it comes to greasing bundt pans. Softened means you can make a dent in the butter even with just a slight pressure. Use a small pastry brush and get the butter into each nook and cranny. Take your time.
  2. When you’re satisfied that every millimetre is buttered up, sprinkle flour on top of the butter and lightly tap to distribute the flour. Cover all of the buttered surface then turn your pan over and tap lightly to remove the excess flour. Your pan should look like the one below:

3. Now like any cake, you know the cake will come out if the cake is pulling away from the pan.

Note the photos below:

Now here’s the golden ticket! This tip is a bundt cake game-changer! Once you remove the pan from the oven, cover the pan with a bigger plate and let sit for 10 minutes. After 10 minutes, invert the pan and your cake should slide right out.

If you don’t have a bundt pan, this recipe works in a large loaf pan too! Some key notes if you’re using a loaf pan:

  1. It’s the same baking time and temperature.
  2. You don’t have to use butter and flour to grease the pan, I simply use spray oil and line the tin with baking paper.
  3. You don’t need to cover the pan with a plate after removing from the oven, just cool it down completely in the pan.

Finally, I adapted this recipe from Spruce Eats’ Sour Cream Lemon Cake. What does “adapt” mean? I added some of my own touches like:

  1. I use metric measurements when baking because I weigh everything, but I’ve tested the US measurements in this recipe too.
  2. I prefer using creme fraiche instead of sour cream (and yogurt) because after testing all three, I found the cake using creme fraiche had the nicest crumb, flavour and moisture even without the syrup and glaze.
  3. I added another lemon for zesting to amp up the flavour in the cake itself
  4. I added a lemon-vanilla syrup mostly to use up the other lemon and in case you overbaked your cake, this will save it.
  5. Lastly, I used the juice from the other lemon in the glaze.

Surprisingly, the lemon flavour in the cake is not overwhelming, it’s just absolutely delicious and fresh. Now you know everything there is to know about this lemon drizzle cake. Time to take your whisks out and preheat your ovens and try this recipe! Please comment below if ou have any questions, and tag @mrs.fancypants.recipes on your Social Media posts. Happy baking!

 
Difficulty: Medium

Lemon Drizzle Cake

Makes 1 x 10-cup bundt cake or 1 large loaf cake

Adapted from Spruce Eats

Ingredients

    For the lemon cake
  • For syrup
  • For glaze

Instructions

0/15 Instructions
  • Measure all your ingredients then preheat oven to 175C. If using softened butter, grease your bundt pan now. Do this by brushing the bundt pan with the softened butter using a small pastry brush, being careful to get the butter into each nook and cranny. Sprinkle flour over the butter and tap around lightly to distribute. Turn pan over and tap lightly to remove excess flour. If you're using melted butter, DO NOT GREASE YOUR PAN YET.
  • Sift flour, salt and baking powder together. Set aside.
  • In the bowl of your stand mixer with the paddle attachment on medium-high, cream sugar and butter until light and fluffy.
  • Add eggs one at a time, incorporating well after each addition.
  • Turn mixer down to low then add lemon zest.
  • Add half of the flour mixture gradually using a spoon, mix well.
  • Add the creme fraiche (or yogurt or sour cream) then mix until incorporated.
  • Fold in the rest of the flour mix. Set aside.
  • If you're using melted butter, make sure its not hot. Brush the bundt pan with the butter using a small pastry brush, being careful to get the butter into each nook and cranny. Sprinkle flour over the butter and tap around lightly to distribute. Turn pan over and tap lightly to remove excess flour.
  • Pour cake batter into the pan. Bake for 50 minutes or until the skewer comes out clean. Meanwhile make the syrup.
  • Combine all the ingredients for the syrup in a small pan. Bring to the boil until sugar is dissolved and you get a slightly thick consistency. Cool down.
  • When cake is ready, remove from oven and cover with a large plate for 10 minutes. Use kitchen mitts to invert pan and remove cake. Your cake should slide out perfectly.
  • Make several small holes on your cake using a toothpick then brush the cake with the syrup. Leave to cool completely.
  • When cake is completely cool, make the glaze by placing the icing sugar in a medium bowl and whisking the lemon juice in. Start with half and keep adding until you get the consistency you want just be careful that you don't make the glaze too thin, test it by checking how quick it drips from your spoon. You want a slow drip to get that nice drizzle effect.
  • Leave the glaze to set for 10-15 minutes then your cake is ready to serve.

Notes

You can make this in a large loaf pan if you don't have a bundt pan. Here are some notes if you're doing this:

  1. It's the same baking time and temperature.
  2. You don't have to use butter and flour to grease the pan, I simply use spray oil and line the tin with baking paper.
  3. You don't need to cover the pan with a plate after removing from the oven, just cool it down completely in the pan.

Chocolate tart is probably one of my favorite desserts to serve. It never gets old, it’s a crowd pleaser and goes well with anything from fresh berries, berry puree, vanilla ice cream, salted caramel, and the list goes on. Be forewarned though, this dessert was made for the chocolate lovers, and this is not extremely popular with kids. I recommend using Valrhona Guanaja 70% or an equivalent high quality dark chocolate, this is not the dessert to skimp on your chocolate, use your cheaper chocolate for chocolate chip cookies or brownies, but for this, I can’t emphasise it enough, USE HIGH QUALITY CHOCOLATE. Why? Because there’s no sugar in the filling, so the chocolate flavour is intense and if it’s not the great kind, it will just be bitter and not pleasant at all.

My recipe was adapted from the late Joel Robuchon’s Tarte au Chocolat recipe. I added a few of my own tweaks and I think mine has richer flavours compared to the original. I wrote this recipe as simple to follow as possible, and I give you the option to make everything from scratch or to get store-bought pastry for the shell. I also have some optional ingredients like brown butter and raspberry puree, depending on how special you want the tart to be. The addition of these two things makes this tart next level, I promise. So if you can, I suggest you go all out. Otherwise, without the optional ingredients, the tart is still amazing with a scoop of vanilla ice cream or even by itself.

I cool my tart down in the oven with the door left ajar. I leave it in there for an hour to two hours and by then the chocolate sets. Note thought, I live in Sydney, Australia and I don’t know if this would work the same in warm places, if the tart still looks super soft after 2 hours, refrigerate it until it sets. This process of cooling down the tart slowly, prevents cracking. I recommend serving the tart on the same day, but you can make it ahead a day before and keep it at room temperature, again, if you live in warmer climate, best to refrigerate. If you need a visual guide, you can watch the video below on how to make this chocolate tart. Don’t forget to like and follow!

 
Difficulty: Easy

Baked Chocolate Tart

1 x 25-28 cm tart


Ingredients

    For the tart:
  • To serve:
  • Optional raspberry puree:

Instructions

0/14 Instructions
    Make the tart:
  • Follow the recipe for the shortcrust pastry (see notes for my recipe or the packet instructions if you bought your pastry). The tart shell should already be blind baked and should just be cooling down.
  • Preheat oven to 120C.
  • Start making the filling. Chop chocolate and brown butter (if using) into small pieces and place in a medium bowl.
  • In a small sauce pan, bring the cream, milk and vanilla to the boil then pour on top of chocolate.
  • Let sit for a minute then start stirring vigorously with a wooden spoon or mariz (rubber spatula) until smooth.
  • Add eggs one at a time whisking until combined.
  • Pour the mixture into the tart shell and bake for 45 minutes. The centre of the tart will still be wobbly.
  • Turn the oven off and leave the door slightly ajar. Let the tart cool down in the oven for 1-2 hours until it's set. At this stage it shouldn't wobble at all.
  • Optional raspberry puree:
  • Bloom gelatin by sprinkling it on top of the water. Set aside.
  • Bring all other ingredients the boil. Blend until smooth, being careful with the hot liquid.
  • Add the gelatin, mix and strain. Refrigerate until set.
  • Blend to a smooth puree and serve alongside tart.
  • To serve:
  • Slice tart with a hot sharp knife with a thin blade. This will ensure you have sharp edges. Wipe knife after each stroke for a clean cut.
  • Serve chocolate tart slice by itself or with vanilla ice cream and raspberry puree or fresh raspberries (if using any).

Notes

  1. You can either use store-bought shortcrust pastry or use my simple sweet shortcrust pastry recipe.
  2. Brown butter adds a nice nutty flavour to the tart, but it's optional. You can watch how to make brown butter here.

I love a good cheesecake, and a lot of people I know do too. The only problem is, they say they get disappointed each time they order a cheesecake for dessert. To be honest, I agree… The cheesecake game is not strong in Sydney, however, I am hoping to change that! My cheesecakes are my most requested dishes to bring to family and friends’ events. I am not joking when I say that since I started selling cakes online, my cheesecakes combined make up 75% of the online orders, not including bespoke events and custom cakes. So if you’re not the bake it from scratch type, check out my kitchen to see my different cheesecakes by clicking the button above or order this cheesecake below!


View this post on Instagram


A post shared by Joanne | Mrs.FancyPants (@mrs.fancypants.recipes)

This recipe is perfect for summer because it doesn’t require an oven, it is also quite easy to make, but it’s essential to use good quality chocolate. I didn’t use any gelatine in this recipe, so the ganache helps set your cheesecake. The recipe is basically mix and chill. Chilling is at least 4 hours to give it ample time to set. This is definitely not gluten-free or dairy-free but since there are no eggs, this is safe for pregnant women.

I love this with seasonal fruit, but you can have it by itself. I you make this, let me know what you think via the comments section below. This is a crowd-pleaser without being too challenging to make, all you need to do is to make sure your ingredients are room temperature! Aside from that, you can keep your ovens off and smile at the fact that there is no chance that this cheesecake would crack. Good luck!

 
Difficulty: Medium

White Chocolate Cheesecake

makes 1 x 20cm (8’ springform)

Ingredients

    For the crust
  • For the filling

Instructions

0/5 Instructions
    First melt the chocolate:
  • Place chocolate in a heatproof bowl. In a small pot, bring cream to the boil then pour on top of the chocolate. Let it stand for a minute then whisk until smooth. Set aside to cool down.
  • Now make the crust:
  • In a large bowl, mix digestive biscuit crumbs and brown butter until it resembles wet sand. Take a 20cm (8in) round springform pan and press crumbs into the bottom and all the way up the sides with the back of a measuring cup. Chill until filling is done.*
  • For the filling:
  • In the bowl of your stand mixer fitted with a whisk attachment, or a large mixing bowl with a handheld mixer, whisk cream cheese on medium speed until fluffy then add yogurt and vanilla then whisk for 1 minute. Turn up mixer to high speed then add sugar a spoonful at a time and mix until smooth.
  • Turn mixer down add the melted chocolate and cream. Then whisk on high until smooth. Pour filling into prepared pan, then with a hot offset spatula or spoon, flatten the top. Chill to set for at least 4 hours.
  • To serve:
  • Top with fresh mango slices, berries, passionfruit pulp, caramelised pineapple, the list is endless. Use a hot knife to cut a slice and wipe it after each time you cut into the cheesecake to get a clean slice.

Notes

  • Graham crackers is not readily available in Australian supermarkets, so I have now adjusted to using digestive biscuits and Oreo cookies for my cheesecake crusts. I use the Oreo cream too, so there’s no wastage. If you don’t like a chocolate crust or if chocolate doesn’t go with your filling, you may use golden Oreos instead, or digestive biscuits are really good. When using Oreos for the recipe, reduce the brown butter to 80g because the cream helps hold the crust together.
  • Measurement of brown butter is based on yield after unsalted butter has been cooked. Please watch this video on how to make brown butter or beurre noisette.
  • If yogurt is unavailable, you may substitute sour cream. I prefer yogurt because it’s texture is lighter than sour cream and cream cheese. 
  • Pressing the crumbs all the way up the springform pan takes practice and patience, so don’t give up on it too easily if you love having good cheesecake to crust ratio. Just take your time and you’ll get the hang of it. If you do not want the crust all the way around the sides of your cheesecake, use only 1/2 of the crust recipe above. This should be enough to cover the bottom plus a few spoonfuls extra for snacking.


I never considered sharing my brownie recipe earlier because I thought it’s one of those made-to-your-preference kind of food. That’s why, if you google “best brownie recipe” so many results come up, because bakers have their own brownie recipe cut-out to their taste. Gooey or cake-y, dark chocolate or milk chocolate, melted chocolate or cocoa powder, frosting or no frosting, and the list goes on. Different ratios, resulting to different textures and density. So I am proceeding with caution. I am not claiming that these are the best brownies ever, but these are definitely not for the faint-hearted. It’s a chocolate-lovers dream, every bite is an indulgence, so I only make this maybe twice a year and make sure I share the love!

Anyway, I made this today because I wanted to make a dairy-free & gluten-free version but I want them to taste the same. To begin my experiment, I needed a control and a variable which means I need to make both versions for my blind taste-test. I was scared of suffering from brownie overload so I divided the normal version into nuts, plain (because my husband has a nut allergy) and dulce de leche (obviously not dairy-free) and the DF/GF version into nuts and plain.

I use dark chocolate, because if you read the recipe, you will notice how much sugar is in it. Almost half a kilo for a batch! To balance out the sweetness, I use 70% dark chocolate and to get that dark colour, I make sure I use dutch processed cocoa powder.

Click on the photos to shop for the products. Most products ship internationally.

Mrs.Fancypants earns a small commission from affiliate links, when you buy the products above. If you’re in Australia, feel free to check the availability on advertised sites.


Also, my recipe is easy, you don’t need a mixer and no melting of chocolate involved. Just need 2 bowls and a whisk to make the batter. Make sure everything is room temperature for easy mixing, especially since you’re not using a mixer.

I use the brownie pan on the left below, but I’ve seen new pans that divide the brownies equally, or have markers to guide you when you portion, like the one on the right. I’ve never tried any pf the new ones though, so if you have, please let me know if they’re good and which brand you use in the comments below.

Click on the photos to shop for the products. Most products ship internationally.

Mrs.Fancypants earns a small commission from affiliate links, when you buy the products above. If you’re in Australia, feel free to check the availability on advertised sites.

Like I mentioned, these are very rich brownies, so cut them on the small side. I did end up with a successful dairy-free and gluten-free version that you can find here, if you’re interested. And if you do make the recipe, feel free to leave a comment below and to tag me on the photos! I love seeing what you make and what recipes you like.

 
Difficulty: Easy Prep Time: 20 Mins Cook Time: 30 Mins Total Time: 50 Mins

Rich & Gooey Brownies

Makes 18 slices

Ingredients

Instructions

0/5 Instructions
  • Preheat oven to 180C no fan or 160C with fan. Grease & line a 33 x 23 x 5 cm (9 x 13 x 2 in) with baking paper.
  • In a medium bowl, sift flour, cocoa and salt together. Set aside. In a large bowl whisk together sugars, butter and vanilla. Add eggs one at a time, fully incorporating each time.
  • Fold in flour mixture until you only see a few flour streaks. Fold in 2/3 of the chocolate and half the nuts until everything is just combined. Do not overmix.
  • Pour into prepared pan. Tap on the bench once to spread the batter. Sprinkle the rest of chocolate and nuts on top. Bake on the middle shelf for 28 minutes for super gooey brownies. Check around 25 minutes just in case your oven is too hot and the brownies are done. The brownie should form a shiny crust on top and still feels soft in the centre.
  • If you like your brownies more firm and set, add 5 minute increments until a total of 35 minutes baking time only. The brownies will get firmer as they cool down. Cool down completely then cut with a hot, sharp knife into 18 squares. Wipe the knife clean after each stroke for sharp edges.

Notes

  • If you're feeling a little adventurous like me, drop a few teaspoons of dulce de leche in the batter before putting in the oven then sprinkle with some flake salt when you take it out.


My mom & husband loves bread & butter pudding, hence, I had to learn how to make the perfect bread & butter pudding. I’m more of a tart, cake and mousse kind of gal, to be honest, but I’d cook and bake anything for my loves.

I like to use thick cut (a.k.a cafe style in Australian supermarkets) fruit toast for this but if you have some brioche leftover, go for it, and I’ve also used leftover croissants at work. If you’re using brioche, it’s pretty easy, same thick slices but skip the butter, you will need the dried fruit that is optional if you use fruit toast. If you have regular size croissants, use 4-5 croissants, skip the butter, and use the dried fruit.

The custard in this recipe is not overly sweet, but has a beautiful vanilla flavour from the generous amount of vanilla paste. Please use vanilla paste in your baking and refrain from using vanilla essence, I promise there’s a huge difference and your baked products would be so much better! If you have access to good vanilla beans, use those instead, but vanilla paste is the next best thing. You can find vanilla paste in your local supermarket or on Amazon:

I wrote this recipe as straightforward as I could, but a lot of people struggle with custard, and end up with sweet scrambled eggs. My tips for a successful custard sauce: low and slow is key, low heat for this amount, and constant stirring. Get your strainer, bowl for the custard and bowl of ice ready. If you end up overcooking the sauce, don’t try to serve it, just serve the pudding with a scoop of vanilla ice cream. I’ve read tips on how to save overcooked creme anglaise and custard, and in my honest and humble opinion, there is no saving it. The taste and smell is just different, it’s very, very eggy. And I don’t know about you, I love scrambled eggs in the morning, but not for dessert.

So have a go at this recipe. As you could tell, I have made this a few times using a number of different bases and it totally works. Tag me on Instagram or send me a message on Facebook or email if you have any questions! Good luck and have fun baking and eating!!!

Click on the photos to shop for the products. Most products ship internationally.

 
Difficulty: Easy Prep Time: 10 Mins Cook Time: 25 Mins Total Time: 35 Mins

Bread & Butter Pudding

Serves 4


Ingredients

  • For the custard

Instructions

0/6 Instructions
  • Butter the fruit slices then cut in half. Some people trim the crust, in this case you will need 8 slices of fruit toast, if you keep the crust, 7 slices is enough. Use the leftover butter to grease a 20 x 15 x 5 cm baking dish. Place the fruit toasts in the baking dish with the dried fruit, if using, then set aside.
  • Preheat oven to 150C. In a medium sauce pan, bring vanilla, milk and cream to the boil. In a separate bowl, whisk the eggs and sugar.
  • When the liquid boils, slowly pour it into the egg mix while continuously whisking. Strain the custard then pour into the bread inside the baking dish. The bread will start absorbing the liquid. Just keep topping up until the absorption stops and you can see the custard around the bread. I use about 700 ml of my custard and and would have 300 ml left over. Set the leftover custard aside.
  • Sprinkle raw sugar evenly on top of the bread and bake for 25-30 minutes or until the custard is just set but still wobbly.You will notice the bread would puff up, at this stage you do not want to over cook the custard because it will taste eggy. Once ready, take out of the oven and let rest on the counter. Serve warm.
  • While the pudding is baking, put the leftover custard in a small pot and stir continuously until it starts to coat the back of the spoon. Strain into a bowl over ice water and whisk until it cools down. This will be your extra sauce.
  • To serve, cut the bread and butter pudding into 4 and serve the sauce on the side or on top.

Notes

  1. If you prefer brioche, use brioche with a cup of chopped mixed dried fruit like cranberries, apricots and sultanas. This is so yummy!
  2. Some cafes also use leftover croissants, but I've only done this at work and forget how many I use. but I would say 4 standard croissants and same amount of dried fruit as above.