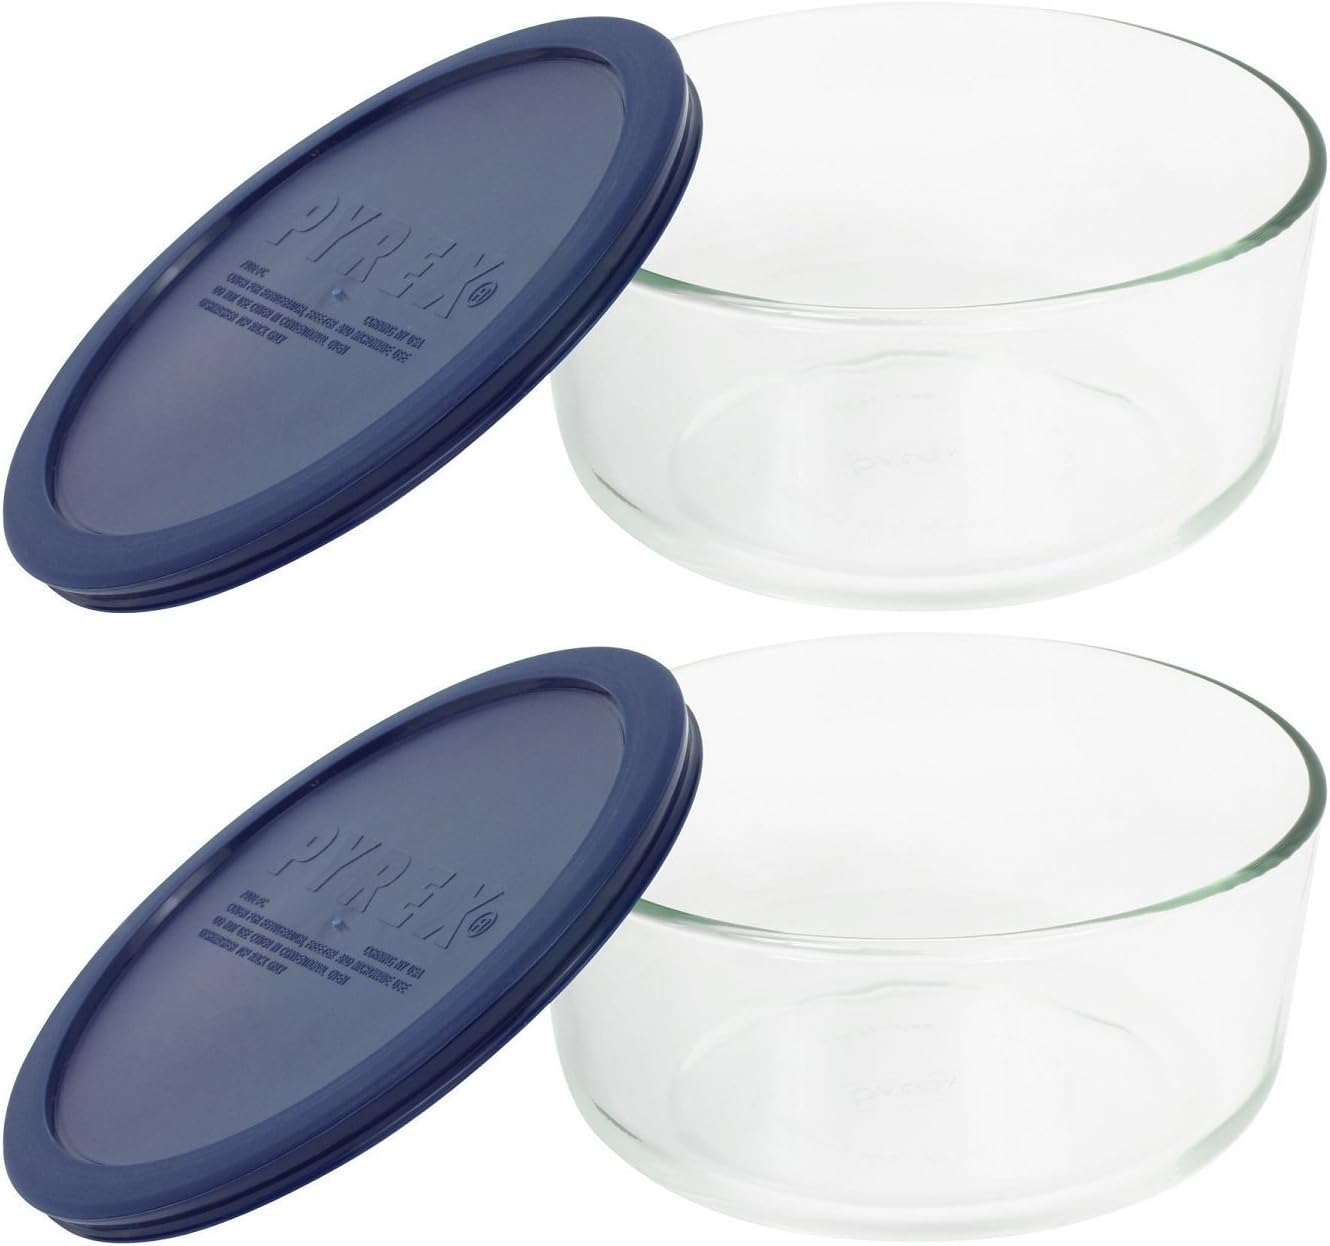
There are a few versions of custard desserts cooked in a bain-marie (water bath) with caramel. To name a few, there’s creme caramel, creme brûlée and flan. I would have simply said this is a recipe for leche flan which is a Filipino dessert, but I bake mine and traditionally leche flan is steamed in oval aluminium flan moulds called llanera. If you live overseas and can’t find a llanera, I use 2 of the round 950mL Pyrex glass dishes and it works very well. Or you can make a big one using a large white ramekin but that would take longer to cook. In the photos below, I use the ones on the left and traditionally, leche flan is cooked in the moulds on the right. If you want a rich & creamy dessert, read through my post to get the best tips before trying the recipe at home. Then you’ll have the best chance of getting the recipe right!

Click on the photos to shop for the products. Most products ship internationally.

Mrs.Fancypants earns a small commission from affiliate links, when you buy the products above. If you’re in Australia, feel free to check the availability on advertised sites.

Why should you use a bain-marie? A water bath or a bain-marie ensures even distribution of heat and prevents the custard from becoming sweet scrambled eggs. Make sure there’s plenty of water because if the water dries out then you’ll also end up with scrambled eggs. I like my water level to be the same as the custard just to be safe.

The caramel is straight up sugar and is relatively easy to make. Just have everything ready to go so you don’t get flustered when the caramel starts to turn amber, because it happens very quickly from then. I like mine deep amber, but not dark brown which means the caramel has burnt and will be bitter. When you’ve achieved the colour you like, add the vanilla, be careful because the sugar will start to bubble. Swirl the pan then pour into the cooking dishes.

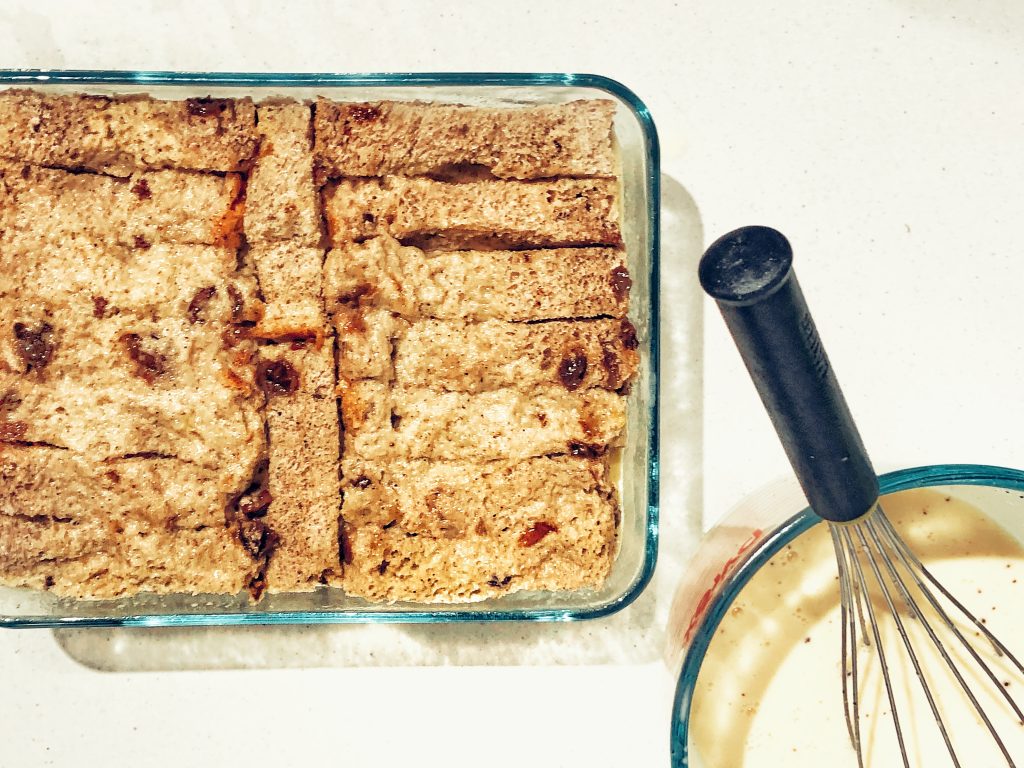
The custard itself is easy as well, if you follow the instructions in the recipe, you will end up with a rich and creamy leche flan. I use a wooden spoon instead of a whisk to avoid making air bubbles, and I also strain the mix into the baking dishes. Another good thing to remember is to use hot water for the water bath because that will also affect the cooking time, if you use cold water, the custard will not start cooking until the water reaches a certain temperature.

Photo c/o Australian Eggs

Now for my last tip, make sure you use good quality eggs. I use Australian extra large eggs which is US large, the total egg weight is about 55g. I also use good quality vanilla. This dessert only has a few ingredients, and it’s fairly simple, so using great quality ingredients really is key to make this outstanding.

Now it’s time for you to give this a try! If you do, feel free to let me know how you like this recipe in the comments section below. Also, don’t be shy and connect with me on social media so I can see your yummy creations.

 
Difficulty: Easy Prep Time: 5 Mins Cook Time: 1 Hr 30 Mins Total Time: 1 Hr 35 Mins

Baked Creamy (Leche) Flan

Ingredients

  • For the caramel

Instructions

0/7 Instructions
  • Spray 2 flan tins or 2 round 4 cup baking dishes. Place the sugar in a small clean sauce pot, then put over medium/low heat. The sugar will start melting and turning to caramel, swirl occasionally to distribute heat.
  • Once all the sugar is melted and amber, take off the heat. Add the vanilla and water, being careful because it will sputter. Pour the caramel into prepared dishes. Set in fridge.
  • Preheat oven to 130C. In a medium bowl, using a wooden spoon beat the eggs and egg yolks until smooth being careful not to create air bubbles. Add the vanilla, condensed milk and milk. keep stirring until everything is incorporated.
  • Take the baking dishes out and place in a roasting pan big enough to hold both. strain the egg mixture into each dish making sure you distribute the mix evenly.
  • Pour hot water into the roasting pan to create a water bath. The water should be the same level or just below the egg mix in the dishes. Cover tightly with aluminium foil.
  • Bake for 1 hour or until the sides are set but the centre is still a touch wobbly. Take out of the oven, take the dishes out of the water bath and cool down in you fridge for at least 4 hours.
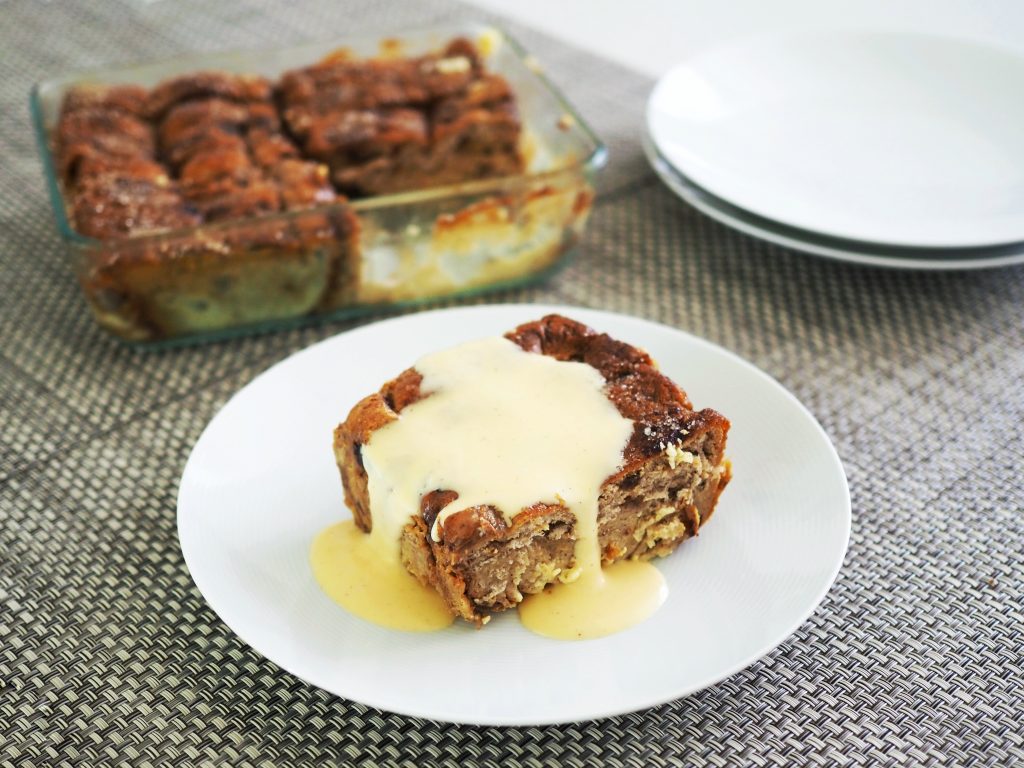
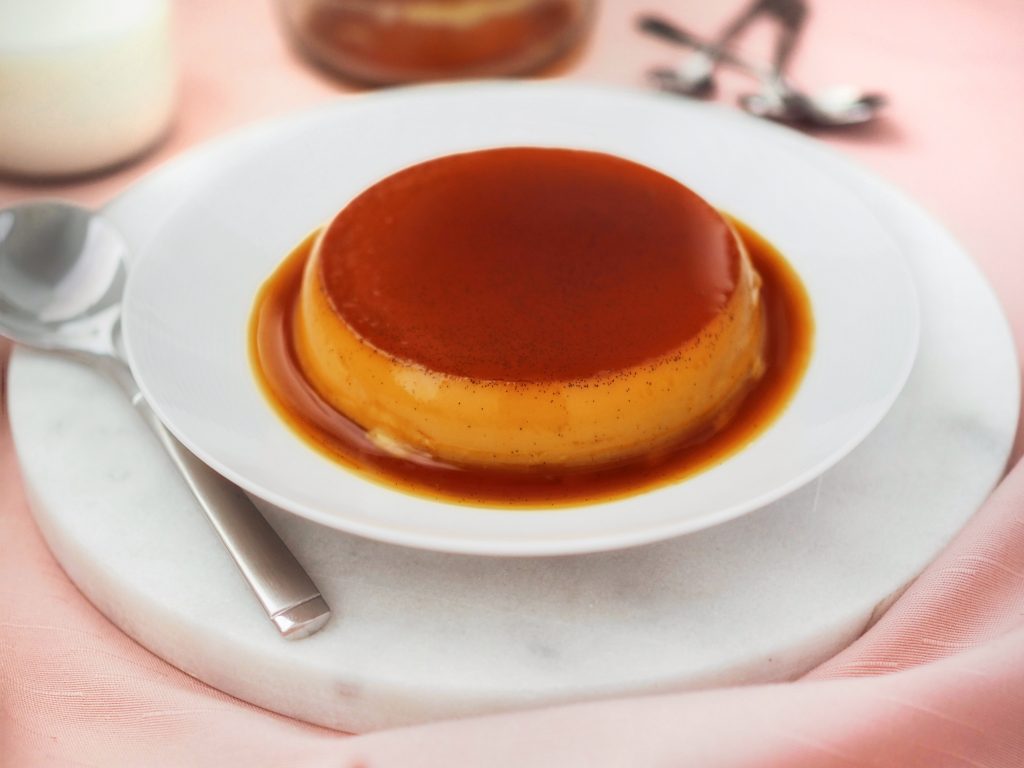
  • To serve, loosen the sides of the flan and turn over onto a shallow bowl. The caramel side will be on top with the rest drizzling down the side.


I didn’t know what a pavlova was until I moved to Australia. And man, was I missing out big time. I think a perfect pavlova and a perfect soufflé are my top 2 desserts of all time. Both of these desserts are absolutely beautiful when done right.

So what is a pavlova? It is a meringue based dessert that has a crispy shell and a fluffy inside. You know you’ve succeeded if your end product has a snow white and crispy outside and a soft, pillowy inside. But no pressure, it’s super easy! ?

I recommend you read the whole recipe, then print it so you can write your own notes. All ovens are different, so if it’s your first time, you need to watch the colour closely. I say 120C but maybe you have a smaller oven, or your oven has hot spots, so you might need to turn it down to 100C. I know my oven well and leave mine at 100C, but in all the other ovens that I’ve baked in 120C no fan was the safer bet, now some ovens don’t let you turn the fan off, in this case you need to go for 90-95C. Obviously, you need an oven thermometer for this–and in my humble opinion, for baking in general. Baking requires precision and attention to detail, and having an oven thermometer gives the assurance that the oven is at the right temperature.

The best thing about a pavlova is you can simply change the toppings and garnish to what you have available. Fruit and cream are very popular but I like to use the egg yolks left from the egg whites, so I made a creme patissiere. Availability of fruit is different around the world and through the seasons, so don’t limit yourself to blueberries. I have another recipe that uses lemon cream, raspberries and peaches pictured below. You can shape it however you like as well, make it taller or wider, it’s all up to you.

pavlova with lemon cream, raspberries and peaches recipe

I made a video to guide you through the most important part which is making the meringue. It’s very simple, but requires patience. The key is to whisk on medium not high speed and add the sugar slowly then make sure all the sugar is dissolved. For this recipe, it’s really handy to use caster sugar, but if you only have granulated, you can make it finer by pulsing it in the blender or food processor otherwise, the whisking may take up to 45 minutes. With caster sugar, mine takes about 23 minutes, and if I blend my caster sugar finer, 18 minutes.

Another thing people ask me is if they need a stand mixer and which one I recommend. I personally use Kenwood Chef Sense XL (pictured below) which I now have for 4 years. Keep in mind that I use it a lot and I also make dough, so the big capacity is great and it’s an investment for me. If you really want a Kitchenaid, I think the Kitchenaid Artisan KSM160 is good value because you get 2 size bowls for the price, and of course, you get to choose from an array of colours. However, if you’re just trying baking out, a hand mixer would do the job and save you $$$ if you realise it’s not for you. Before I bought my big mixer, I would knead my dough by hand and only had the Sunbeam Beatermix Pro, which I still keep in the drawer in case of emergency!

Mrs.Fancypants earns a small commission from affiliate links, when you buy the products above. If you’re in Australia, feel free to check the availability on advertised sites.

Now you should be all set to make a beautiful pavlova! I’m always excited to know if you’ve had success and if you have any questions, so feel free to comment below or get in touch on Instagram by tagging @mrs.fancypants.recipes or using #mrsfancypants. Remember to have fun while you’re baking!

 
Difficulty: Medium Prep Time: 25 Mins Cook Time: 1 Hr Total Time: 1 Hr 25 Mins

Pavlova

with Blueberries, Passionfruit & Creme Patissiere

Serves 4

Ingredients

  • Creme Legere
  • Toppings

Instructions

0/14 Instructions
  • In a bowl of a stand mixer, with your whisk attachment, sprinkle the cream of tartar on top of the egg whites and start whisking on medium speed until it gets frothy.
  • Gradually add a spoonful of sugar at a time. Do not rush this step, as you want the sugar to fully dissolve.
  • Once you’ve added all the sugar, leave the mixer as it is and get your baking tray ready. I don’t have a silicone mat at home, so I normally use baking paper, and draw a circle with about 15cm diameter on it. I grease both sides of the baking paper and stick the side with the drawing on the baking tray so the ink doesn’t bleed into my pavlova. Greasing or spraying both sides with oil will help release your pavlova later, and also stops the paper from moving around while you’re working on your pavlova. More importantly, this will prevent cracking. Set your baking tray aside and preheat your oven to 120C no fan.
  • Keep whisking until all the sugar is dissolved, you should see a glossy white meringue at this stage. You can test this by pausing the whisking and feeling the meringue between your forefinger and thumb. If you can’t feel anymore sugar crystals, then your meringue is ready. The amount of time this takes, depends on how fine your sugar is. I normally use superfine caster sugar and it takes me about 18 minutes to get to this stage at medium speed. Normal granulated sugar would take much longer. Remember to be patient.
  • When your meringue is finally at the right stage, fold in the vinegar. You can use any WHITE vinegar you have on hand. You want the pavlova as white as snow and coloured vinegar gives it a tint.
  • Sift the cornflour on top of the meringue and fold in gently, until it’s incorporated. Now you’re ready to shape your meringue.
  • Pile the meringue in the centre of your circle. Then push it down to shape it using the circle as your guide. This way, you won’t have any air pockets. You can also put the meringue in a piping bag and pipe it into the shape and design you like.
  • Now it’s time to turn your meringue into a beautiful pavlova. Put the tray in the oven and bake for 1 hour. Do not open the door and once the hour is finished, turn the oven off and leave your pavlova in the oven to cool down for at least 2 hours. If your oven runs hot, or if you have a smaller oven, check that your pavlova is not getting any colour, if it is, turn down the oven to 100C.
  • While your pavlova is baking, make the creme patissiere: In a medium sauce pan, bring milk, cream and vanilla to the boil. Place the sugar, yolks and cornflour in a bowl then whisk until you have a thick, smooth paste.
  • When the liquid boils, pour half very slowly into your egg yolk mix to temper the eggs while continuously whisking. It takes practice to do this on your own, but putting your bowl on a wet tea towel prevents it from slipping around while you whisk and pour at the same time.
  • Once you've poured half of the liquid in, pour the egg mix back into the sauce pan with the rest of the liquid and keep whisking. This is now the base of your creme patissiere. Put the saucepan back on the stove over medium heat and keep whisking until the custard thickens and starts to bubble.
  • Do not stop whisking until you see the custard bubble then count 2 minutes and take the sauce pan off the heat. Whisk in the butter.
  • Pour the creme patissiere into a bowl and immediately cover the surface with plastic wrap, making sure the plastic wrap is touching the whole surface. This is to prevent a custard skin from forming on top. Chill to 4C.
  • By the time the pavlova cools down, the creme patissiere should also be cold. Make sure you assemble the just before serving your pavlova: Whip the remaining 150g thickened cream to soft peaks then fold into creme patisserie. Cut the passionfruit in halves and spoon out the pulp. Mix with blueberries then set aside. Place the pavlova on the serving platter. Dollop the creme patissiere on top of the pavlova by using a big spoon or use a piping bag to pipe it on top, or simply serve it on the side. Top with blueberries and passionfruit. Serve immediately.

Notes

  1. I recommend using caster sugar when making meringue based desserts because it dissolves faster since it has smaller granules. If you don't have caster sugar, you can pulse your granulated sugar until it's finer in a food processor or blender.


My mom & husband loves bread & butter pudding, hence, I had to learn how to make the perfect bread & butter pudding. I’m more of a tart, cake and mousse kind of gal, to be honest, but I’d cook and bake anything for my loves.

I like to use thick cut (a.k.a cafe style in Australian supermarkets) fruit toast for this but if you have some brioche leftover, go for it, and I’ve also used leftover croissants at work. If you’re using brioche, it’s pretty easy, same thick slices but skip the butter, you will need the dried fruit that is optional if you use fruit toast. If you have regular size croissants, use 4-5 croissants, skip the butter, and use the dried fruit.

The custard in this recipe is not overly sweet, but has a beautiful vanilla flavour from the generous amount of vanilla paste. Please use vanilla paste in your baking and refrain from using vanilla essence, I promise there’s a huge difference and your baked products would be so much better! If you have access to good vanilla beans, use those instead, but vanilla paste is the next best thing. You can find vanilla paste in your local supermarket or on Amazon:

I wrote this recipe as straightforward as I could, but a lot of people struggle with custard, and end up with sweet scrambled eggs. My tips for a successful custard sauce: low and slow is key, low heat for this amount, and constant stirring. Get your strainer, bowl for the custard and bowl of ice ready. If you end up overcooking the sauce, don’t try to serve it, just serve the pudding with a scoop of vanilla ice cream. I’ve read tips on how to save overcooked creme anglaise and custard, and in my honest and humble opinion, there is no saving it. The taste and smell is just different, it’s very, very eggy. And I don’t know about you, I love scrambled eggs in the morning, but not for dessert.

So have a go at this recipe. As you could tell, I have made this a few times using a number of different bases and it totally works. Tag me on Instagram or send me a message on Facebook or email if you have any questions! Good luck and have fun baking and eating!!!

Click on the photos to shop for the products. Most products ship internationally.

 
Difficulty: Easy Prep Time: 10 Mins Cook Time: 25 Mins Total Time: 35 Mins

Bread & Butter Pudding

Serves 4


Ingredients

  • For the custard

Instructions

0/6 Instructions
  • Butter the fruit slices then cut in half. Some people trim the crust, in this case you will need 8 slices of fruit toast, if you keep the crust, 7 slices is enough. Use the leftover butter to grease a 20 x 15 x 5 cm baking dish. Place the fruit toasts in the baking dish with the dried fruit, if using, then set aside.
  • Preheat oven to 150C. In a medium sauce pan, bring vanilla, milk and cream to the boil. In a separate bowl, whisk the eggs and sugar.
  • When the liquid boils, slowly pour it into the egg mix while continuously whisking. Strain the custard then pour into the bread inside the baking dish. The bread will start absorbing the liquid. Just keep topping up until the absorption stops and you can see the custard around the bread. I use about 700 ml of my custard and and would have 300 ml left over. Set the leftover custard aside.
  • Sprinkle raw sugar evenly on top of the bread and bake for 25-30 minutes or until the custard is just set but still wobbly.You will notice the bread would puff up, at this stage you do not want to over cook the custard because it will taste eggy. Once ready, take out of the oven and let rest on the counter. Serve warm.
  • While the pudding is baking, put the leftover custard in a small pot and stir continuously until it starts to coat the back of the spoon. Strain into a bowl over ice water and whisk until it cools down. This will be your extra sauce.
  • To serve, cut the bread and butter pudding into 4 and serve the sauce on the side or on top.

Notes

  1. If you prefer brioche, use brioche with a cup of chopped mixed dried fruit like cranberries, apricots and sultanas. This is so yummy!
  2. Some cafes also use leftover croissants, but I've only done this at work and forget how many I use. but I would say 4 standard croissants and same amount of dried fruit as above.