By this stage, I was over the moon, because I don’t know about you, but when I test recipes, they’re not usually a raging success on the first go, moreso two gos in a row! You can imagine my excitement, right? Probably not, but I’m telling you, it might have been the sugar rush from all the brownie testing, but I was extremely delighted.


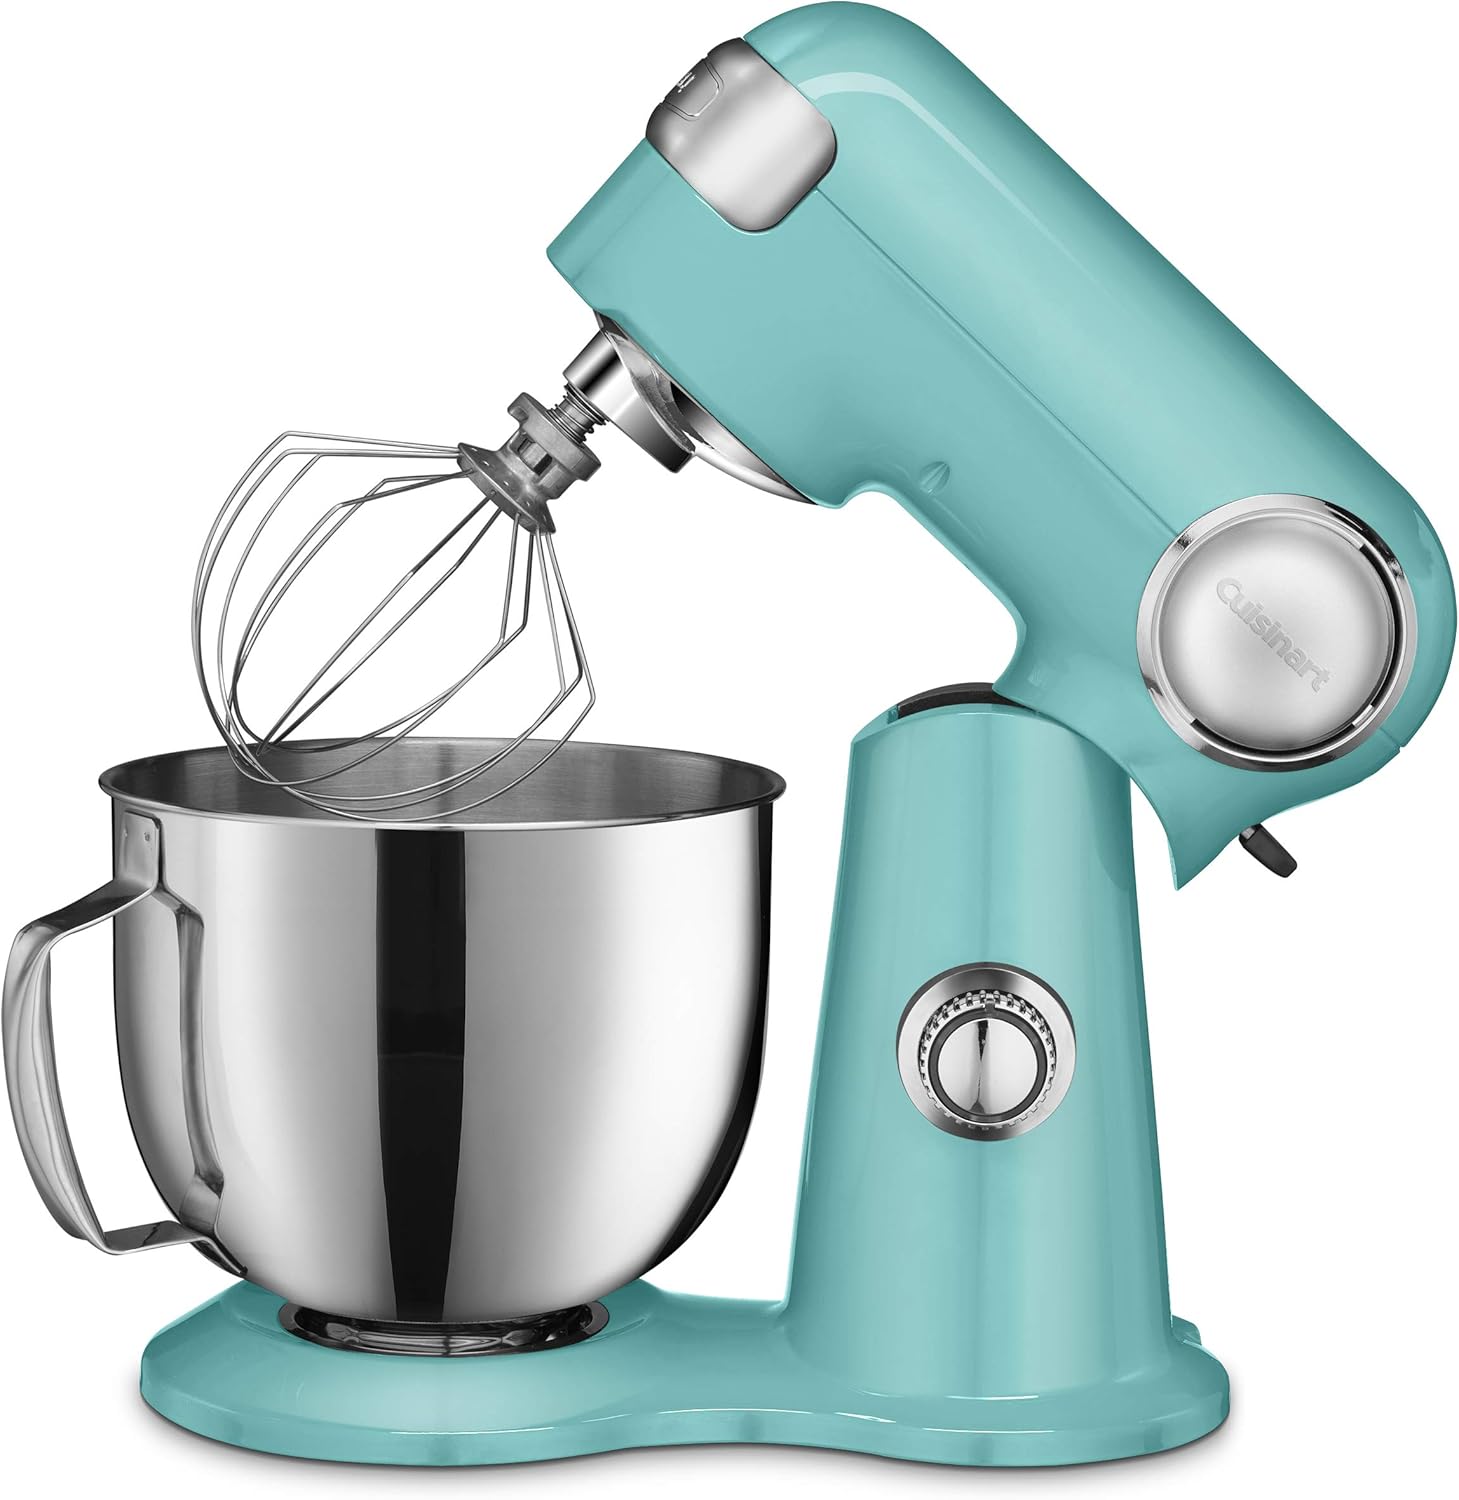
Click on the photos to shop for the products. Most products ship internationally.
Mrs.Fancypants earns a small commission from affiliate links, when you buy the products above. If you’re in Australia, feel free to check the availability on advertised sites.
So, yes, if you love coconut, by all means, use coconut oil. A good thing to note, most good quality dark baking chocolate is dairy-free. Also, cocoa butter is a non-dairy product, as much as a lot of people mistake it to be so. I of course use my favorite Valrhona Guanaja 70% because the bitterness balances the sweetness of the batter. You can use any chocolate brand that you want, just check that it’s dairy-free. If you want it to be extra and don’t mind cost, use half almond meal and half GF flour. I have to mention that the GF version takes longer to bake, though. So start checking around 28 minutes instead of 25.

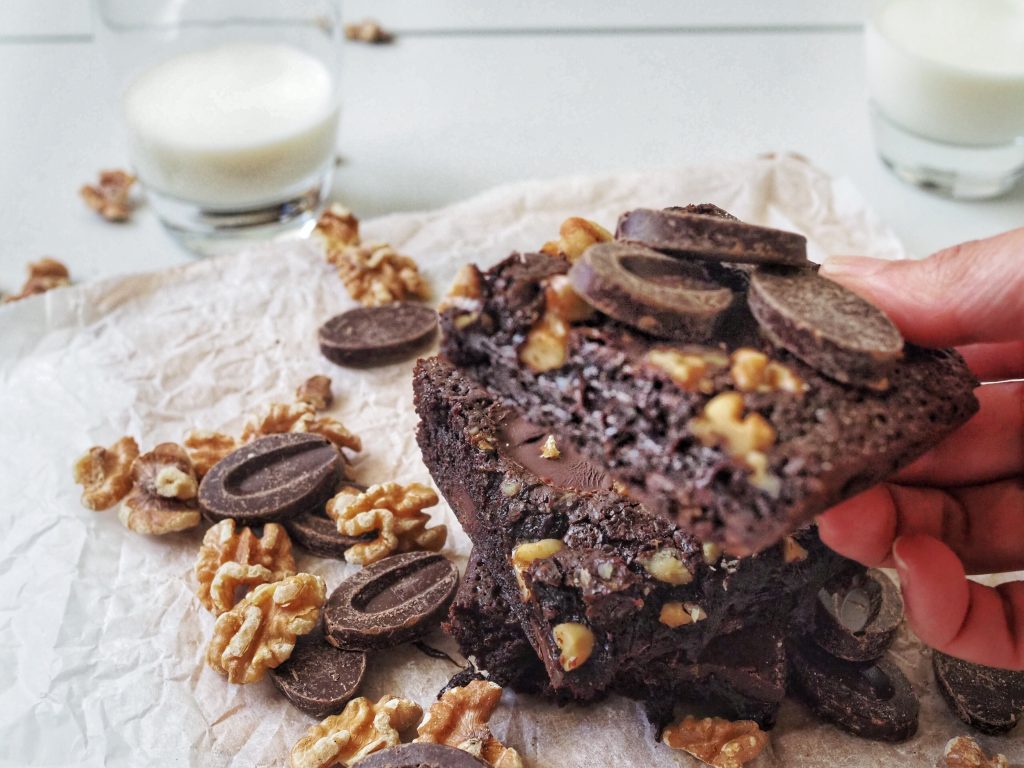
I then carried out my blind taste-test, and not one of my audience thought they were eating a GF/DF version of a brownie! Success!!! Please try this recipe and my gooey brownies let me know if you agree with me or not. I am positive this tastes like a regular brownie, and it’s backed by my own study. LOL. Have fun baking! Don’t forget to comment below and tag me on your baking photos!
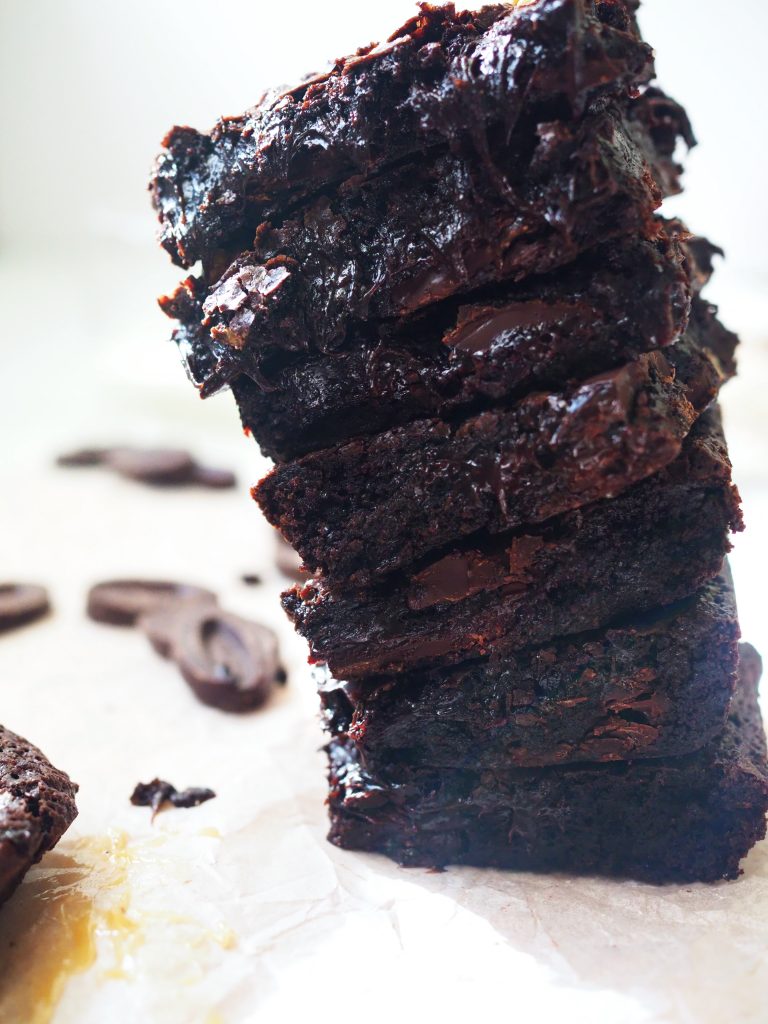
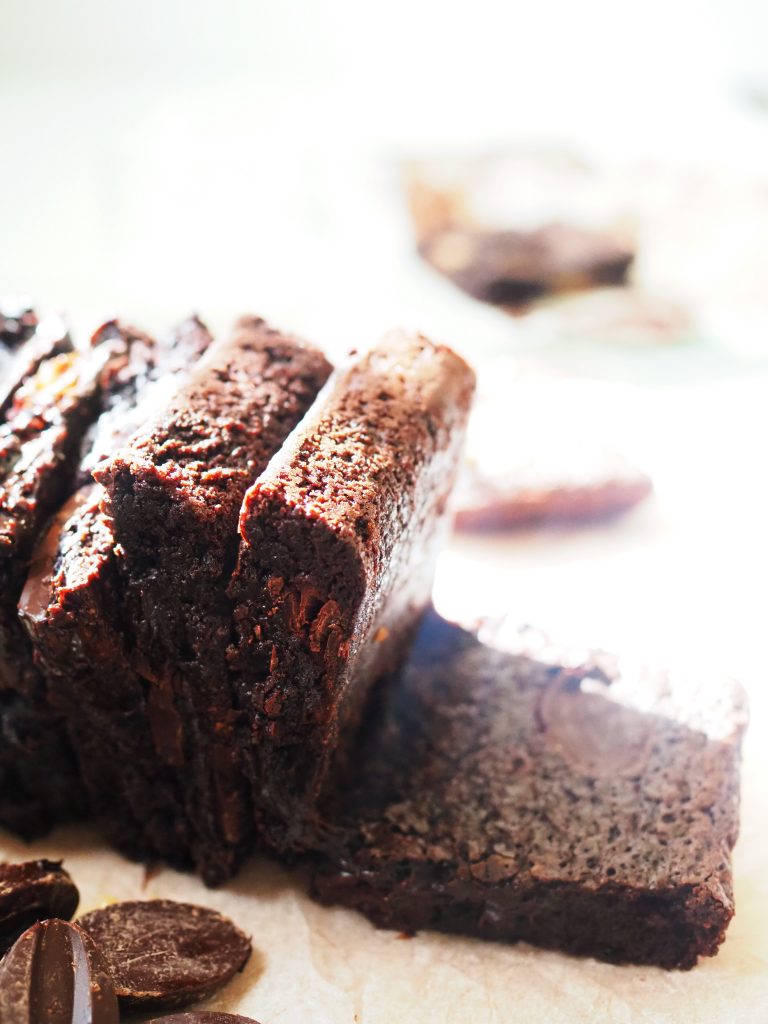
Dairy-free & Gluten-free Brownies
Makes 18 slices
Ingredients
Instructions
- Preheat oven to 180C no fan or 160C with fan. Grease & line a 33 x 23 x 5 cm (9 x 13 x 2 in) with baking paper.
- In a medium bowl, sift flour, cocoa and salt together. Set aside. In a large bowl whisk together sugars, nuttelex and vanilla. Add eggs one at a time, fully incorporating each time.
- Fold in flour mixture until you only see a few flour streaks. Fold in 2/3 of the chocolate and half the nuts until everything is just combined. Do not overmix.
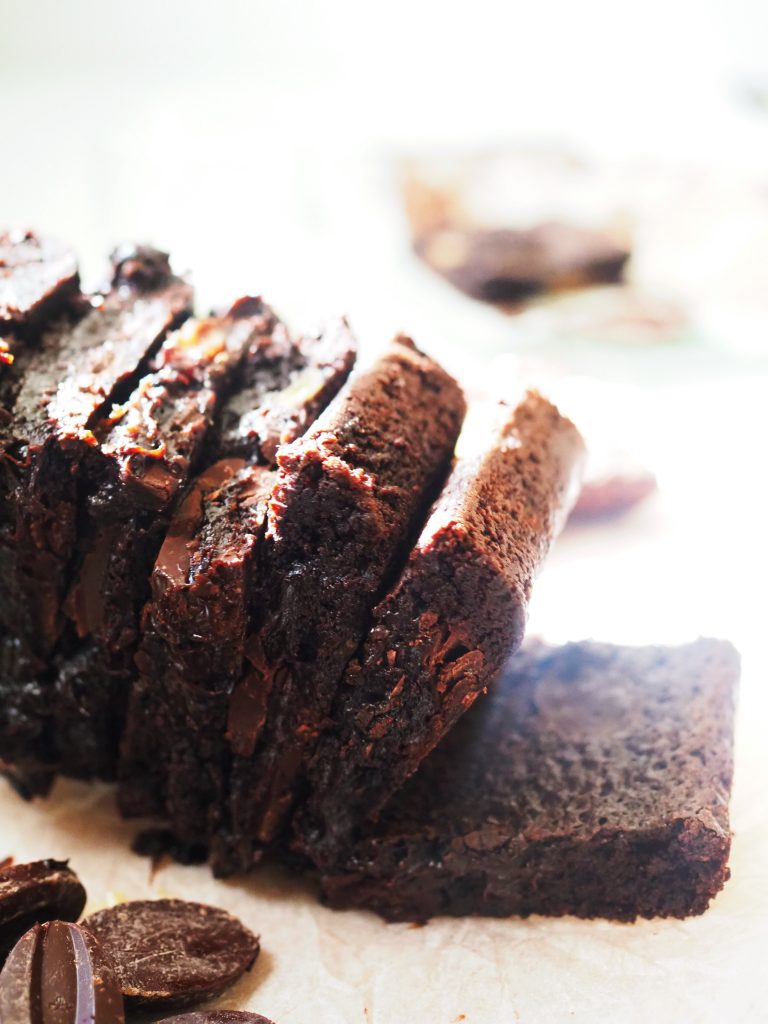
- Pour into prepared pan. Tap on the bench once to spread the batter. Sprinkle the rest of chocolate and nuts on top. Bake on the middle shelf for 30 minutes for super gooey brownies. Check around 28 minutes just in case your oven is too hot and the brownies are done. The brownie should form a shiny crust on top and still feels soft in the centre.
- If you like your brownies firmer and more set, add 5 minute increments until set. Remember the brownies will get firmer as they cool down. Cool down completely then cut with a hot, sharp knife into 18 squares. Wipe the knife clean after each stroke for sharp edges.
Notes
- Nuttelex Buttery is actually margarine but I use this brand because the taste is not like other margarines. You can also opt for coconut oil and other butter substitutes.
- Pure cocoa powder (dutch processed or not) should be gluten-free
- Make sure the 70% chocolate is dairy-free, I used Valrhona Guanaja 70% but there are plenty of good quality baking chocolate that are dairy-free too, like Ghirardelli & Callebaut.