Do you like having picnics at the park? I didn’t when I lived in the Philippines, mainly because of the heat. When I moved to Australia, there are so many beautiful green spaces that it was just unacceptable not to have picnics! Don’t you agree?
Centennial park is such a great location, it has unlimited parking, a bicycle rental, a few playgrounds, BBQs, picnic tables, plenty of trees, a number of well-maintained gardens, coffee kiosks, and public toilets scattered around. It’s a great place to host a picnic. So I did just that, and it was a lovely sunny day perfect for a gathering with friends.
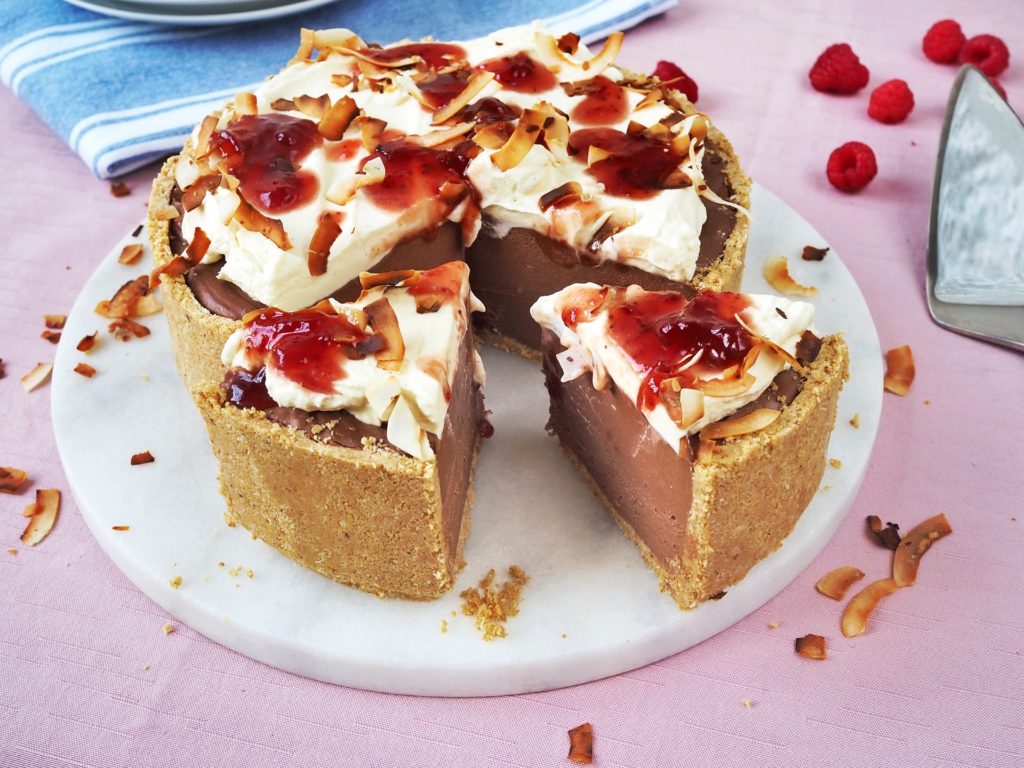
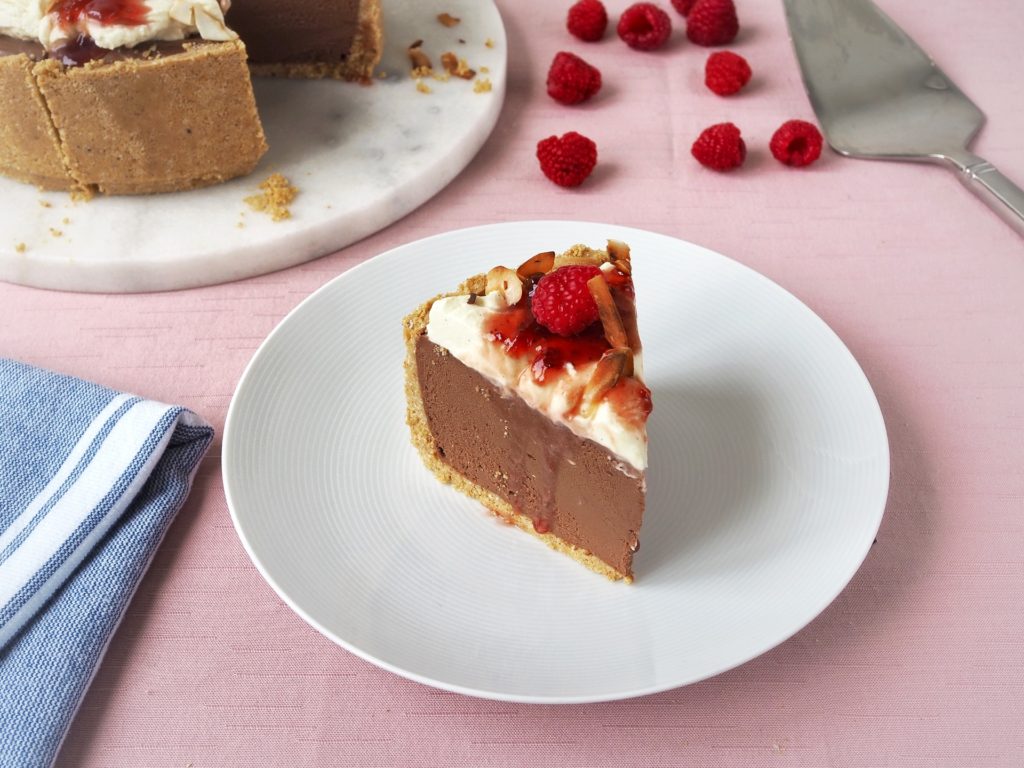
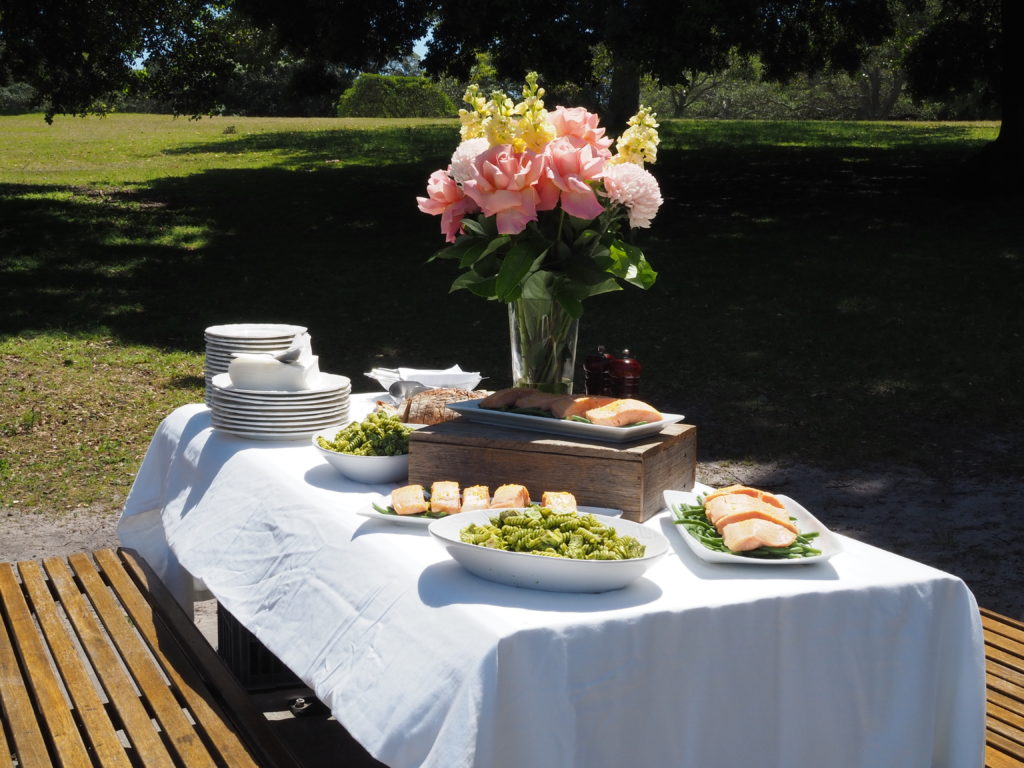
The food was simple and stress-free. I prepared salmon, green beans, chicken and pesto, plus a variety of desserts. The standout dessert was my version of Better than Sex Cake. Which I called Better than Anything because there were young children present and I didn’t want to be the bad aunt!
To be honest, I don’t get why anyone would say anything is better than sex, but this cake is better than any bundt I’ve made or had! So should I call it Better than Any Bundt? Hmm.. Yeah, I’m sticking with it! Better than Any Bundt!
The recipe is pretty easy, there are a couple of components, like the Chantilly cream, salted caramel and crushed flake bars. Read the notes section for substitutes and vegan option! Now here are some photos from our picnic!
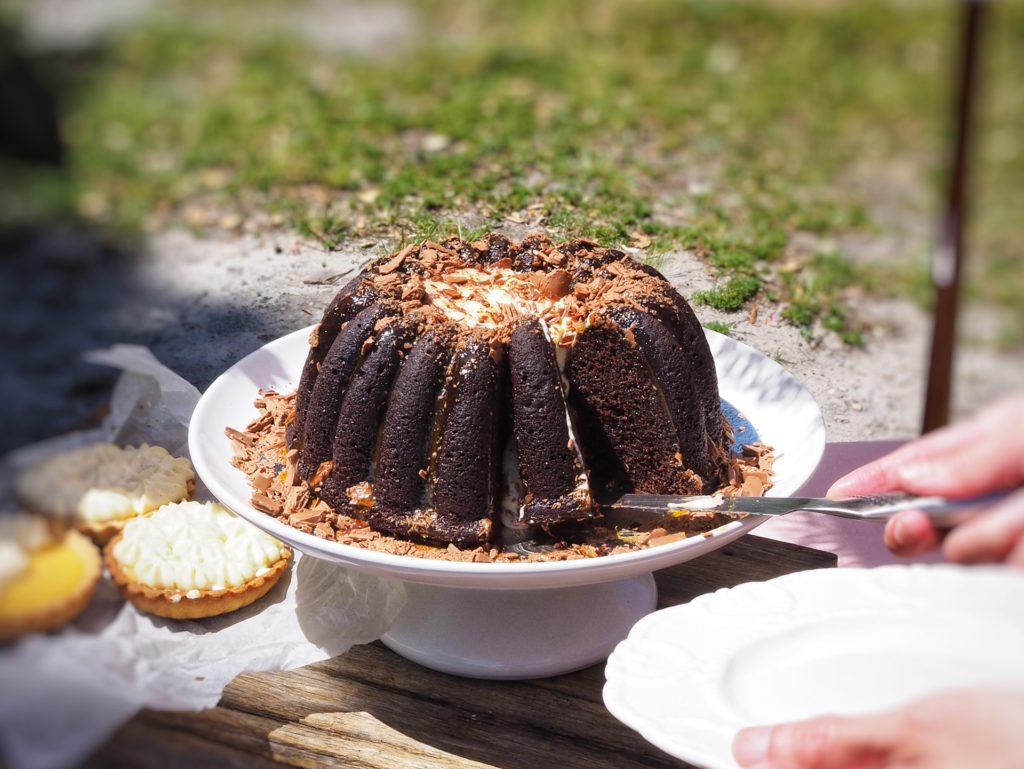

Better than Any Bundt
Makes 1 x 10-cup bundt
Ingredients
-
Chocolate Cake
- Caramel sauce
- Chantilly cream
Instructions
-
For the cake:
- Preheat oven to 170C. Grease a 10-cup bundt pan with softened butter diligently then dust with cocoa powder.
- In a large bowl, sift together flour, cocoa powder, baking powder and bi-carb soda. Mix in salt and sugar. Make a well in the center.
- Add the eggs, yogurt/sour cream, oil and vanilla and mix until smooth. Whisk in the boiling coffee. The batter will be runny, so don't worry.
- Pour the batter in the pan and bake for 65 minutes or until a skewer inserted comes out clean. Remove from oven and cover with a plate. Leave for 10 minutes.
- Remove plate and gently pull the sides of the cake away from the pan. Invert the cake onto a cooling rack and it should slide out easily. Cool completely. Make the caramel
- Place sugar in a heavy-based sauce pan. Leave it on medium heat until it melts and starts to colour.
- Once sugar turns amber quickly whisk in the diced butter. If it separates, remove from heat and keep whisking. Once it comes back together return to the burner and cook for 1 minute.
- Turn heat off then add the cream slowly. It will sputter so be careful. Then add the salt and cool down. Make the Chantilly cream
- With a cold and cold whisk, whisk the cold cream until stiff but doesn't look grainy. Whisk in the vanilla until incorporated. Set aside in the fridge. Assembly
- Once the cake is completely cool, pour the cooled down caramel sauce in the middle of the bun then cover with the whip cream. Drizzle remaining caramel sauce on top with the chunks of flake bars.
Notes
- You can use other chocolate that you like, I've tried Malteser and Twix
- Sour cream and yogurt work well in this cake, although I like the result with yogurt better.
- For a vegan version: replace the cream with plant-based cream for the Chantilly cream and the caramel, replace the butter with Nuttelex, the flake bars with vegan chocolate bars and use my vegan chocolate cake recipe here.
- For tips on preventing your bundt cake from sticking, please read this post.